The Handyman Plan, LLC
  • Home
  • Handyman Services
    • Closets and Storage
    • Doors, Locks and Knobs >
      • Door Repair
      • Door Replacement
      • Knobs and Locks
    • For Interior Designers >
      • Hanging Pictures & Mirrors
      • Interior Painting
      • Light Fixture Installation
      • Window Treatments
    • Furniture Assembly
    • Light Fixture Installations
    • Outdoor Spaces >
      • Decks and Deck Repair
      • Porch Repair
      • Railings and Stairs
      • Screen Doors and Porches
    • Renovations
    • Trim and Moldings
    • Wall and Ceiling Repair
    • Winterizing >
      • Storm Doors
      • Weatherstripping
  • Interior Painters
  • Picture Hanging
  • Reviews
  • Gallery
  • Blog
  • Contact

The Handyman Blog

How to Hang a Shelf, Part 3: Hanging the Brackets

2/19/2015

0 Comments

 
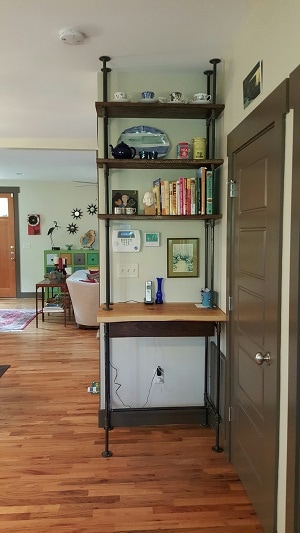
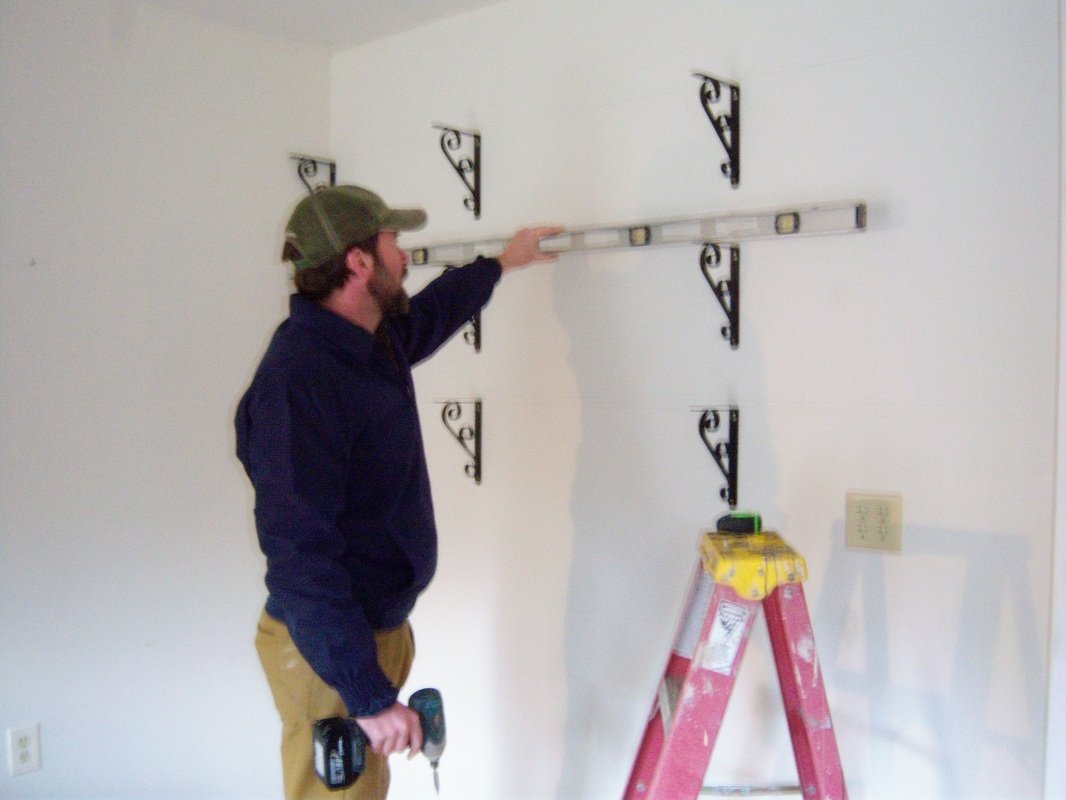
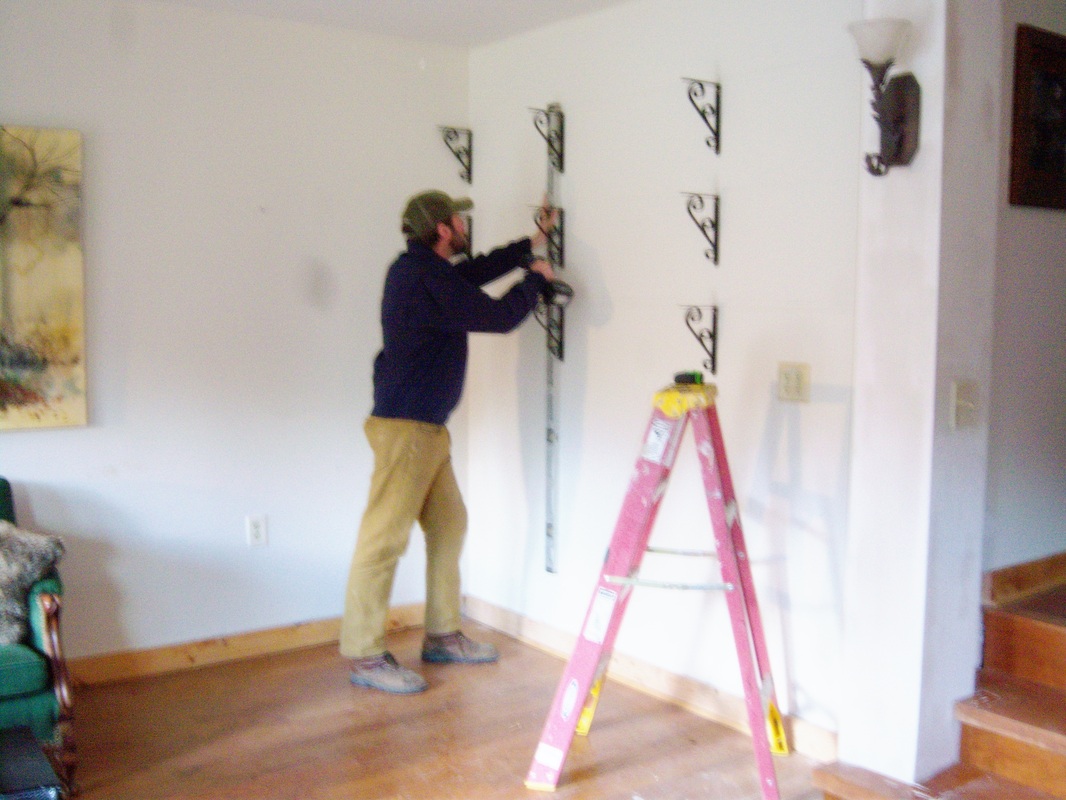
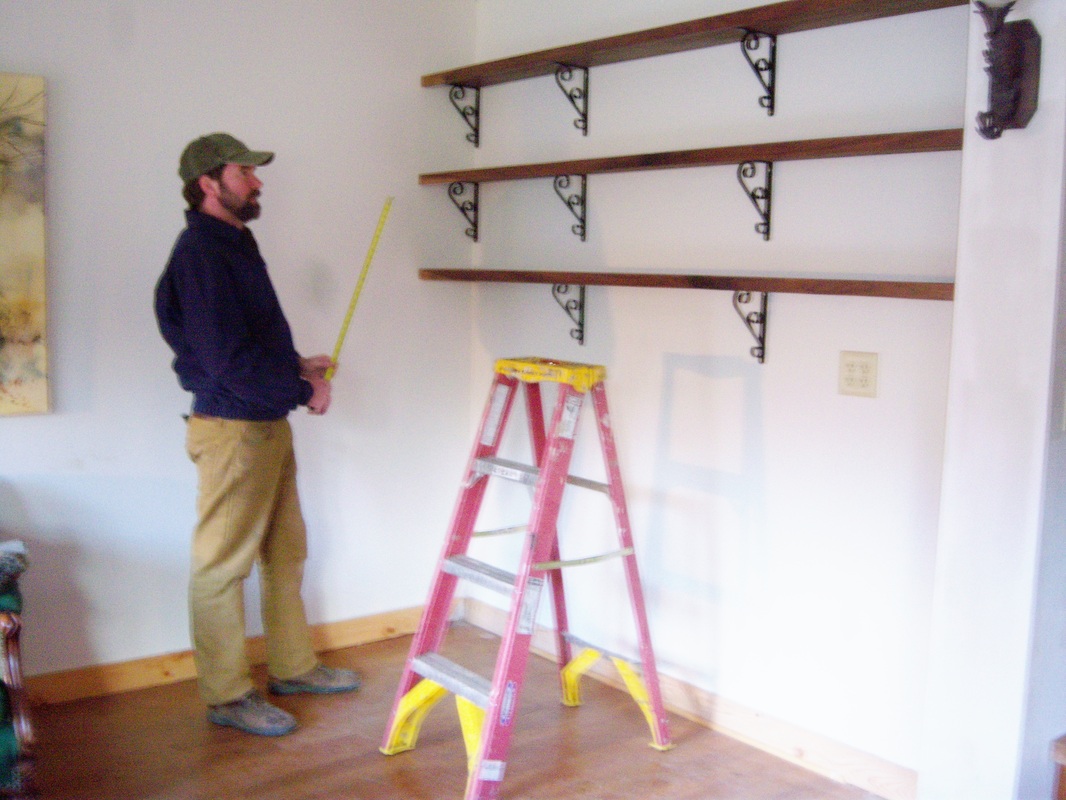
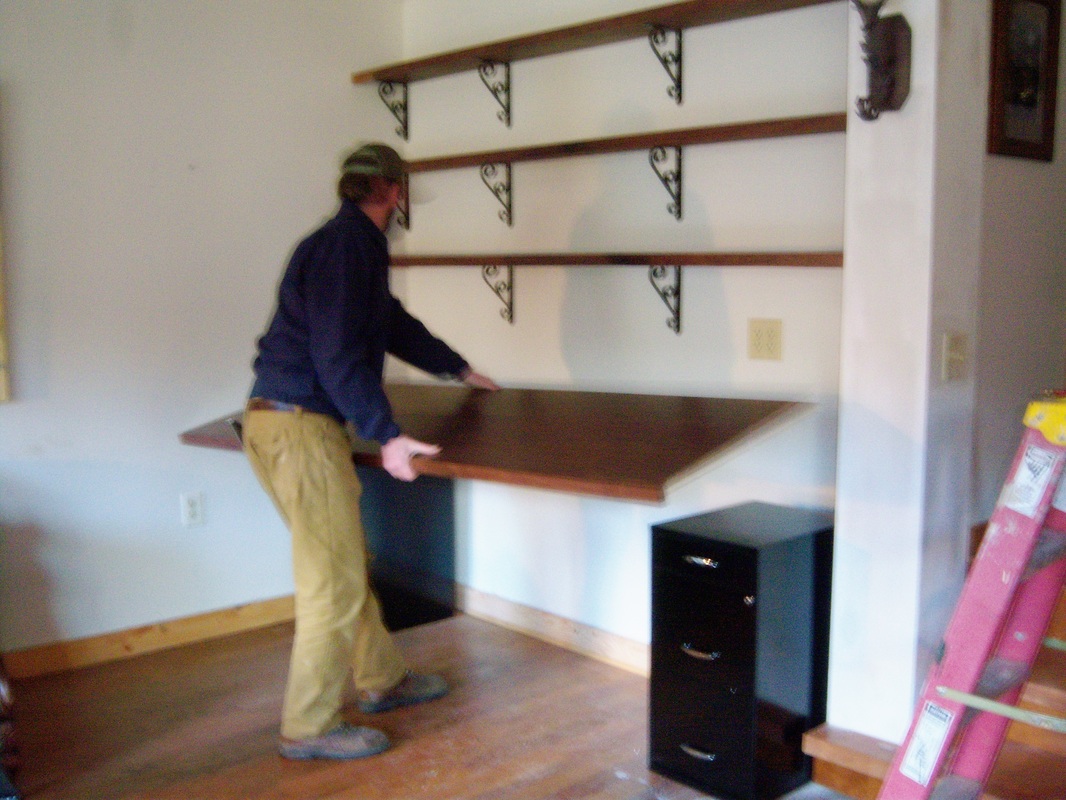
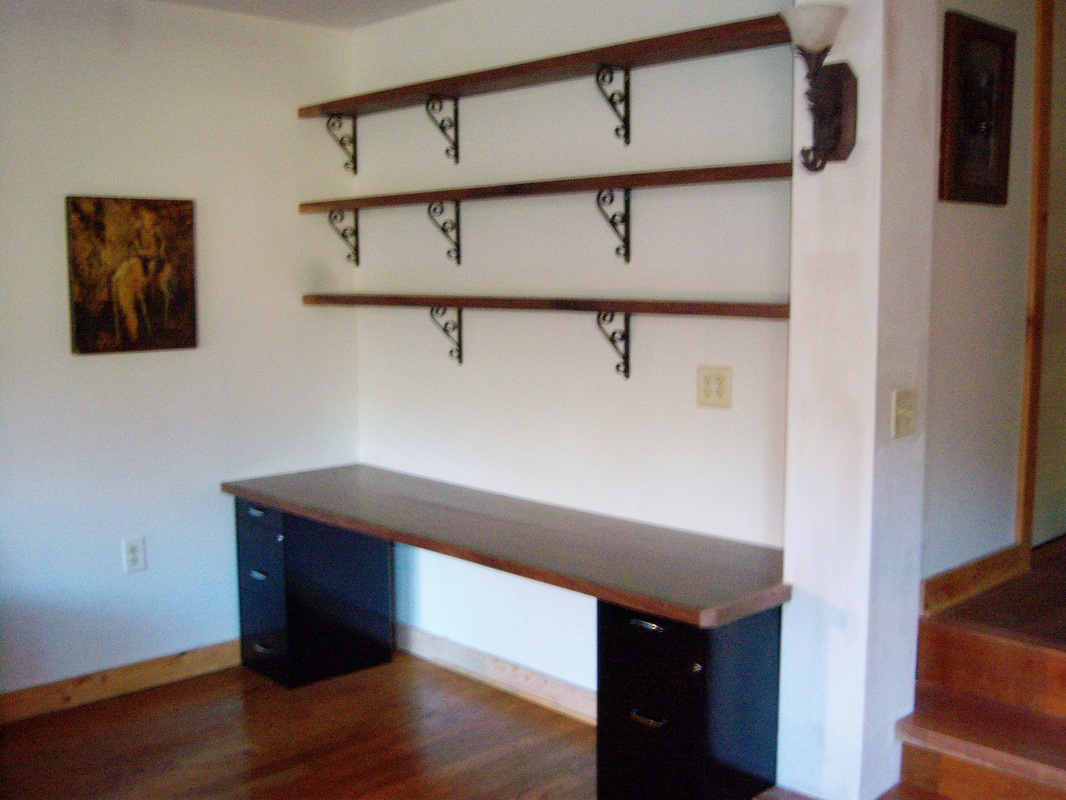
In the last two posts, you learned what materials to buy for your shelving and how to find the wall studs so that your shelves are secure. Now it's time to actually put in the brackets.
Here you can see where I've put up the brackets for my office. Before I hung the brackets, I drew a vertical line down each wall stud. I used my level to make the line, because I wanted the brackets to line up vertically. When you draw your line, make sure that you make a very light pencil line. Odds are that you will actually end up hanging the shelf a little bit off the line, so it's possible that the pencil line will show.

I also used my level to draw a horizontal line where each shelf would go. (If you don't use a level, you WILL hang it crooked, and then you will get seasick every time you look at your shelf.) Then I screwed each bracket to the wall.
Next I cut the shelves to the right length and set them on top. The brackets have little holes on top to allow you to screw the wood to the bracket, but I skipped that step. It's less safe and sturdy, so don't try that at home; but I knew I'd want to put a lamp on the shelf, so I wanted to be able to slide my shelf out far enough for the cord to go behind it.

Installing the desk was easy: I just set up the filing cabinets and laid the desktop on it. I didn't put any other support under the desk, because the plywood is pretty sturdy, and the edging also adds strength. However, if I had kids in the house, I would probably add a board beneath the desk to support the top, because it's really not made to bear the weight of a person climbing all over it. It probably wouldn't break, but it would sag and look ugly.
Picture
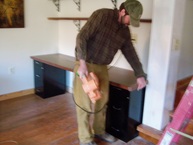
I also installed a little extra piece of edging on the right-hand side to hide the plywood, and I sanded the corner to soften it. This takes a little bit of woodworking skill, so if you're not super-handy, you might prefer to use thick, ordinary boards instead of plywood so that you don't need edging.

And here's how it turned out. My Patient Wife styled it with a few favorite books and some decorative boxes. Check out the little brass lamp that she scored from the thrift store! This is a great way to light an office without bring in an electrician.

Picture
In the next post, I'll show you a few alternatives and tricks that I didn't have time to go into here.
Need a hand around the house?
Your local Asheville handyman is standing by!
Picture
0 Comments

Your comment will be posted after it is approved.


Leave a Reply.

    About

    Arthur Teel, Asheville & Weaverville Handyman
    Welcome to my blog! This is a chronicle of the adventures of Arthur Teel, a handyman working in Asheville and Weaverville, NC. Need someone to fix your home?
    Get in Touch

    Connect!

    Picture
    I make furniture too!

    Archives

    April 2022
    March 2022
    February 2022
    January 2021
    December 2020
    August 2020
    July 2020
    June 2020
    May 2020
    March 2020
    January 2020
    November 2019
    October 2019
    September 2019
    August 2019
    June 2019
    March 2019
    February 2019
    January 2019
    December 2018
    November 2018
    October 2018
    September 2018
    August 2018
    July 2018
    June 2018
    May 2018
    April 2018
    March 2018
    February 2018
    January 2018
    December 2017
    November 2017
    October 2017
    September 2017
    August 2017
    July 2017
    June 2017
    May 2017
    April 2017
    March 2017
    February 2017
    January 2017
    December 2016
    November 2016
    October 2016
    September 2016
    August 2016
    July 2016
    June 2016
    May 2016
    April 2016
    March 2016
    February 2016
    January 2016
    December 2015
    October 2015
    September 2015
    August 2015
    July 2015
    June 2015
    May 2015
    April 2015
    March 2015
    February 2015
    January 2015


    This blog is for entertainment purposes only. See our Terms of Use for details.
  Our current turn-around time is 1 to 4 weeks for picture hanging and interior painting, and 6-8 weeks for most other projects.

What Our Clients Are Saying

"Arthur is that rare professional handyman who is totally reliable; fairly priced; pro-active in communications; honest; punctual; skilled -- and a really nice guy."

​Cliff Y.
"Arthur is a great resource to have here in our area. He's prompt, professional, does great work and is cost effective. I'll definitely use him again!"

Jonathan J.

​
Read More Reviews

Follow Us:

Email US AT:

AshevilleHandymanPlan@gmail.com

Service Area:

In-town Asheville
Mars Hill and Weaverville
Arden and Fletcher
​Fairview

Popular Services

Interior Painters
Professional Picture Hanging
For Interior Designers
Picture

Copyright 2014-2022 by The Handyman Plan, LLC.

Terms of Service and Privacy Statement
  • Home
  • Handyman Services
    • Closets and Storage
    • Doors, Locks and Knobs >
      • Door Repair
      • Door Replacement
      • Knobs and Locks
    • For Interior Designers >
      • Hanging Pictures & Mirrors
      • Interior Painting
      • Light Fixture Installation
      • Window Treatments
    • Furniture Assembly
    • Light Fixture Installations
    • Outdoor Spaces >
      • Decks and Deck Repair
      • Porch Repair
      • Railings and Stairs
      • Screen Doors and Porches
    • Renovations
    • Trim and Moldings
    • Wall and Ceiling Repair
    • Winterizing >
      • Storm Doors
      • Weatherstripping
  • Interior Painters
  • Picture Hanging
  • Reviews
  • Gallery
  • Blog
  • Contact