|
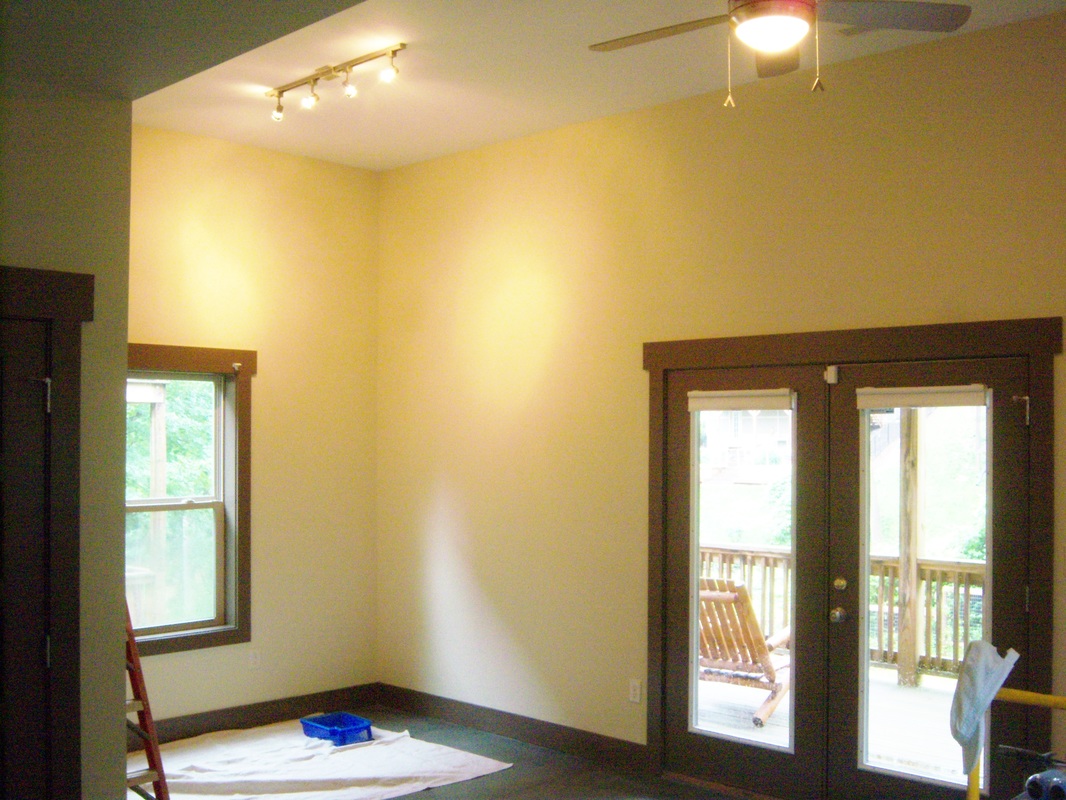
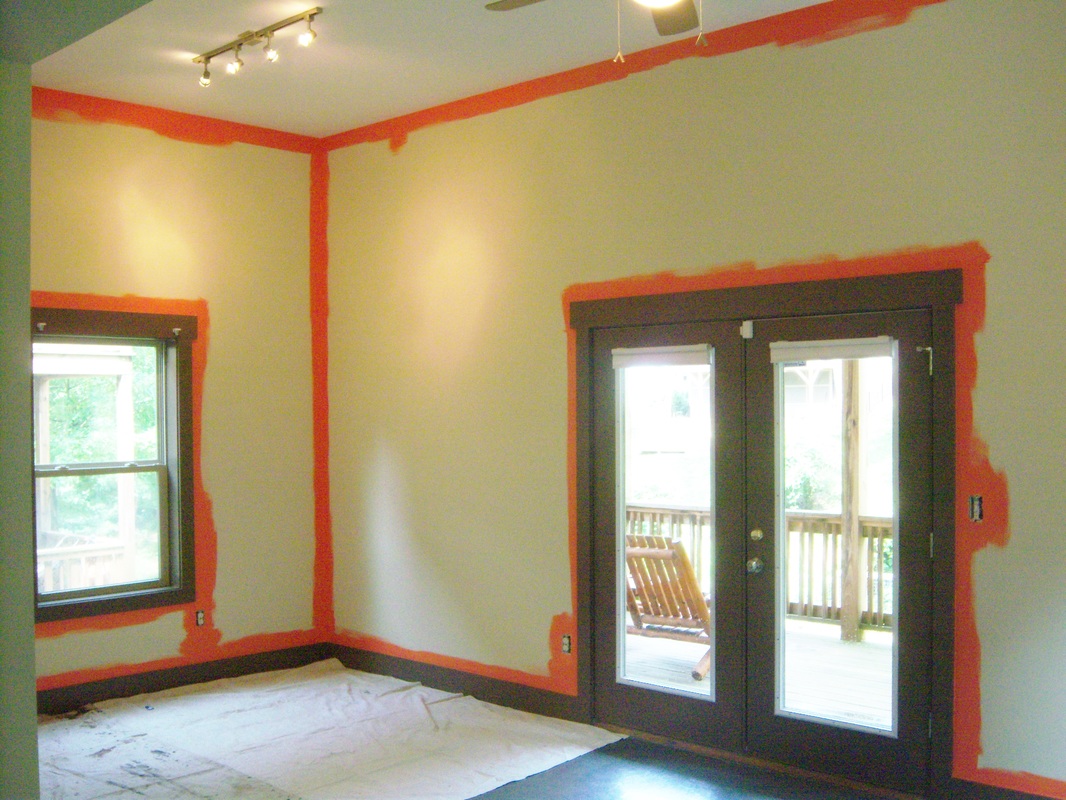
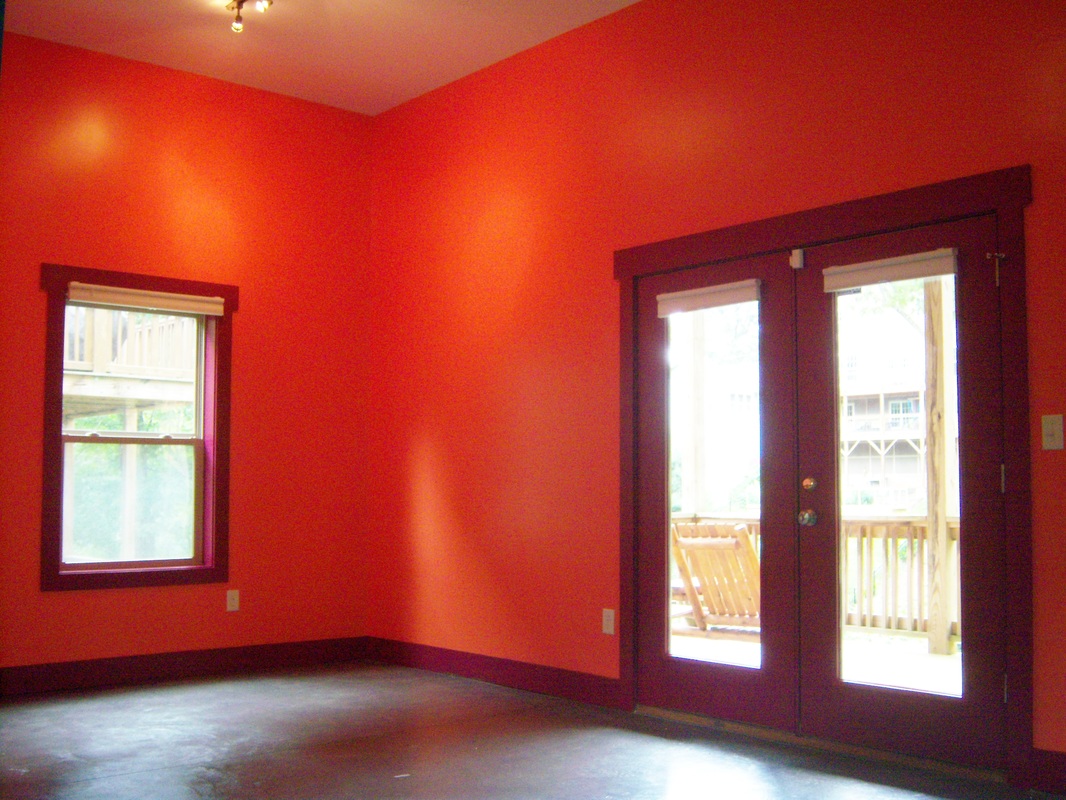
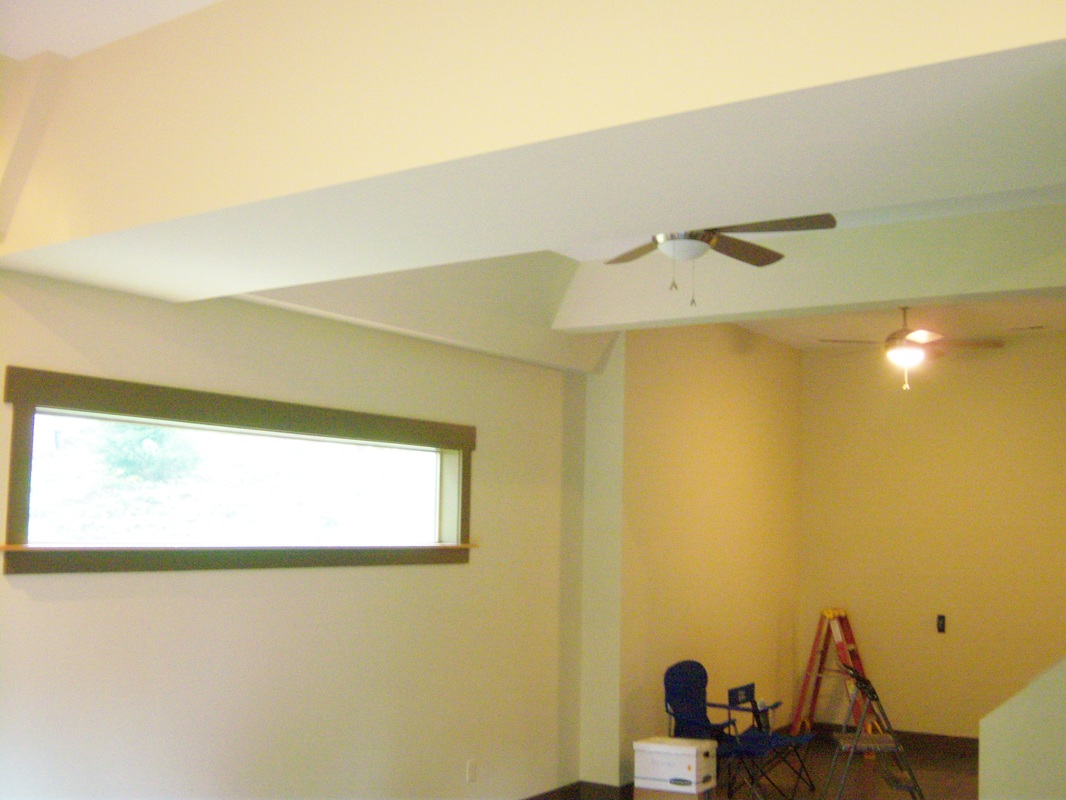
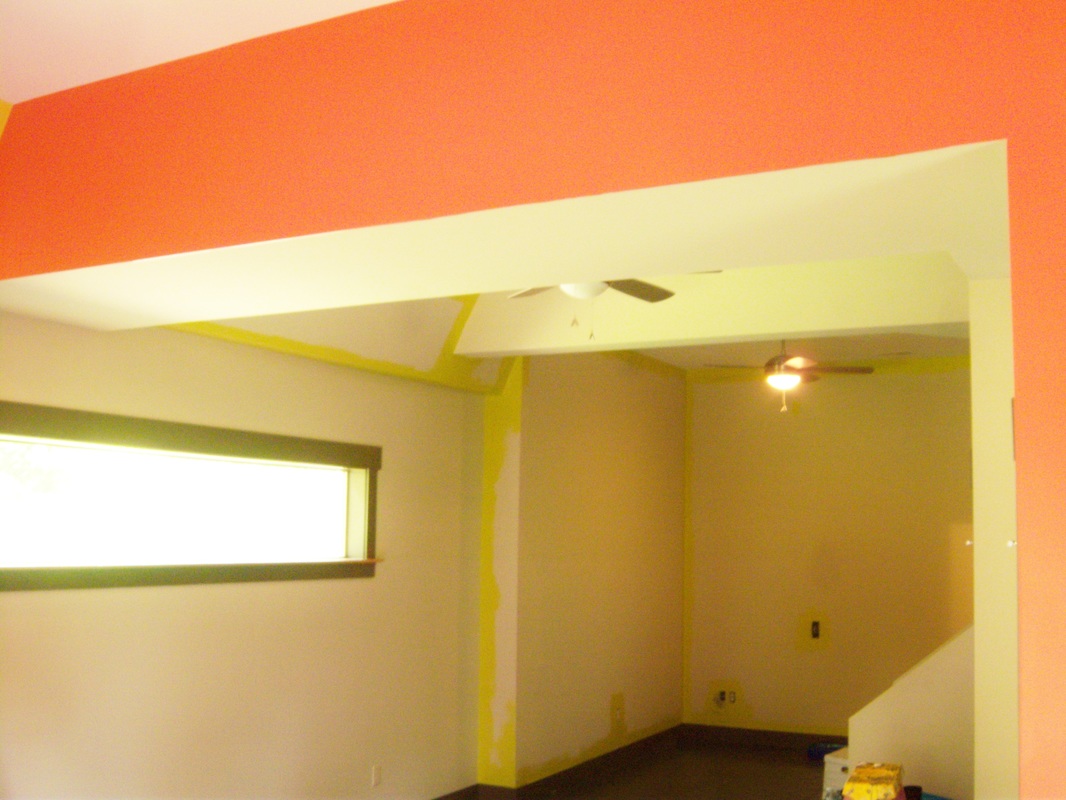
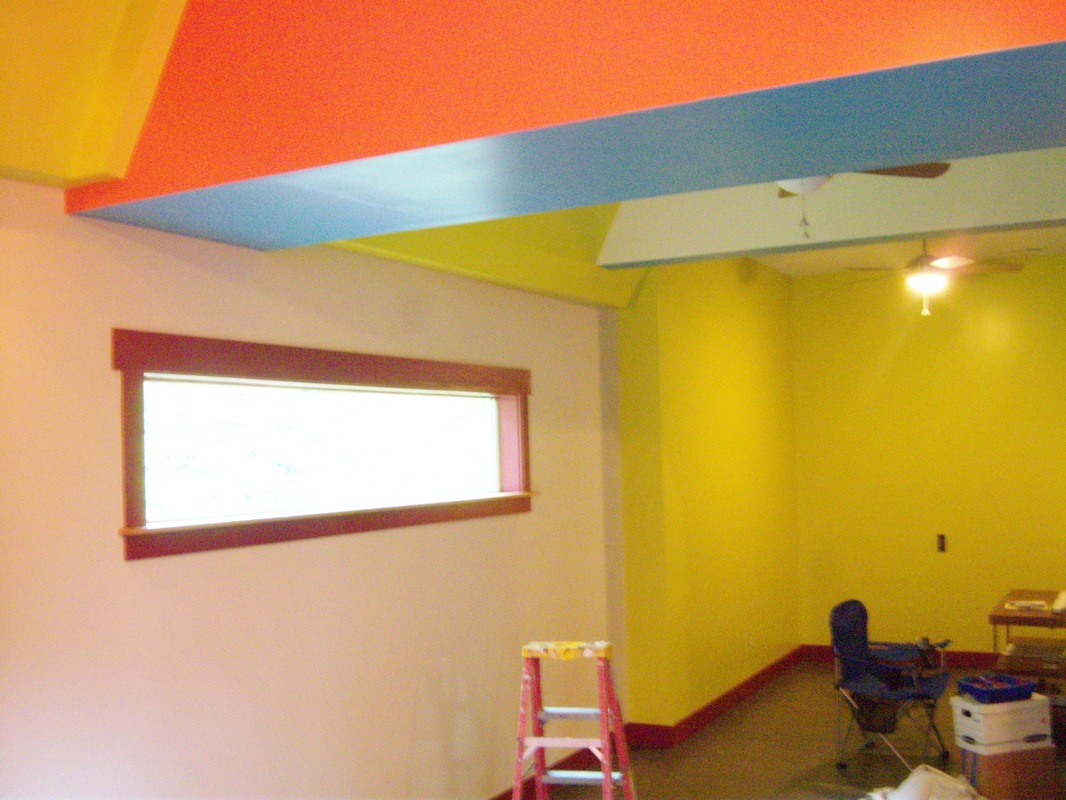
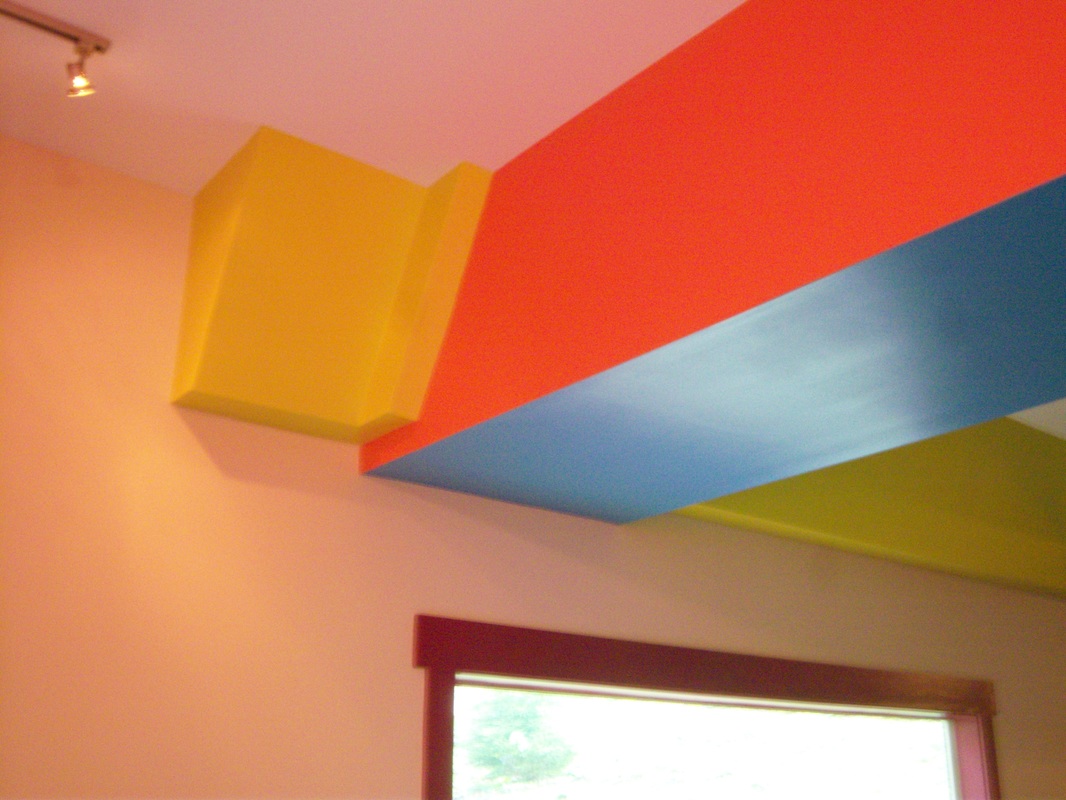
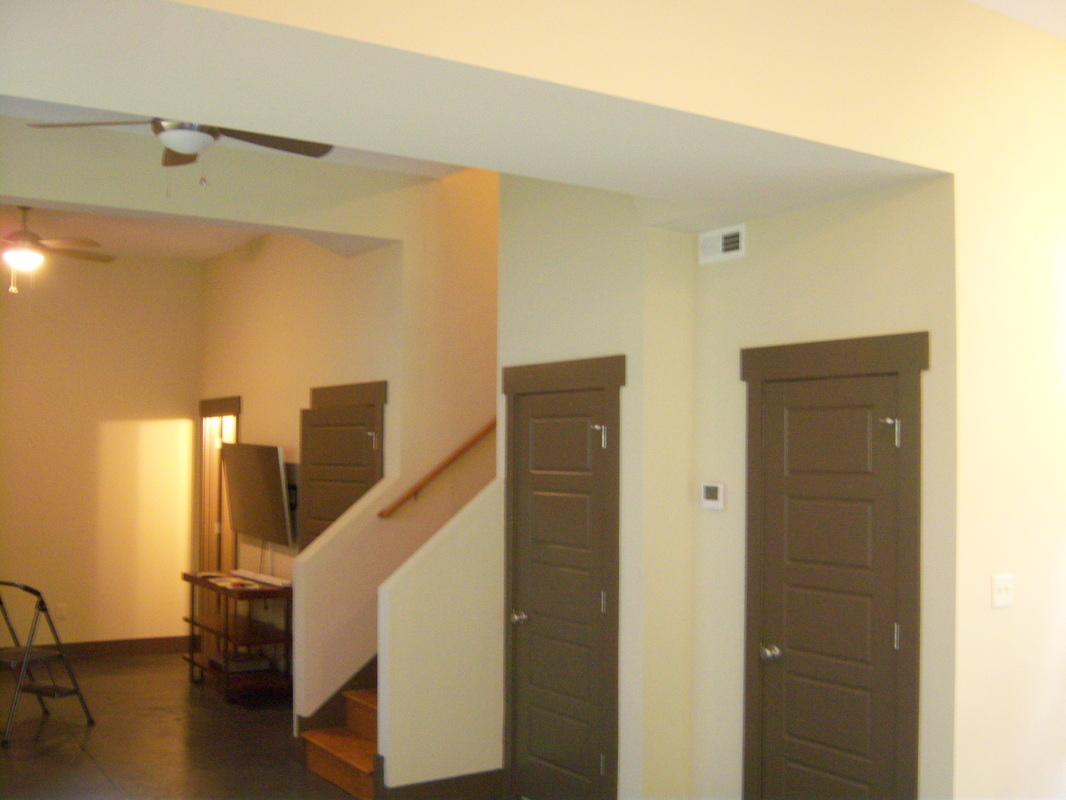
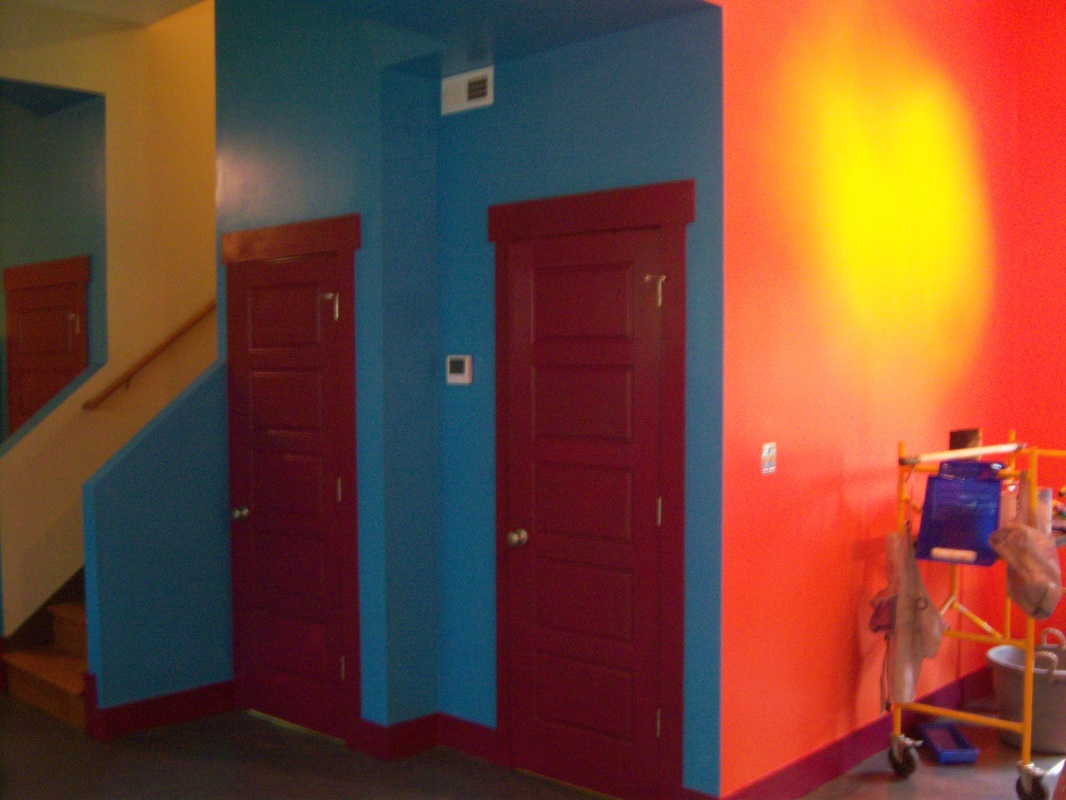
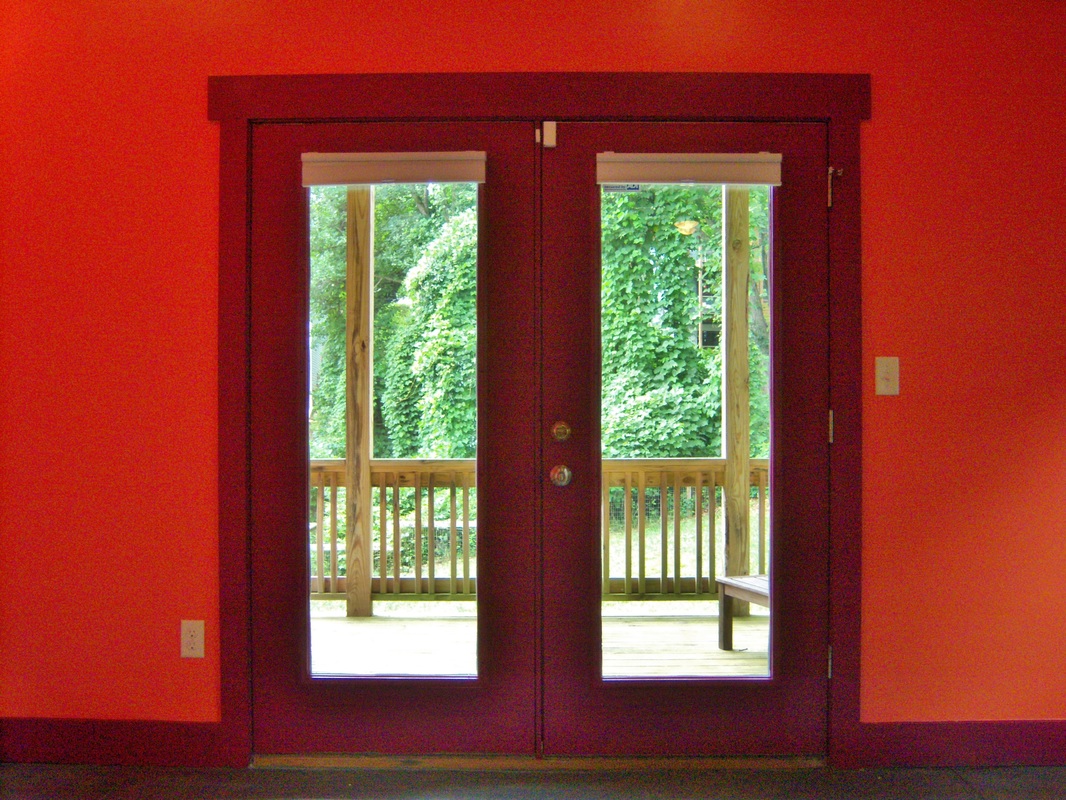
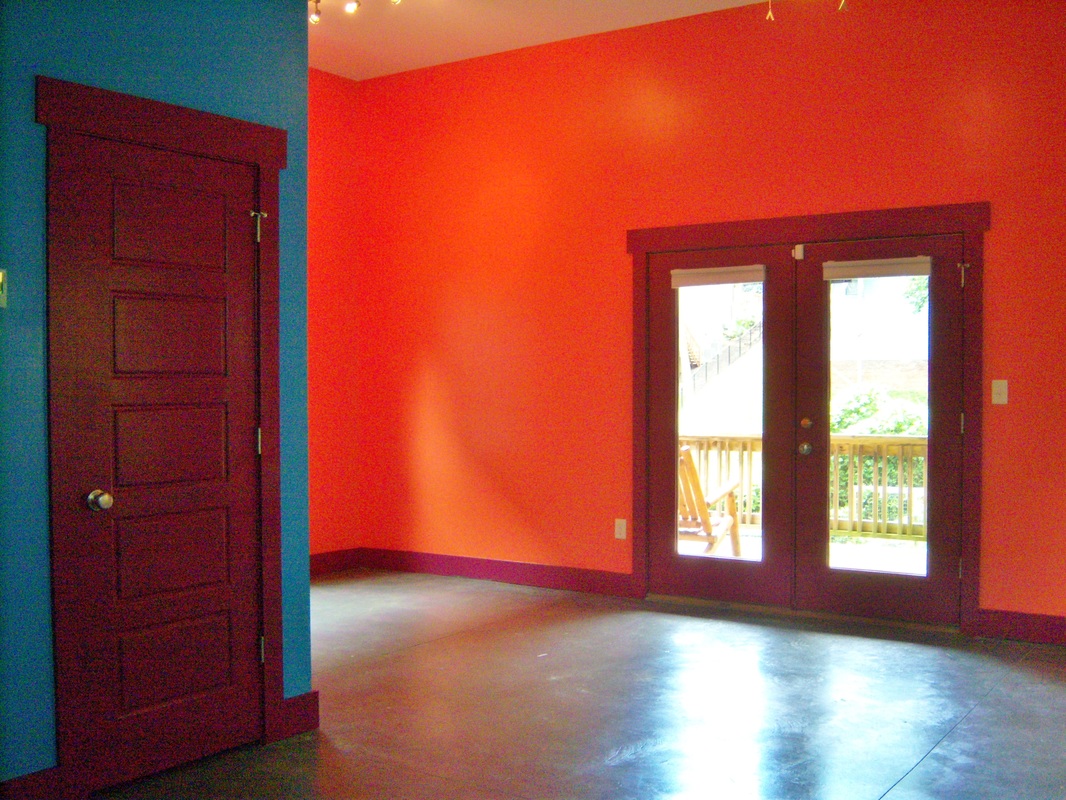
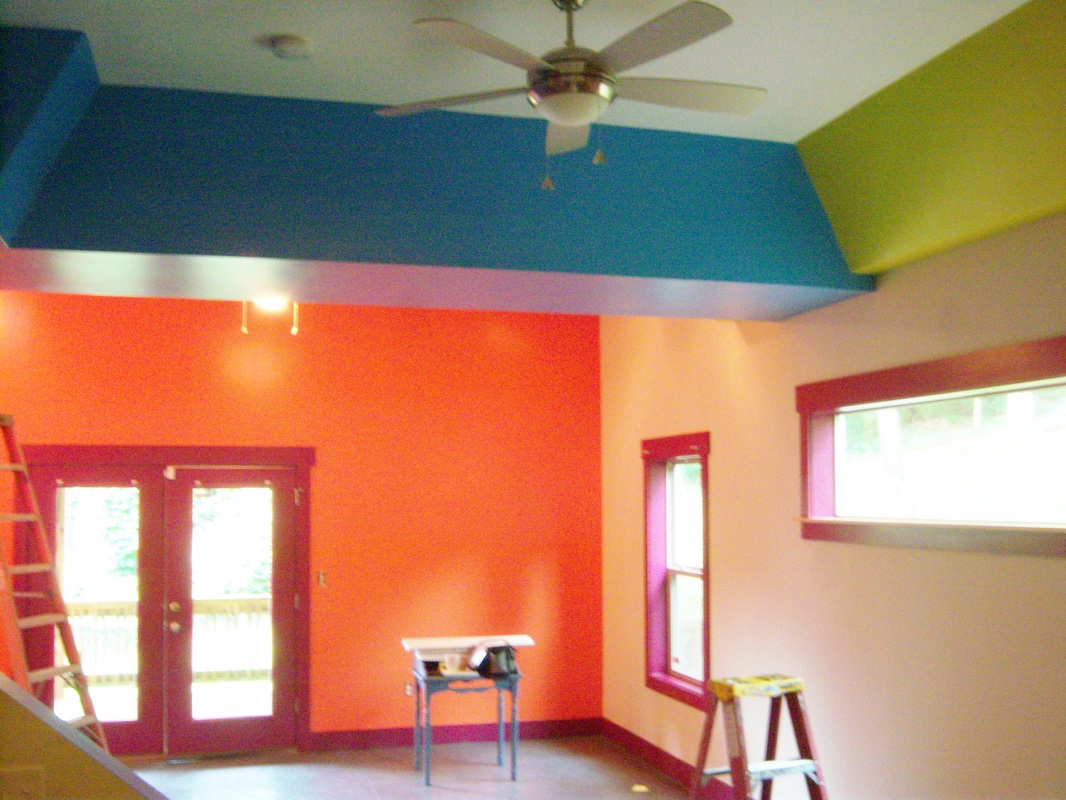
There's been so much gray, gray, gray in the interior design trends that I was thrilled and refreshed to have an opportunity to use some really striking paint colors:  My client Suzanne chose these vibrant colors for her basement. This is one of those times when I can step back and let the pictures do the talking. Click any image to enlarge it. As you might have noticed, she left one wall in the existing color. I think this keeps the bold color from getting too oppressive.
On a technical note, this was not a painting job for beginners. It required a lot of cutting in, and I had to keep the lines between the colors as straight as possible. Bold colors like these can also require lots of coats of paint, especially the mulberry red color on the trim. (Red paint is usually more translucent than other colors.) With that in mind, I bought the best-quality "one coat" paint. Although the paint cost more per gallon, Suzanne saved money in the long run because it only needed one coat in most places. I also used a very high-quality paint brush, which makes a big difference for cutting in. Last but not least, I brought my scaffold so that I could reach the high spots easily. This kept me from straining my arms to reach the far corners, and in the long run it made it easier to keep the lines neat. For those of you who want to try these colors at home, here are the names on the paint chips:
I've recently had several jobs fixing window screens. (You can track the seasons by what jobs I get; in summer it's window screens and in winter it's door insulation.) When you're repairing a window screen, it helps to understand how the screen is held in place. Each screen has a metal frame with a channel in it. The screen is pressed into the channel and held there by a rubber gasket. Here's a diagram of what it looks like when the gasket comes undone in one corner: 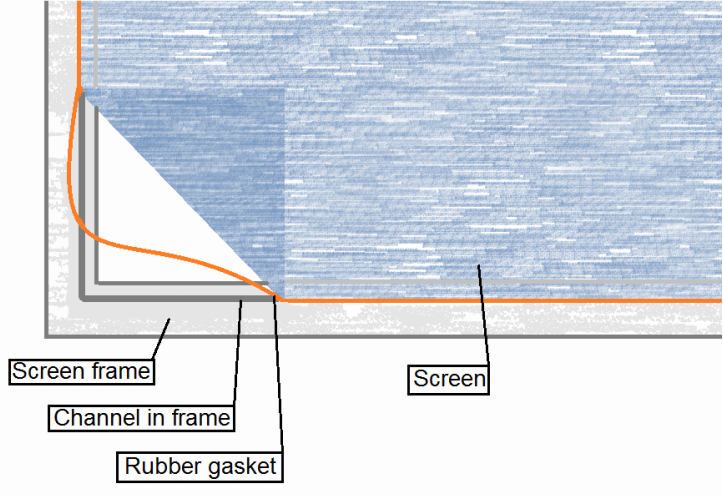 Sometimes if a loose gasket is the only problem, you can stuff the screen and gasket back in; but in this case the screen was actually torn. Some people use patch kits to cover the hole with a little patch, but these windows offered the main view out of the house, and the owners didn't want to look at screen patches every time they glanced out the window. To fix the screens, I bought a window screen replacement kit from the hardware store. The kit comes with a new gasket, a screen, and a little tool with a roller on the end. I took out the old screen and gasket, laid down the new screen, and used the roller to press in the new gasket. Here's a little step-by-step slideshow: It looks easy, doesn't it? Actually, replacing window screens can be somewhat difficult. It really depends on the screen. One problem we ran into was that the old screens were faded by the sun, and although the hardware store sells different screen colors, it was hard to get a match. Even though there were only two damaged screens, I ended up replacing all four so that they would all be the same color. The other trick is to get the right size of gasket. If the new gasket is too thin, it won't stay in place. On the other hand, if it's too fat it won't go in properly. In this case, the gasket was a little on the fat side and I had to bear down hard to get it in. But that's probably for the best, since it means the new gasket is really unlikely to pop out. We had one more thing to slow us down: the odd way the builder had installed the screens. Normally you can stand outside the house and pop out the screen, but in this case I had to remove the window sashes first. This really slowed things down. Fortunately that's not a common problem, so you're unlikely to run into it if you try to fix your own screens. All in all, this was a pretty rewarding little project. The owners are very happy with it, because now they can open all of their windows without worrying about bees flying in. Need help with fixing window screens and other little odds and ends? Give me a call if you live in Asheville.
|
About

Welcome to my blog! This is a chronicle of the adventures of Arthur Teel, a handyman working in Asheville and Weaverville, NC. Need someone to fix your home?
Connect!
Archives
April 2022
This blog is for entertainment purposes only. See our Terms of Use for details.
|
The current turn-around time for our interior painting team is 2 weeks.
Our handyman team is currently fully scheduled and not taking new projects.
What Our Clients Are Saying
"Arthur is that rare professional handyman who is totally reliable; fairly priced; pro-active in communications; honest; punctual; skilled -- and a really nice guy." "Arthur is a great resource to have here in our area. He's prompt, professional, does great work and is cost effective. I'll definitely use him again!" |
Follow Us:Email US AT:Service Area:
In-town Asheville
Mars Hill and Weaverville Arden and Fletcher Fairview Popular Services |

|