|
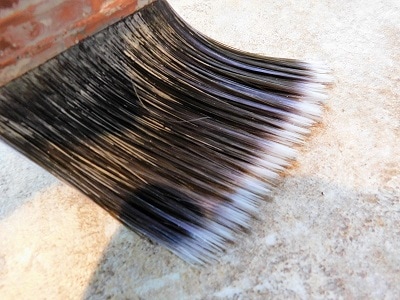
Today we're doing SCIENCE. Not long ago, I was standing in the hardware store staring at the bewildering array of paintbrushes and wondering whether the expensive ones are worth the extra five bucks. So in the interest of handymankind, I did an experiment: I bought brushes from the two most popular brands and compared them. The Purdy cost about $15 and the Wooster cost about $10. Here they are in almost-new condition: 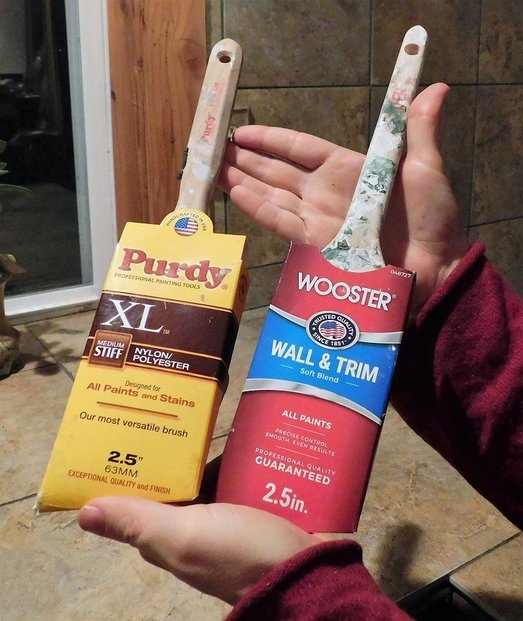 Now when it comes to paintbrushes, I am a cruel master. It comes with the territory. As a handyman, one of my top priorities is keeping your home clean during the job, and the last thing I want to do is rinse my brushes in your sink. So paintbrushes get tossed into paint cans or brush keepers or plastic bags, then taken home and rinsed out later. This is basically the worst thing you can do to a brush, but that's the handyman life. Here's the same brushes after a month of misuse. So far, so good. The brush keepers (those plastic boxes on the right) have kept the paint from drying on the brush, so I've been able to get most of the paint out after each use. 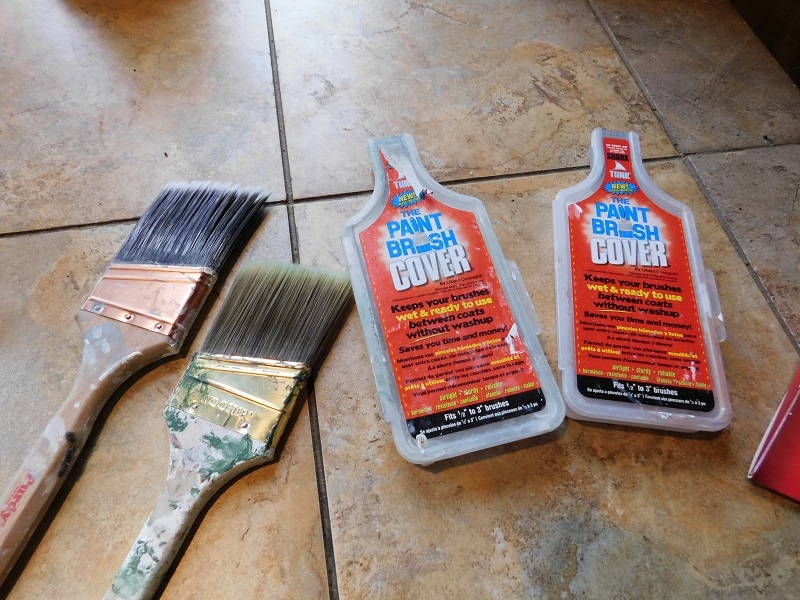 At first glance, the Purdy (the expensive brush with the dark bristles) looks like it's performing poorly. As you can see, it's not holding its shape as well compared to the Wooster: 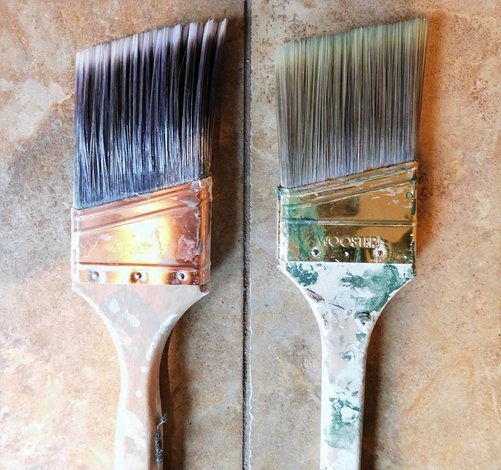 However, at this point I really prefer the Purdy, because it's great in action. That curly little tip holds a nice bead of paint, and it's much easier to cut in and make neat lines with it. The Wooster is stiffer. It can be harder to control it, and I can't get into to corners with it as well as I can with the Purdy. The Purdy just feels better to paint with.
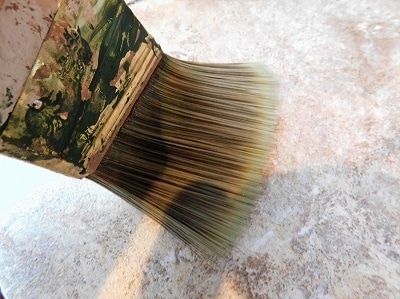
So I was all set to recommend the Purdy, until this happened: 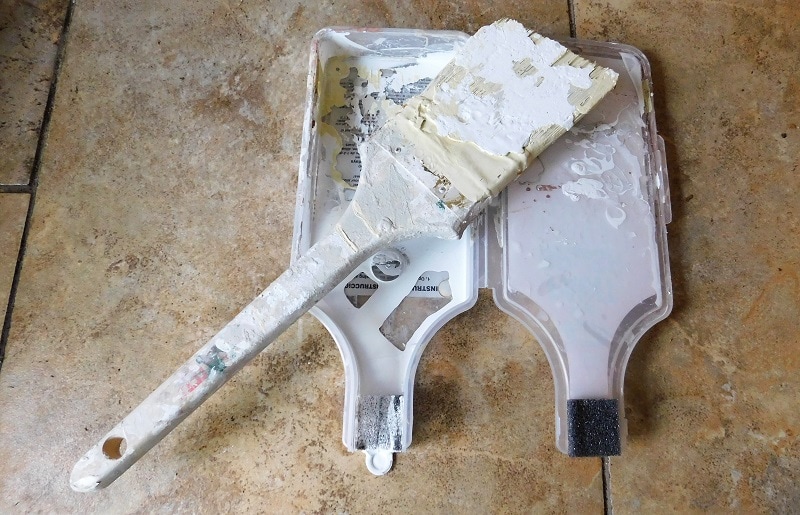 One of my "brush keepers" popped open when I wasn't looking, the brush dried out, and I discovered just how unreliable these fancy plastic gadgets can be. (I should have stuck with my trusty Ziploc bags.) As I've said, the handyman life is hard on brushes, and this was a timely reminder that dead brushes are a real problem for me. So which brush is better? The Wooster is the most cost-effective. Use it as your "beater" brush. The Purdy paints better. Use it if you really need to cut in a straight line and/or you have the time to clean your brush. Or you could just hire me to paint your house. I'm good at it! 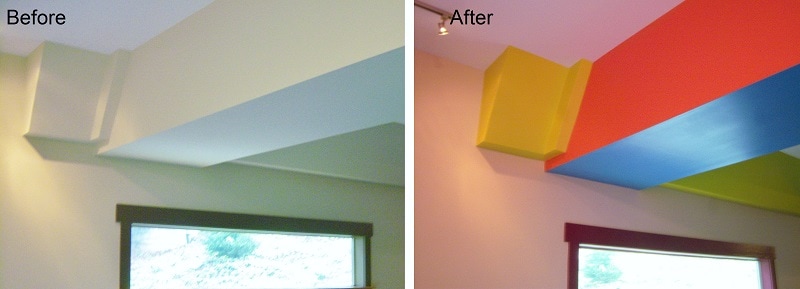
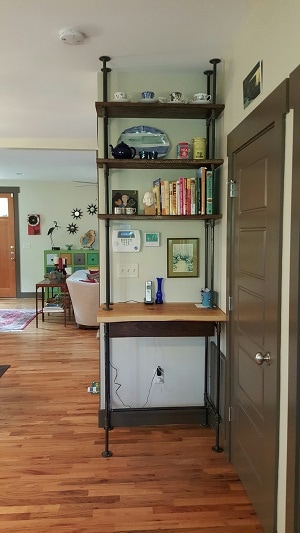
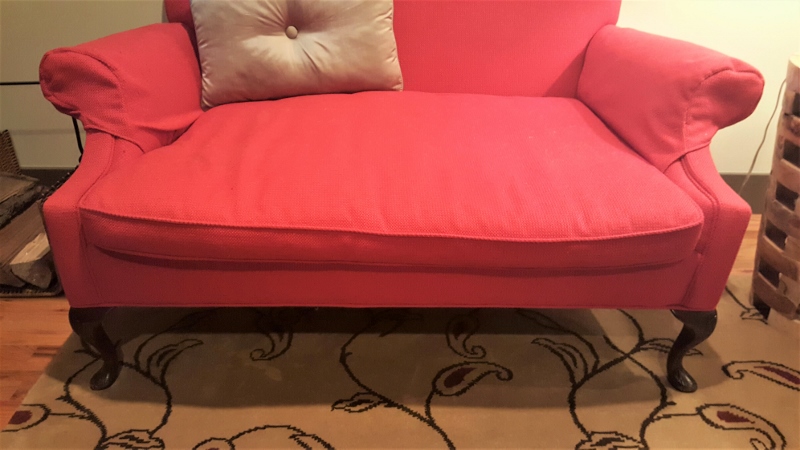
She was talking it over with her dinner guests one evening when suddenly the idea popped into her head: why not replace the legs completely? Then she remembered the Rustic Industrial Hutch which I recently built for her, and the inspiration was complete. 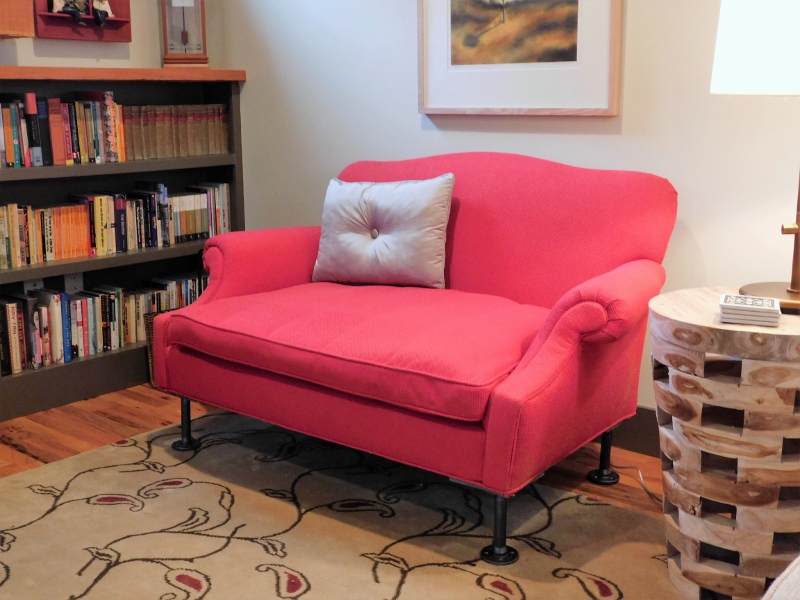 We had a great time working on this project together, and since Suzanne was there to help me out, I got lots of pictures. Here's how we did it.
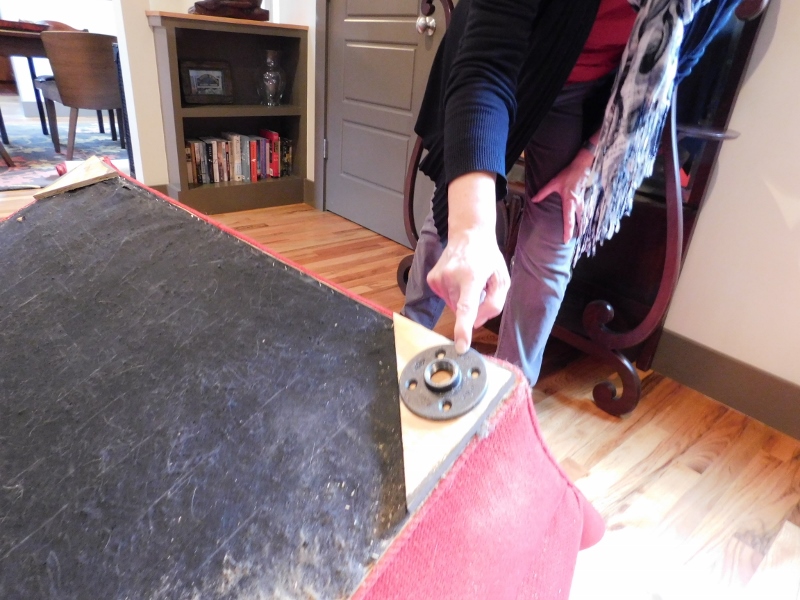 Each leg is made from plumbing parts: two flanges and a pre-threaded length of blackpipe. I bought these pieces as-is from the local hardware store and simply twisted the flanges onto the pipe. We also added felt pads to the bottoms so the legs wouldn't scratch the floor. 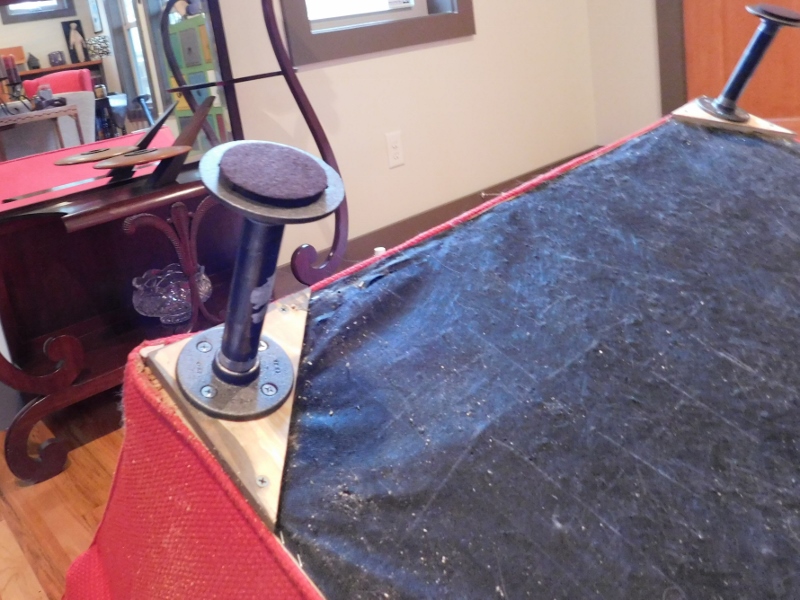 This was a very rewarding project for such a minimal investment of hardware. 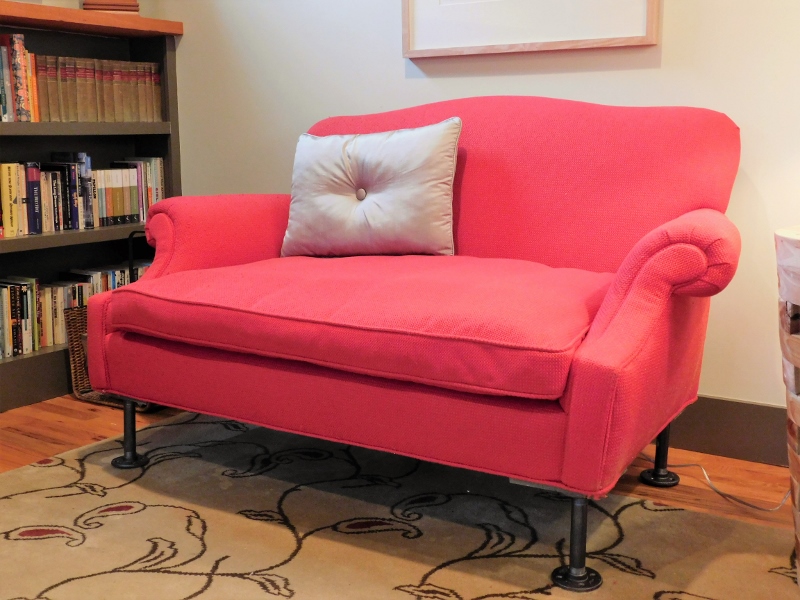 If you've got a simple furniture repair that can be done onsite, I'll be glad to discuss it with you. Give me a call today to get started.
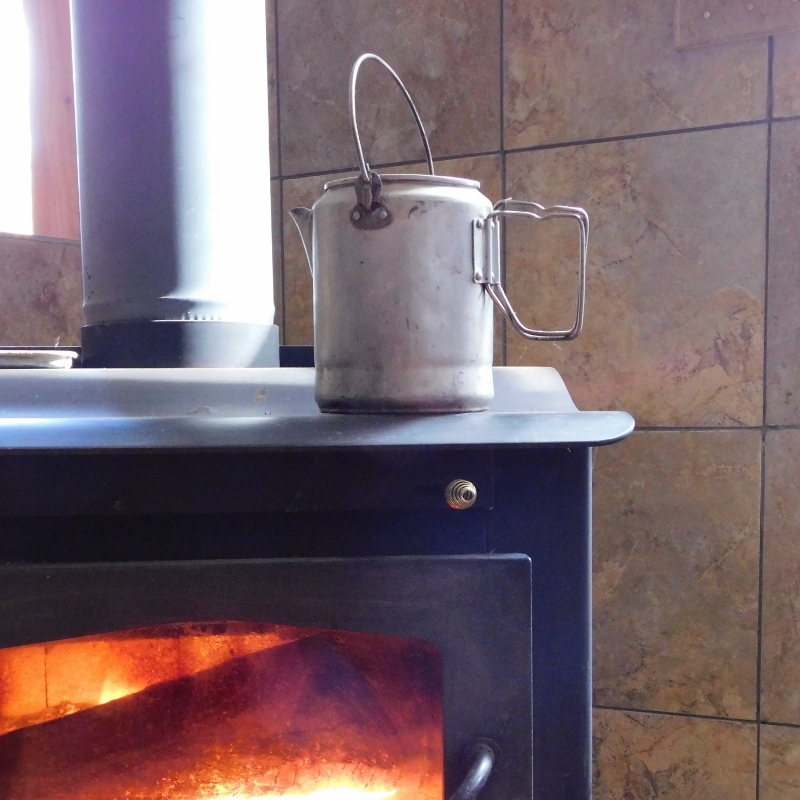
Ah, the delights of winter. Warm sweaters, hot soup and a cozy fireplace or woodstove. 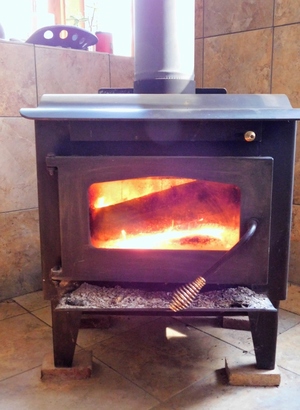 With the onset of cold weather, lots of people are lighting the first fire of the season. I've heated my homes with wood for over a decade now, so I thought I'd share a few tips I've picked up over the years for safe, comfortable home fires. Is It Installed Correctly and in Good Condition?
Regular Cleaning Prevents Chimney Fires
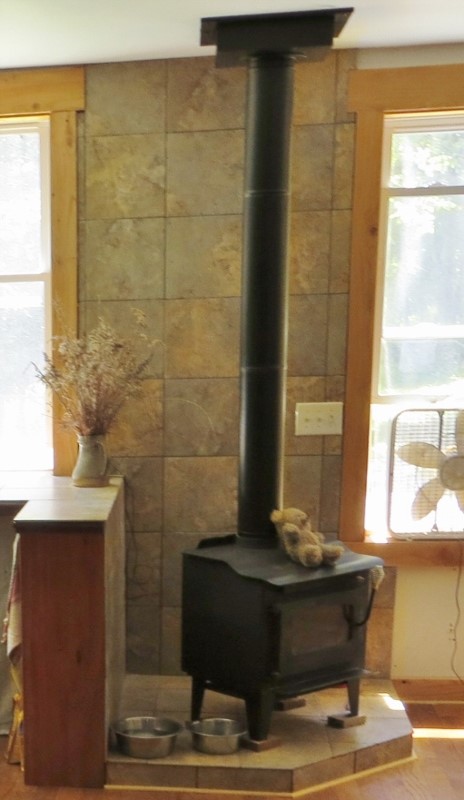
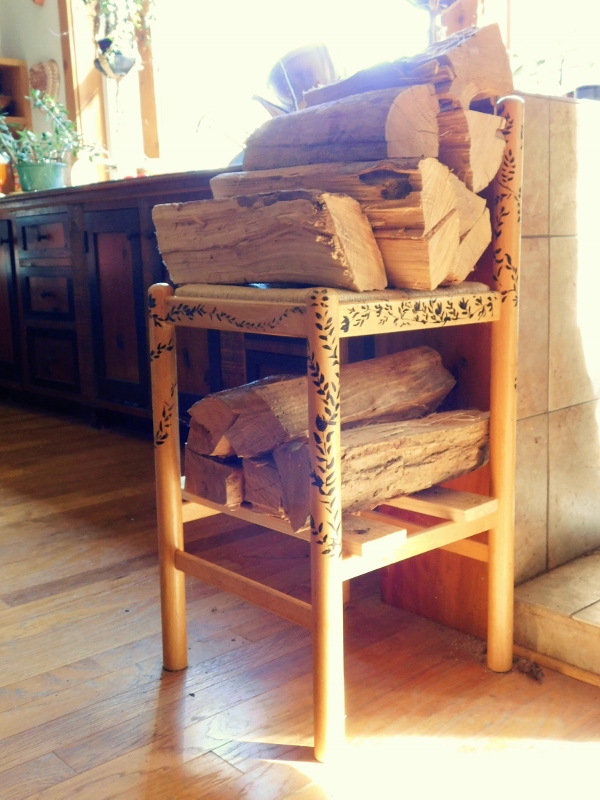
The Right Wood Burns Better If you only burn your stove occasionally, you can pick up a tiny bundle of firewood at the grocery store. It's expensive, but it's an easy luxury. However, if you're going to burn regularly, get a stash of well-dried hardwood such as oak or locust. You can also mix a few softwood logs in there, like pine. The soft woods are nice when you're starting a fire because they burn easily and heat the room up quickly. However, the hard woods are better for long-term, regular use because they create less creosote. Hardwoods also burn longer, so you don't have to keep adding logs all the time.  A good stack of dry wood is like money in the bank. In a perfect world, you'll get your firewood a few months before winter sets in, so the wood has time to dry and is easy to light. For the best results, cover it from rain and snow. Prevent Hot Rolling Logs of Flaming Death Okay, maybe that's a slight exaggeration, but when you're burning a fire, it helps to keep in mind that hot logs or sparks can come out of the front of the stove. 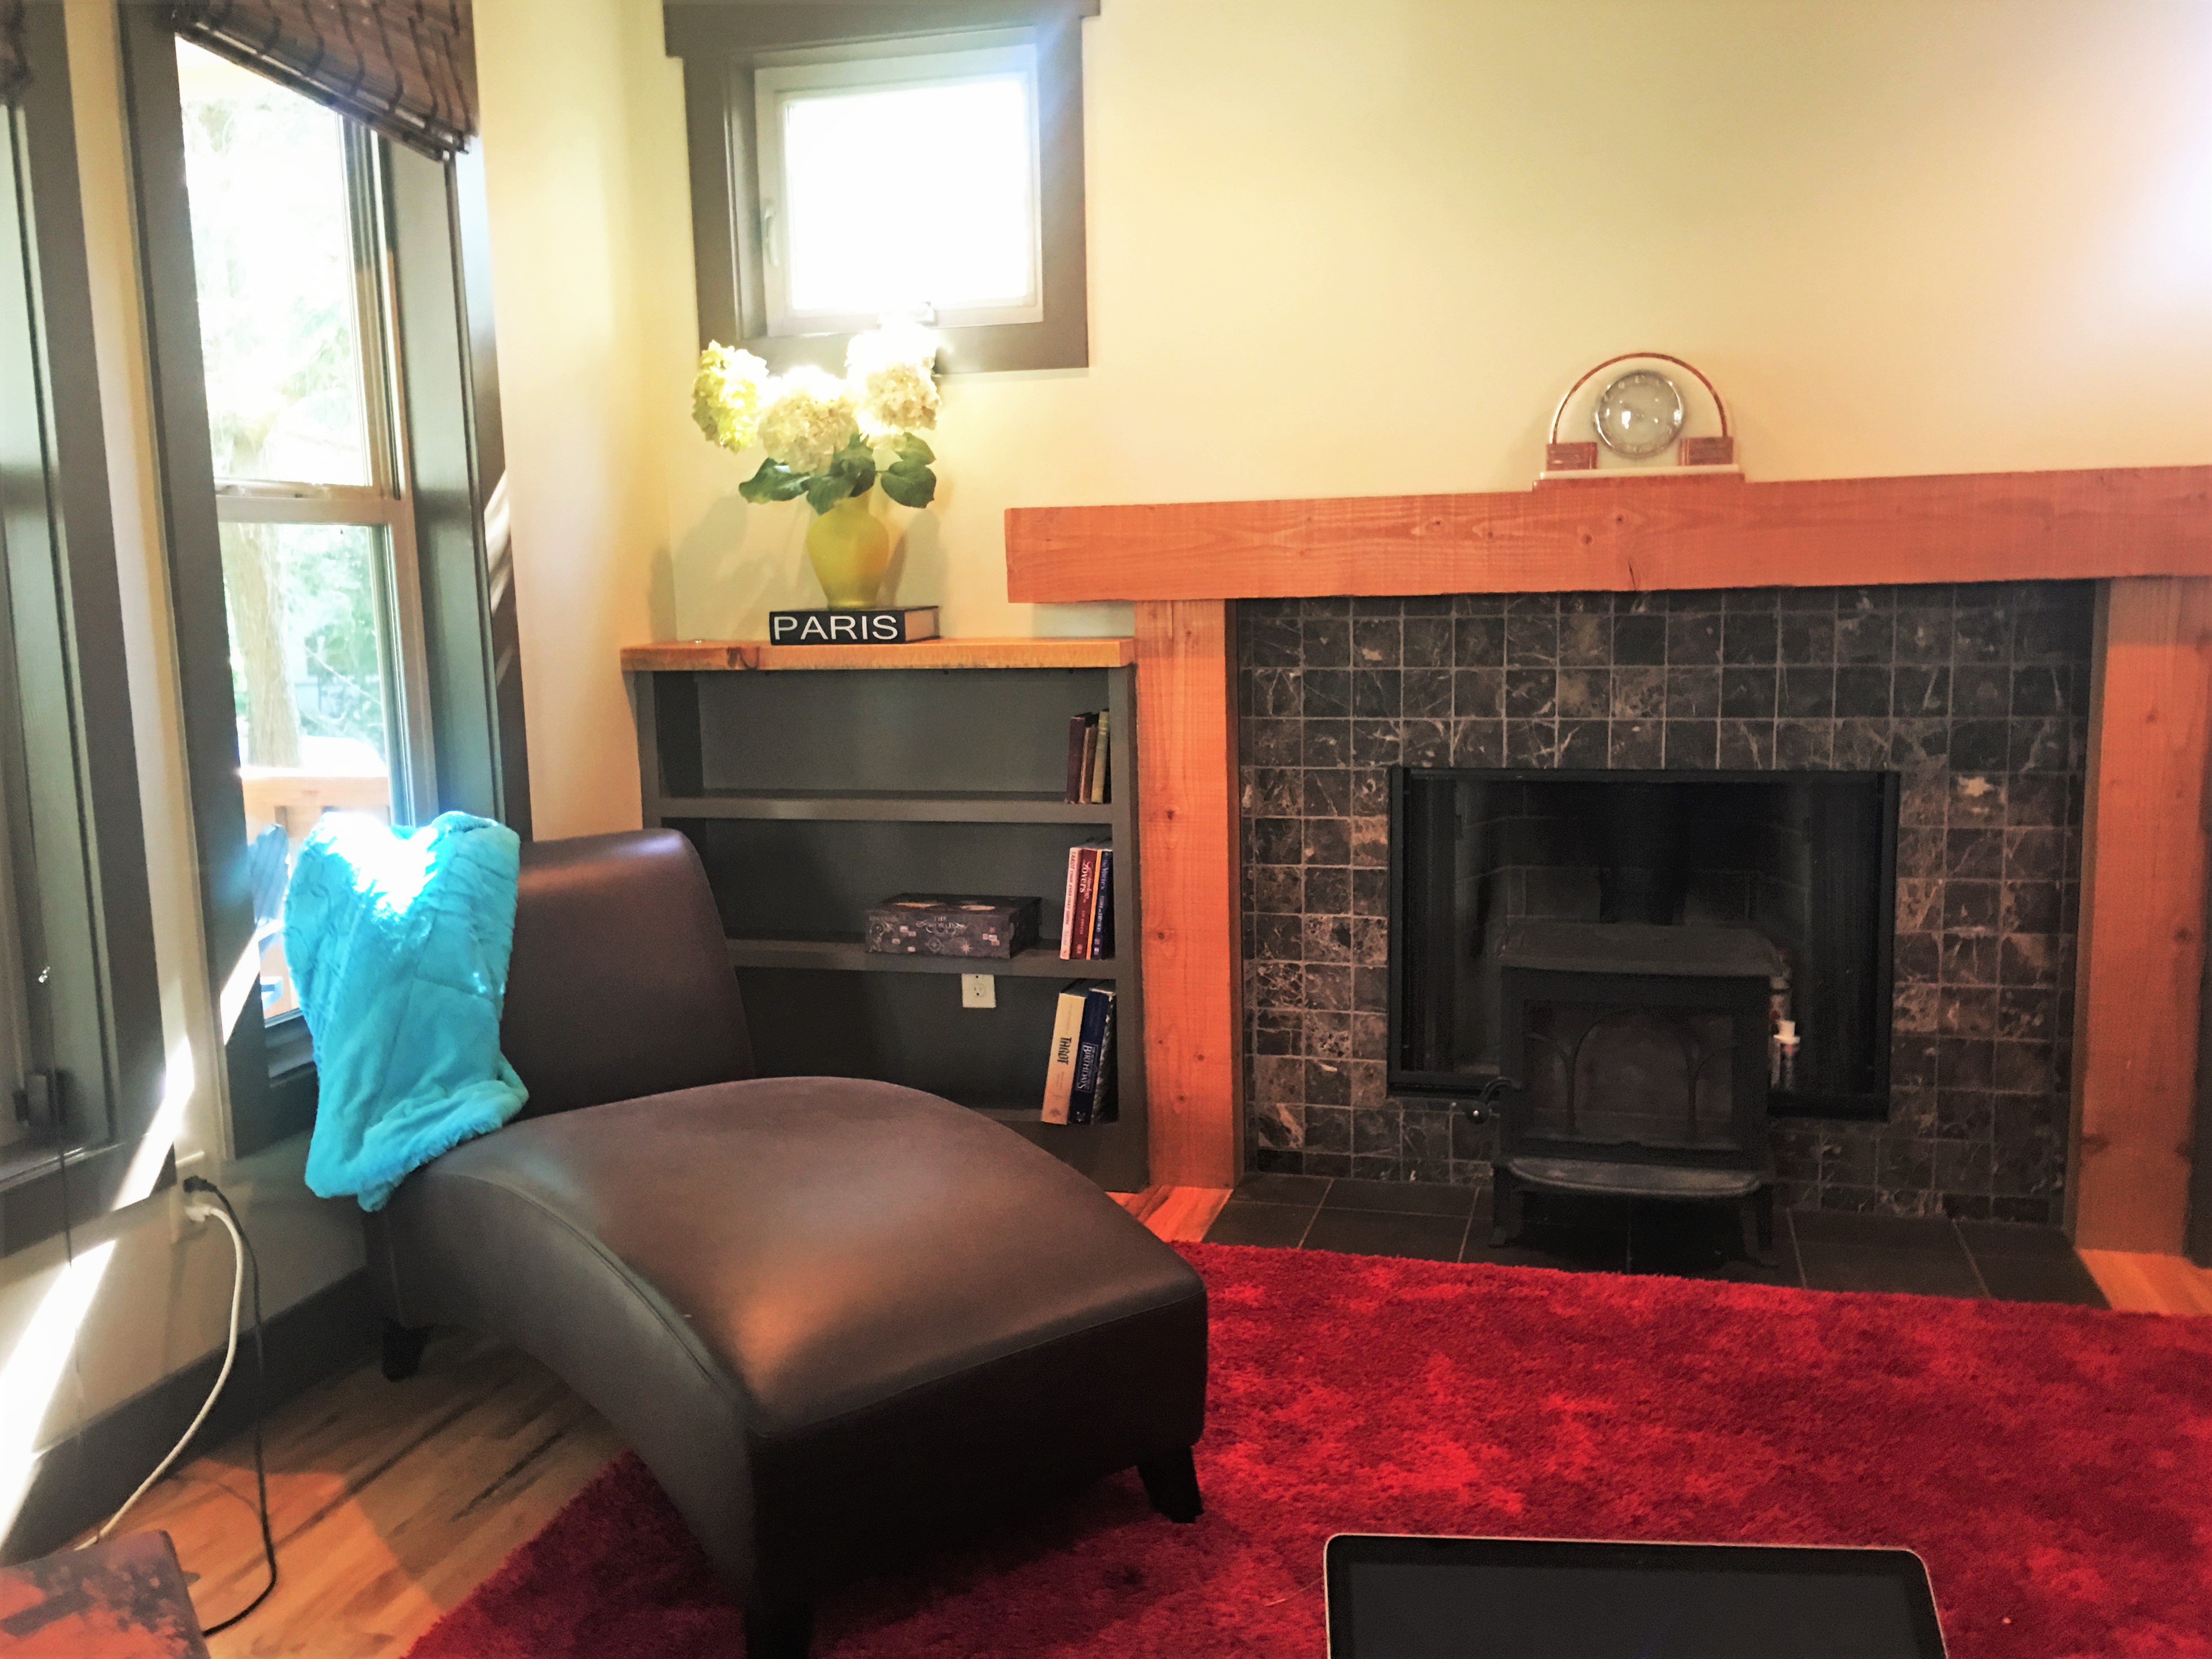 Pay attention to what's in front of your stove. If you have hardwood floors, get a fire resistant hearth rug to protect the floor. An ordinary rug like this one should be moved away from the stove before you light the fire. If you like to leave the stove door open, you may also want to get a fire screen to keep sparks from popping out. Get the Right Accessories
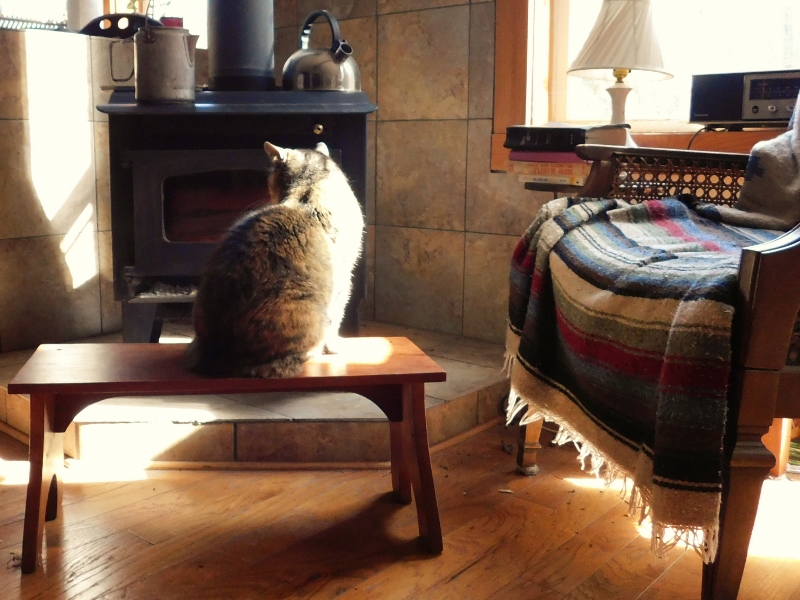 I prefer the dog, but the cat will pose for pictures. Now that you've got your woodstove in order, what other winter projects would you like to get done? I'll be glad to help with your "to do" list.
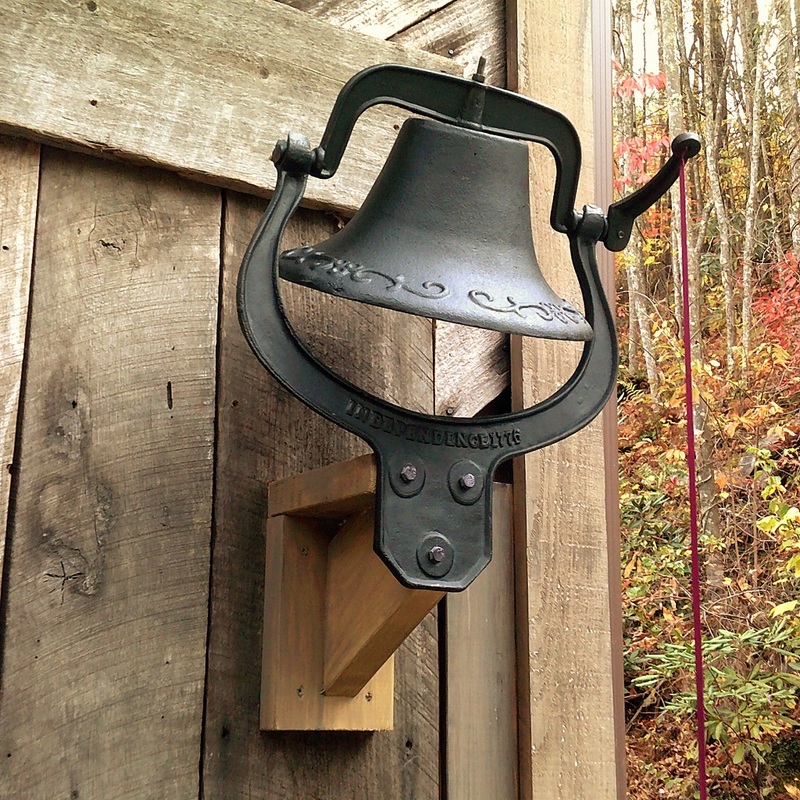
My wife and I recently celebrated our anniversary, and my parents gave us one of the coolest presents I've ever gotten: a "Liberty Bell."
Fortunately this one doesn't have the iconic crack on the original...
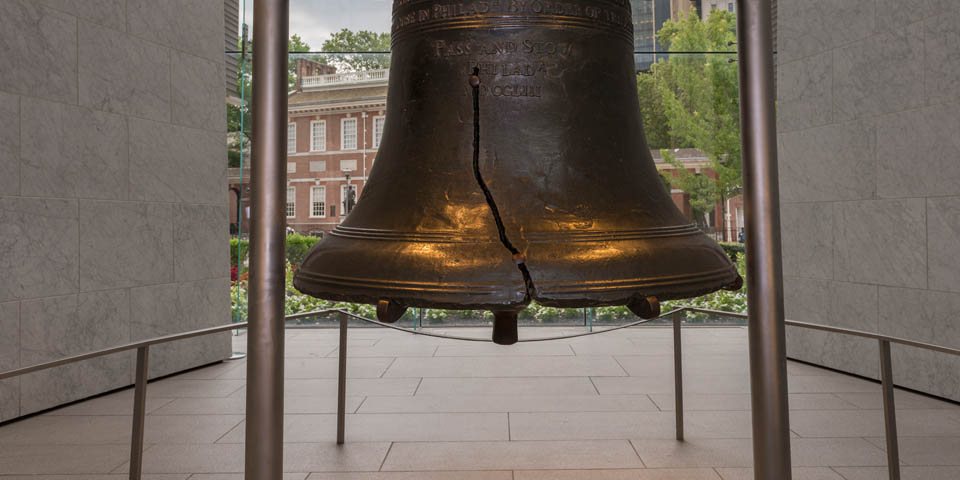
...so it still rings. I'll prove it in a video at the end of this post... but first a little history.
Since it's been awhile since my grade-school history lessons about the bell, I looked the story up online. The original bell hung in the first meeting-place of Congress, which is known as Independence Hall. It was rung to call the delegates to meetings. During the lead-up to the Civil War, it became a symbol for abolitionists who wanted to "Proclaim Liberty Throughout All the Land Unto All the Inhabitants thereof" (which is what's inscribed on the original bell). Since I don't have an Independence Hall of my own, I decided to hang it on the corner of our barn, which is the first thing visitors see when they drive into our property. I pondered all sorts of ways to mount it, but in the end, I decided to put it on a simple bracket. First I built a bracket from three pieces of 2x4, screwed together. Here's a front and side view to give you an idea of how it worked. 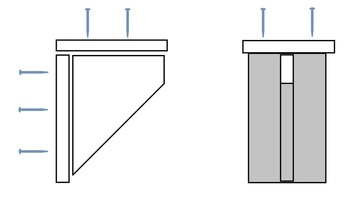
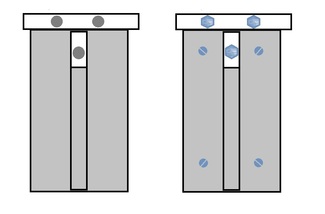
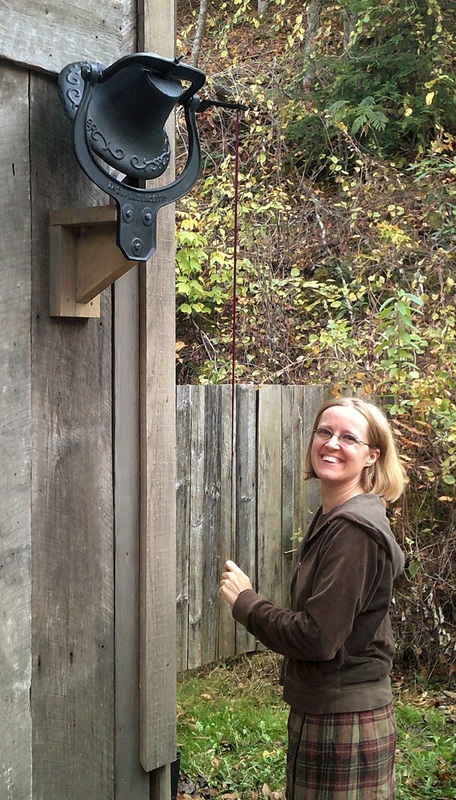
Next I pre-drilled three bolt holes in the front of the bracket to match the location of the pre-cast holes in the bell's mounting assembly. Then I screwed the bracket to the barn wall.
It worked beautifully. Press PLAY to hear the bell ring.
Do you have a special little project like this that could use a handyman's help? I'm always glad to hang a bell, install a light, put up a porch swing, or do the other small jobs that make a "house" into a "home."
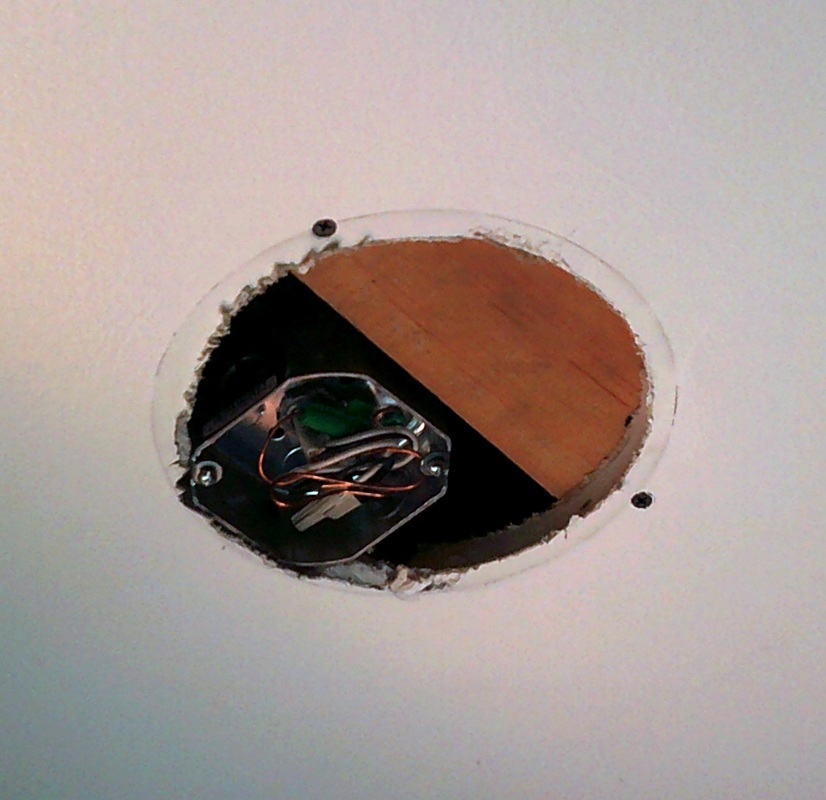
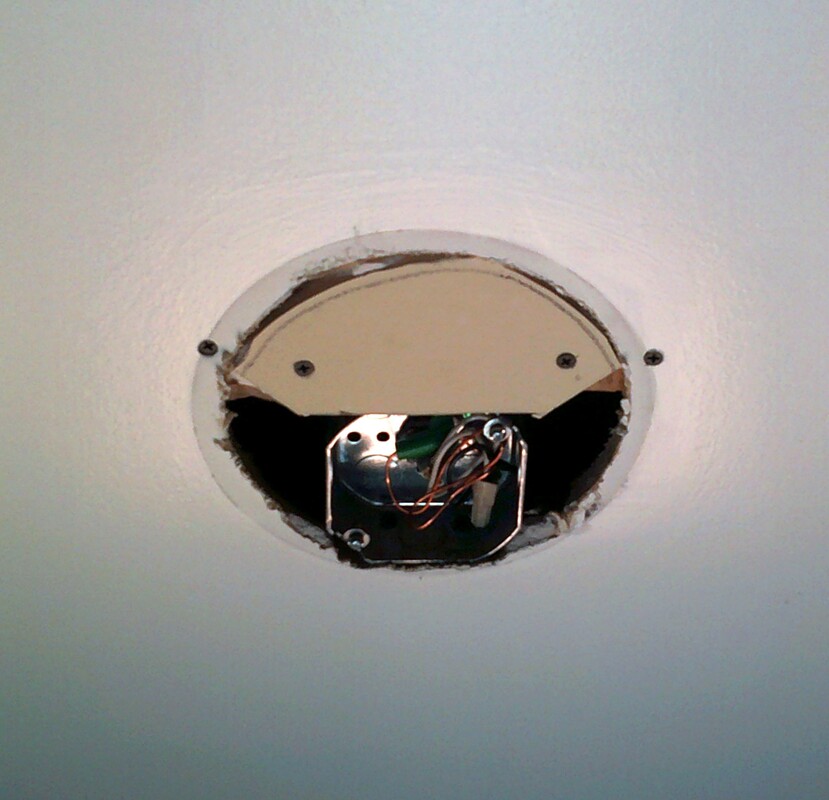
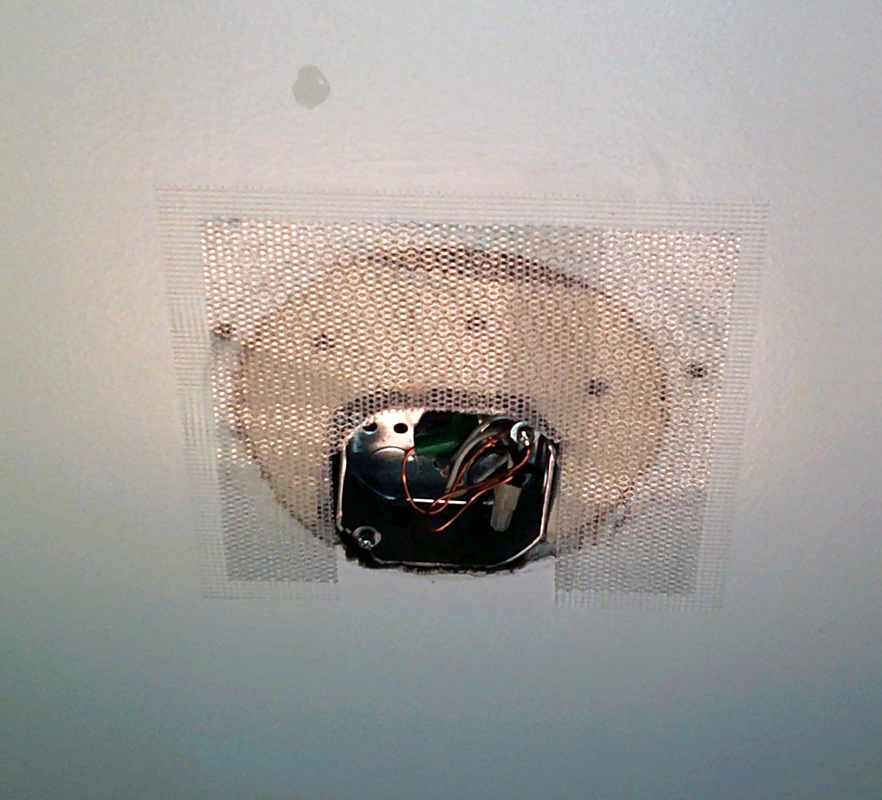
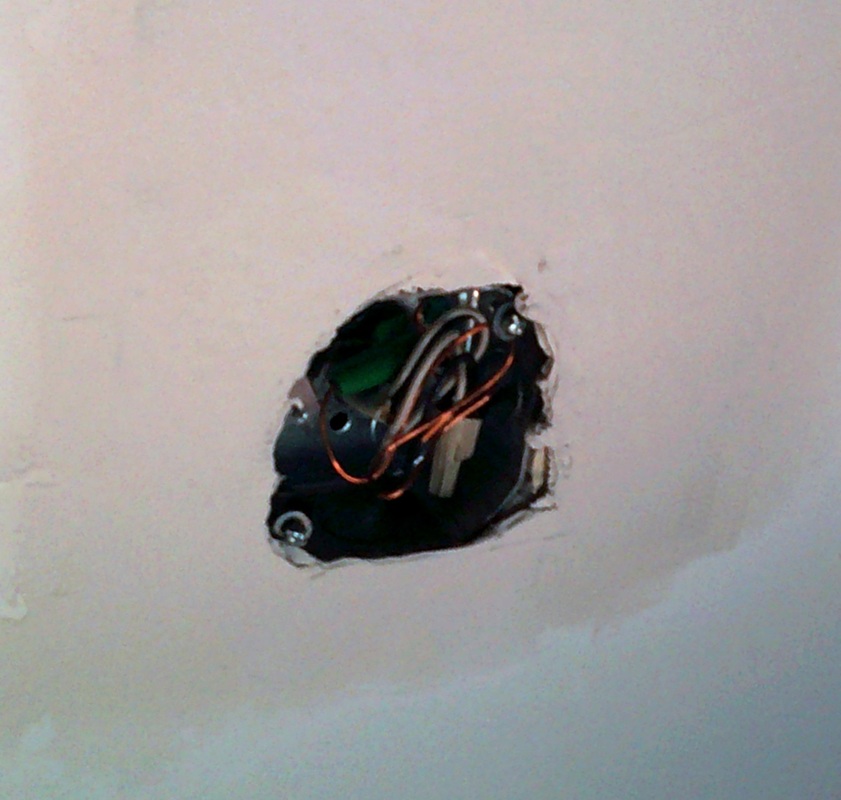
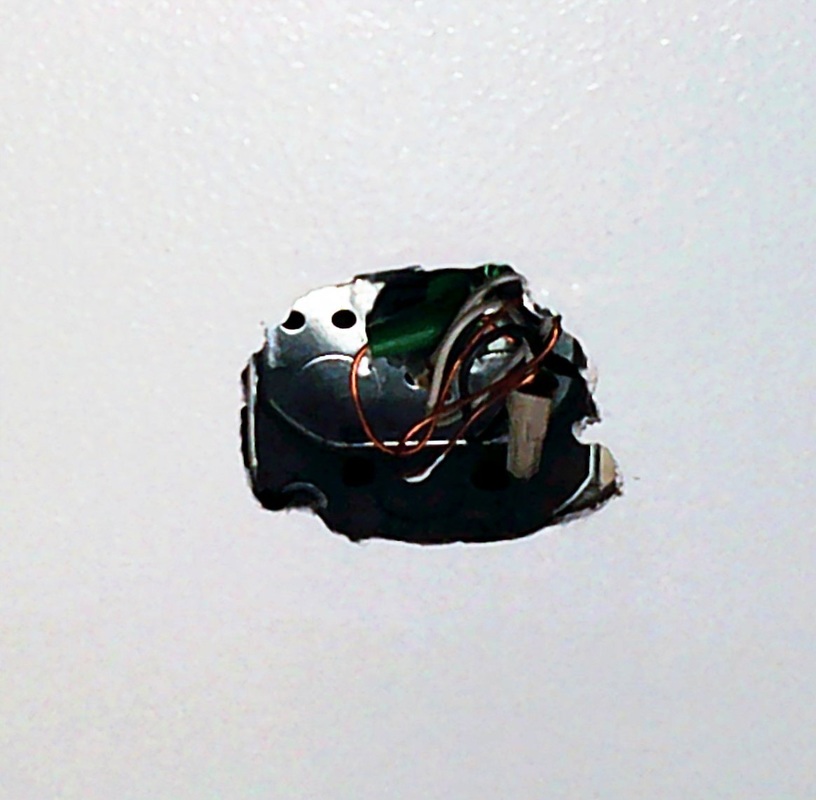
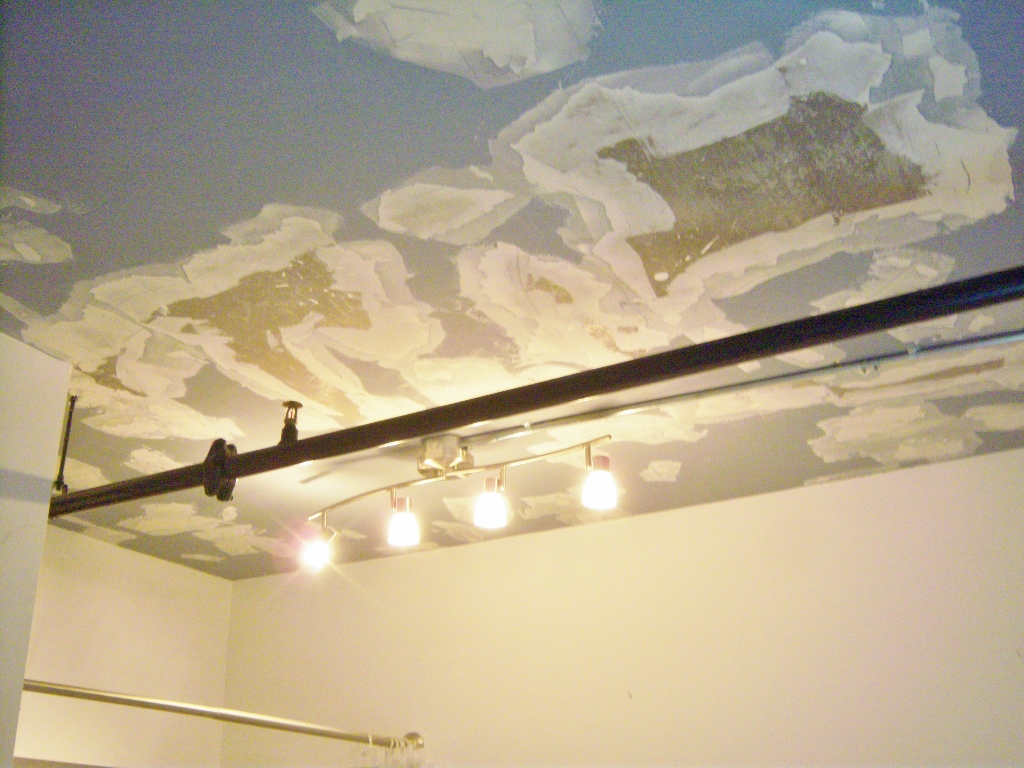
This is one of those posts with a satisfying "1-2-3" demonstration. One of my clients had an electrician replace a recessed "can" light in her ceiling with an outlet box for a track light fixture. Unfortunately the can light left a big hole in her ceiling, so she had me come over and patch it. You can see the steps pretty clearly. First I cut a wooden piece to support the area, which will give that part of the ceiling more stability. Next I added a small patch of Sheetrock, then covered it with a wider patch of reinforced mesh with metal screen. These are ready made patches with a sticky back. According to the manufacturer they don't actually need the wooden support, but I went ahead and added it anyway for extra durability. Last but not least, I added two coats of quick-dry sheet rock mud, lightly sanded, primed and then repainted the ceiling. I could have painted just the area around the hole, but we didn't have the matching paint. Without matching paint , the patch would have been visible. This looks like a quick job, but in reality it took most of a day because of the ceiling repaint. Here's a peek behind the scenes... as you can see, I try to be meticulous about putting drop cloths on everything. Spending a little extra effort here prevents a lot of headaches down the road!
If you need minor wall or ceiling repair on your Asheville or Weaverville home, please get in touch. I'll be glad to help. Keep Reading
|
About

Welcome to my blog! This is a chronicle of the adventures of Arthur Teel, a handyman working in Asheville and Weaverville, NC. Need someone to fix your home?
Connect!
Archives
April 2022
This blog is for entertainment purposes only. See our Terms of Use for details.
|


The current turn-around time for our interior painting team is 2 weeks.
Our handyman team is currently fully scheduled and not taking new projects.
What Our Clients Are Saying
"Arthur is that rare professional handyman who is totally reliable; fairly priced; pro-active in communications; honest; punctual; skilled -- and a really nice guy." "Arthur is a great resource to have here in our area. He's prompt, professional, does great work and is cost effective. I'll definitely use him again!" |
Follow Us:Email US AT:Service Area:
In-town Asheville
Mars Hill and Weaverville Arden and Fletcher Fairview Popular Services |
|