|
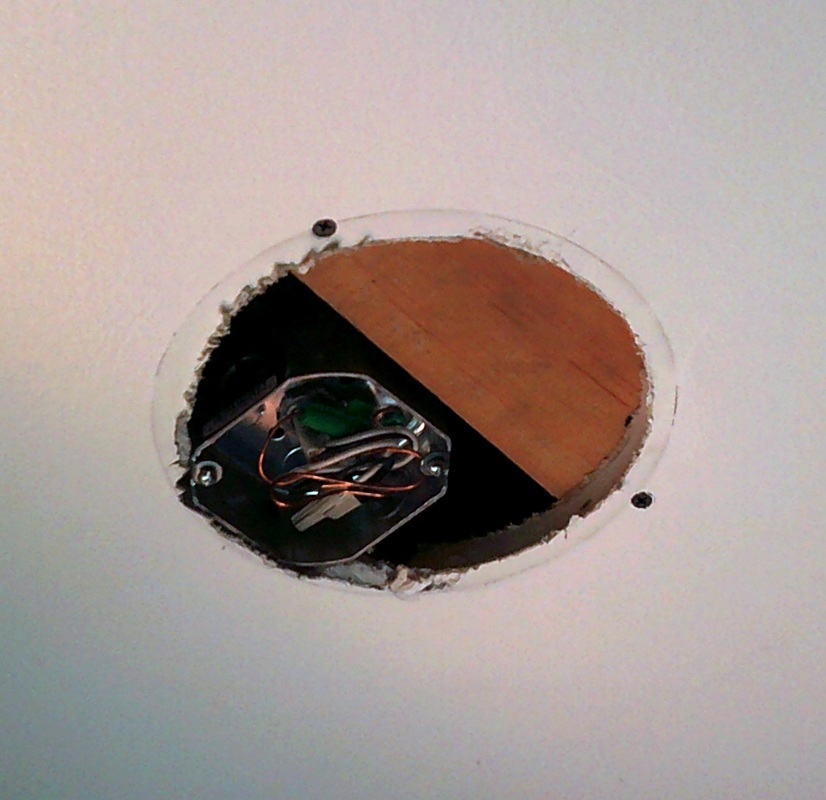
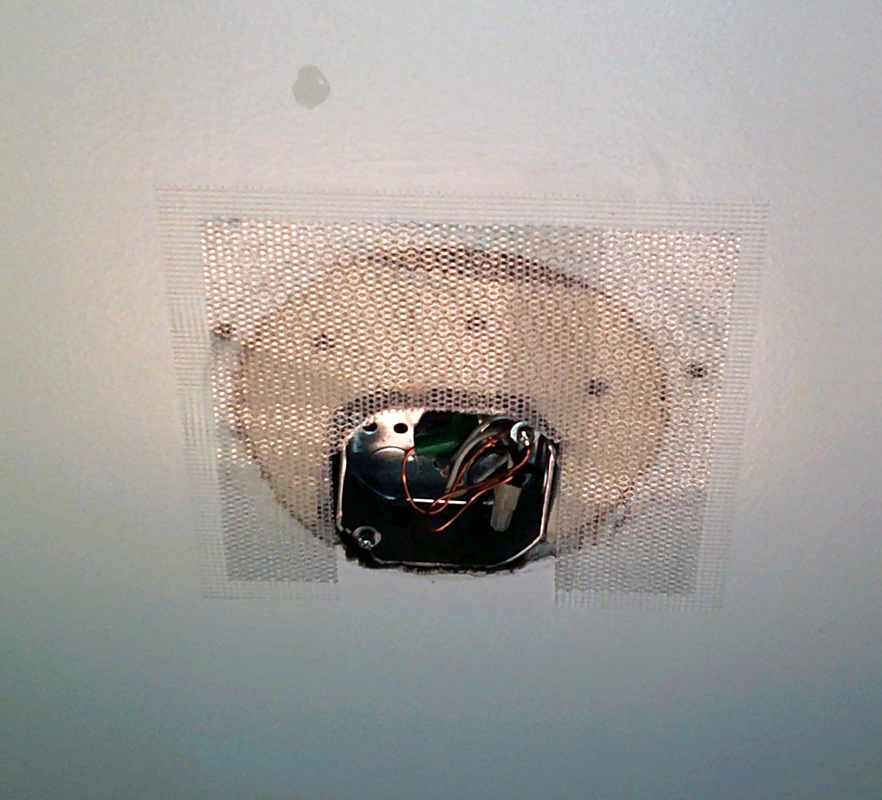
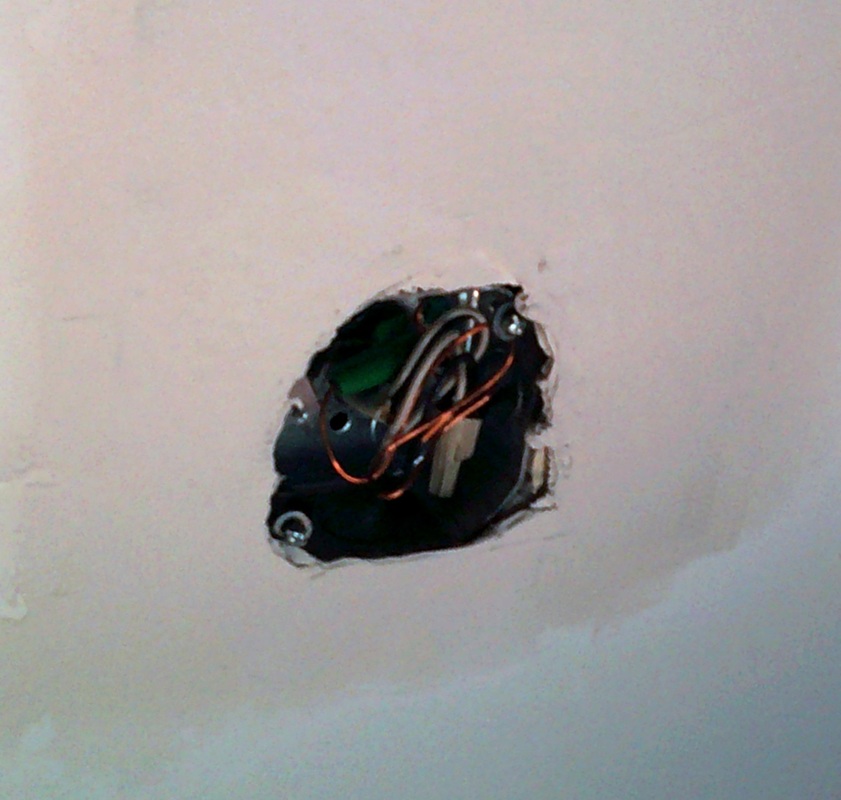
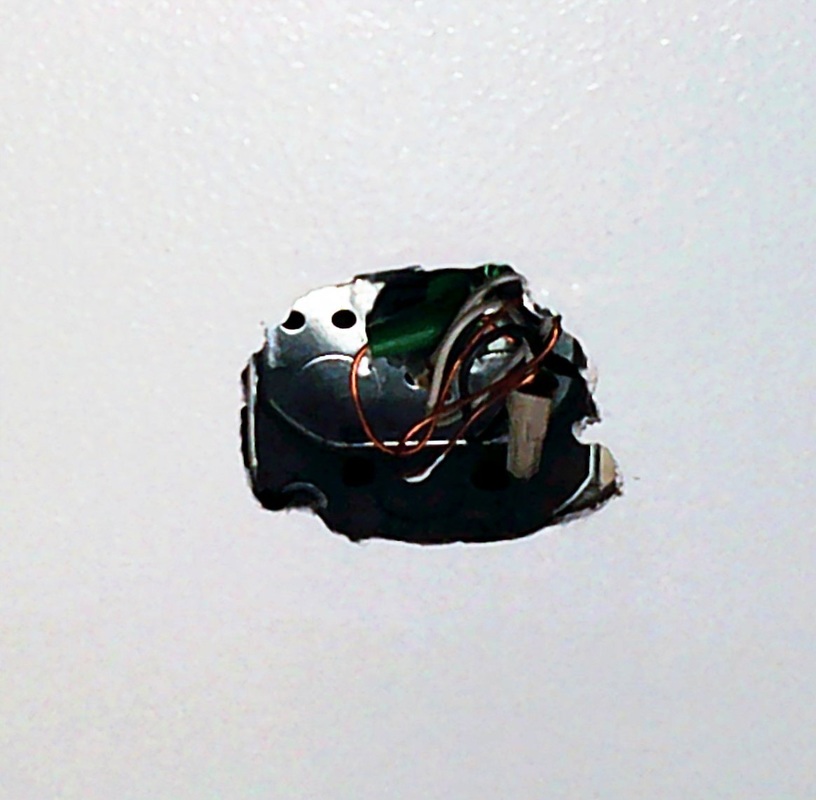
Not long ago I had a customer who wanted to replace a big recessed can light with a more ordinary light fixture. Of course, she had the electrician come out first to remove the existing can light and install a box for the new fixture. But that left a big hole around the new box. 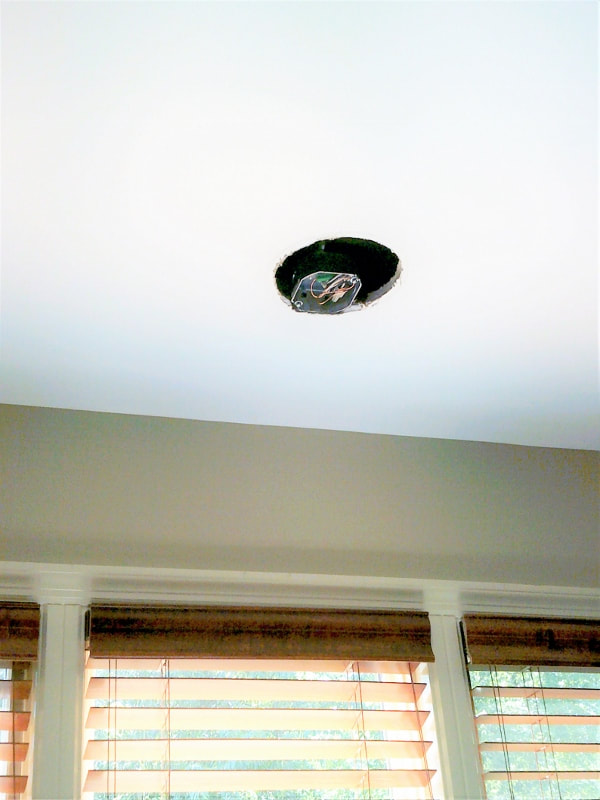 This is one of the more tricky drywall repairs because of course, you can't just fill in this hole with skim coat and be done with it! 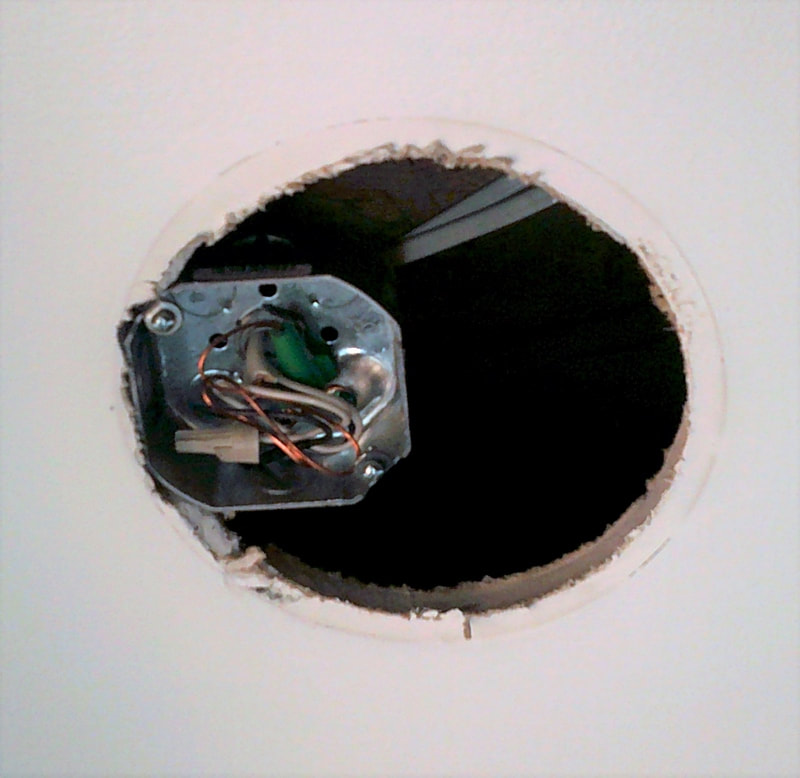 I started by adding a support made of thin wood which I screwed to the existing drywall. 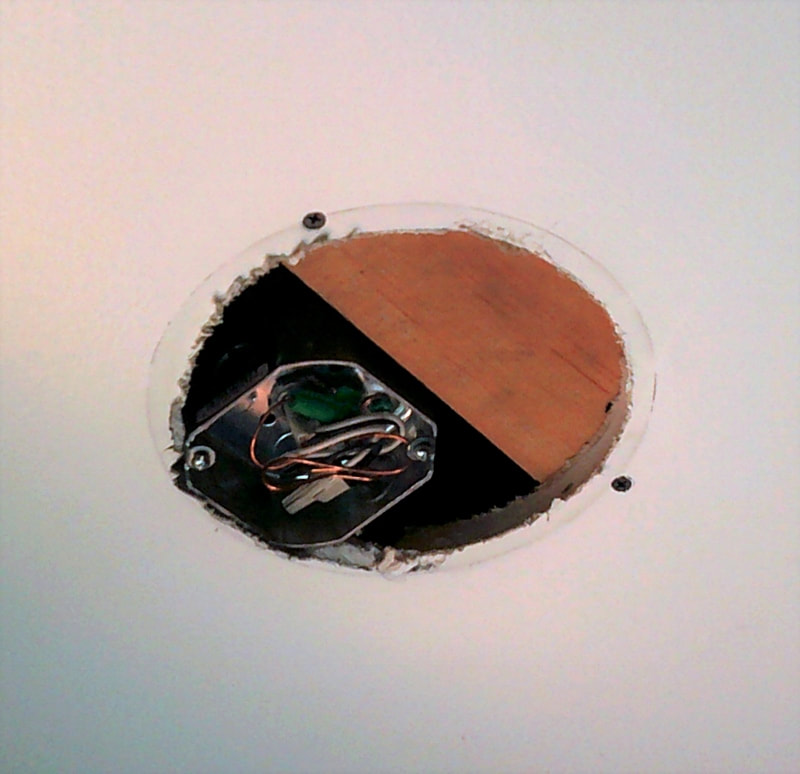 Then I added a custom-cut patch to fill in. My first patch was actually a bit small, and I soon realized I needed something with a little more coverage. 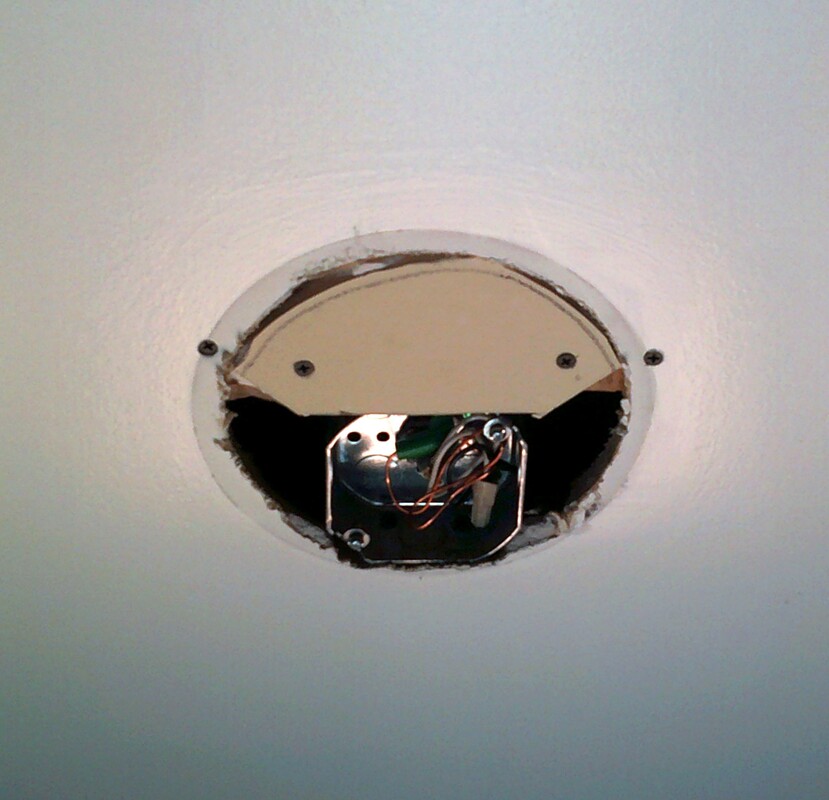 Wasn't there a spaceship in Star Wars shaped like this? 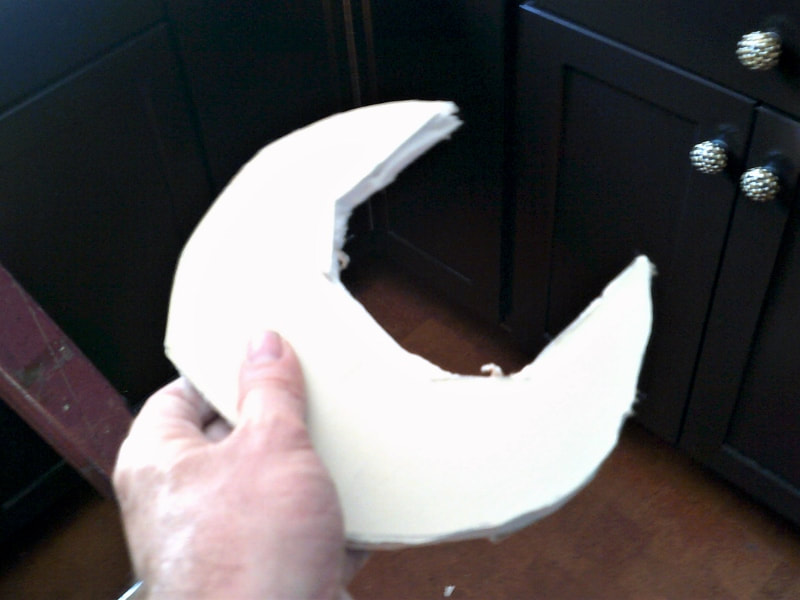 With my new patch installed my next step was to add a piece of screen. This will allow me to make a nice even skim coat, and it will give something for the mud to grab. It's serving the same purpose as the drywall tape you install on joints when you're finishing out a wall. 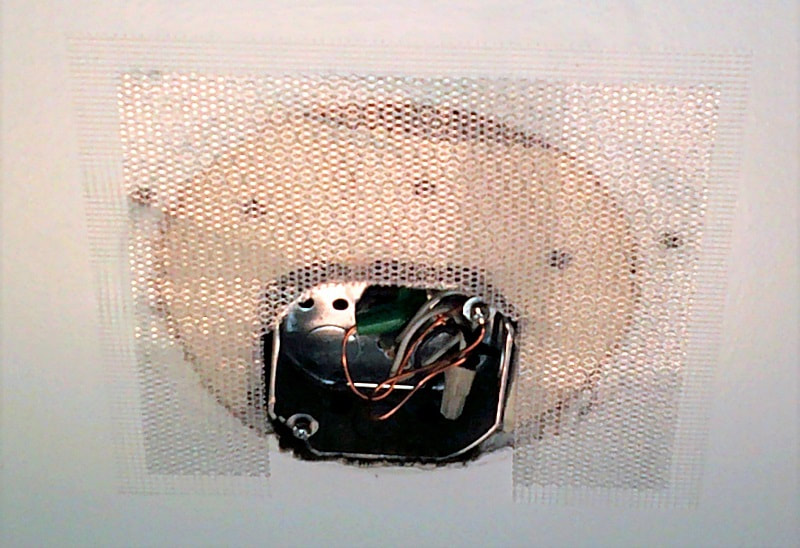 Then it was time for a couple coats of mud. By the way, if you ever do this yourself, don't try to get everything perfect on the first coat. Only the best of the best can do that; I've only met a few people with that level of skill in my life, and even with all my experience, I'm not one of them. The trick is to put down each layer fairly thin, and sand well between coats. 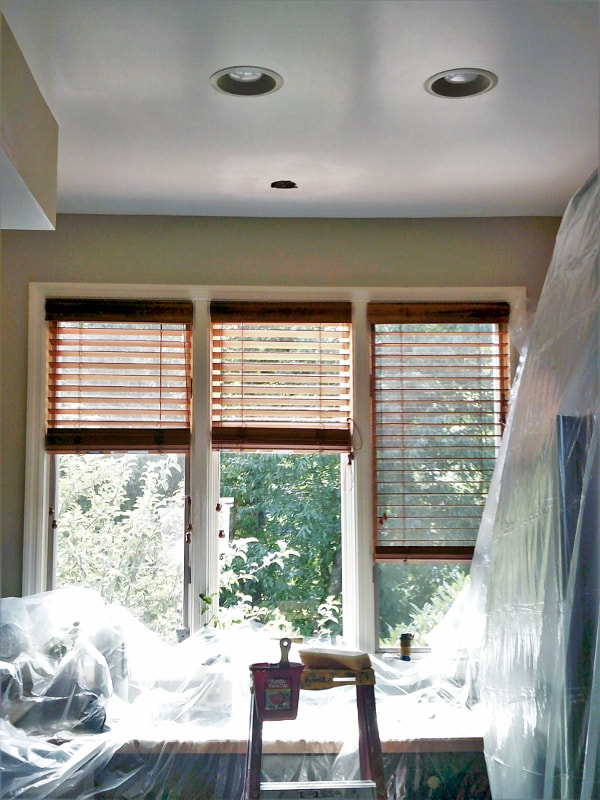 The last step was a little bit of touch-up by our interior painters to get it looking just perfect.
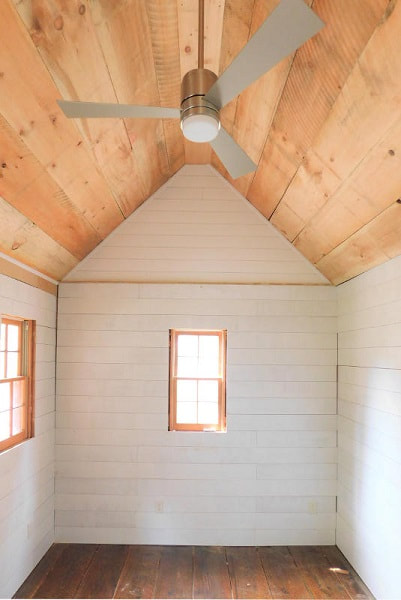
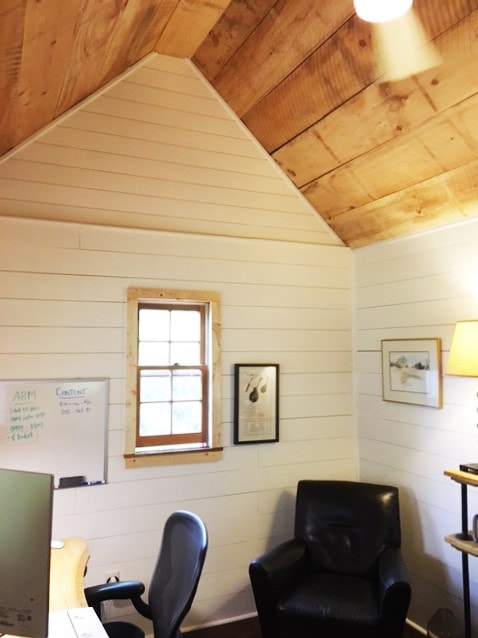
All in all, this is a fairly tricky drywall patch job to get right. This is one of those times you'll want to call in the pros. Luckily, that's what we're here for! Check out this Instagram-worthy office which one of my customers recently set up in his backyard shed. More specifically, look at the rustic ceiling I installed for him!  My client is a pretty handy guy himself, so he was able to install the shiplap walls and the rustic floor boards. However, he knew that putting up ceiling paneling can be a tough job, especially if you want long, wide boards like these. That's when he called me... and since I knew I would need an extra pair of hands to wrangle those boards, I also called in Ricardo Blanco, one of the carpenters in our network of craftsmen.  It's always fun to work with such a talented person. The work goes so much faster. 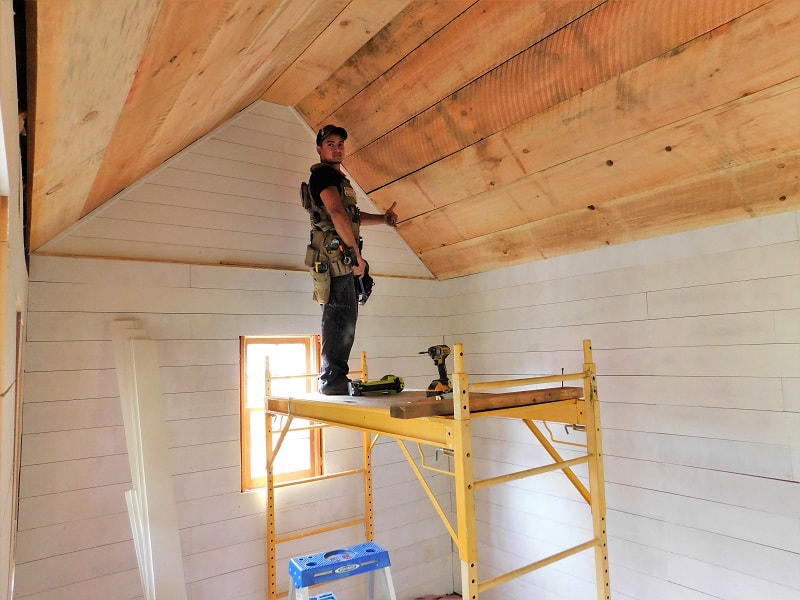 We also installed a modern ceiling fan which plays nicely against the textured wood. The result is a stylish office that might make a person look forward to Monday mornings.
If you've got a project that's a little out of reach, why not call your local Asheville handymen? We'll get it done for you.
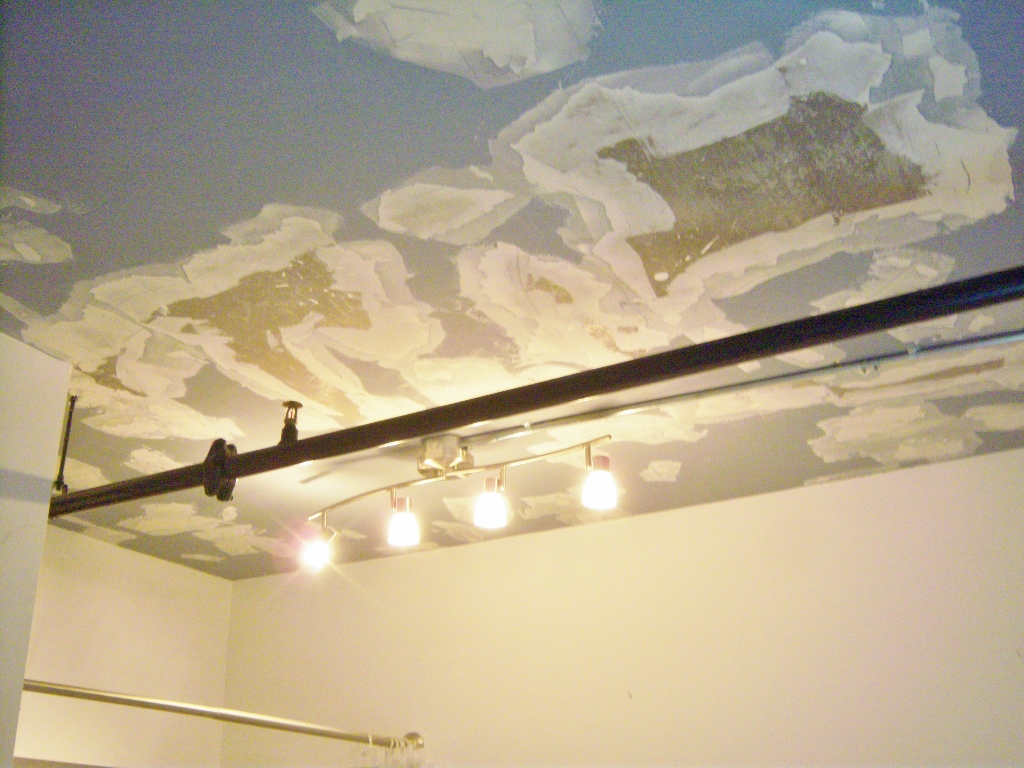
Fluorescent lights: They hum, They flicker. They take forever to warm up. But your light fixture was made for fluorescent bulbs, so you're stuck with them, right? Not anymore! Now with just a little help from a handyman, you can replace your fluorescent light bulbs with LED bulbs... even if you have the long, tube-shaped bulbs. Check it out: 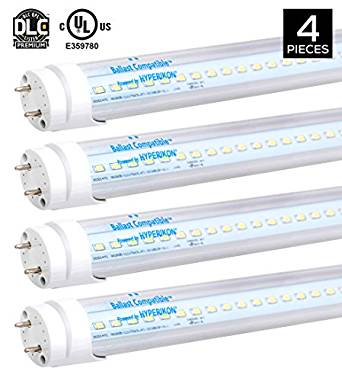 One of my clients has a big skylight in their kitchen which is surrounded by fluorescent fixtures from the 1980s, with the old magnetic light ballasts. They liked the "light boxes," but the bulbs blinked and buzzed and wouldn't come on all the way. They asked me for a softer and more updated source of illumination. Nowadays many people rewire the whole fixture with electronic ballasts that don't blink or buzz, but these days that's not even necessary. These LED light tubes were created to work in the fixture with minimal rewiring. Since I hadn't worked with them before, I called in my associate Glenn Keeney, who has more experience in this realm. 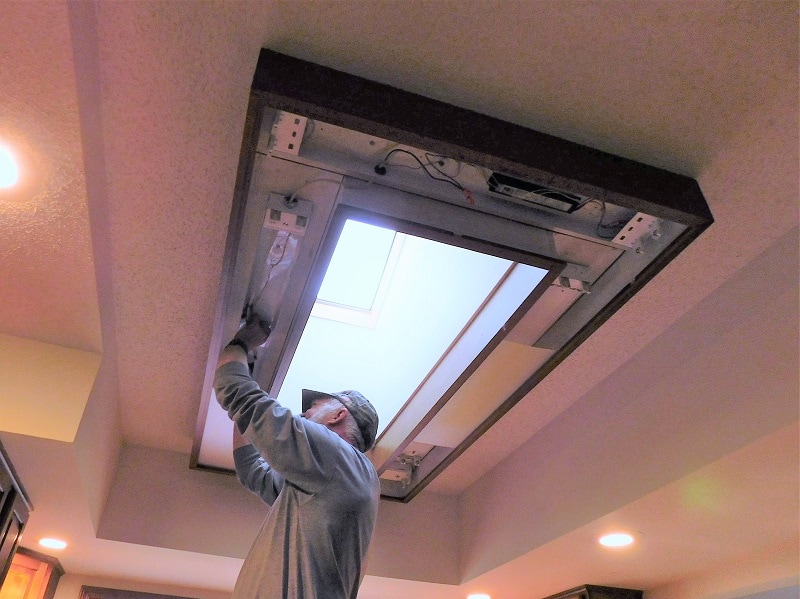 The new bulbs can't be used with the magnetic ballast, so Glenn bypassed it. On newer electronic fixtures, it's not even necessary to bypass the ballast... but we recommend doing it anyway because even the new ballasts are prone to failure. Fun fact from Glenn: If you ever smell a "burning tar" smell or see something dripping from your light fixture, that's a bad ballast! You'll notice it in department stores sometimes. But these lights turned out well. At first glance, they're a lot like the original fluorescents, but the quality and color of the light is better. And they work!  These are super bright! Now that they're LED bulbs, it's possible to put them on a dimmer switch if needed. However, this home already has lots of task lighting on dimmer switches, so we left this one as-is.
If you're ready to get rid of your flickery old fixtures, give us a call. We'll be glad to help. This is one of those posts with a satisfying "1-2-3" demonstration. One of my clients had an electrician replace a recessed "can" light in her ceiling with an outlet box for a track light fixture. Unfortunately the can light left a big hole in her ceiling, so she had me come over and patch it. You can see the steps pretty clearly. First I cut a wooden piece to support the area, which will give that part of the ceiling more stability. Next I added a small patch of Sheetrock, then covered it with a wider patch of reinforced mesh with metal screen. These are ready made patches with a sticky back. According to the manufacturer they don't actually need the wooden support, but I went ahead and added it anyway for extra durability. Last but not least, I added two coats of quick-dry sheet rock mud, lightly sanded, primed and then repainted the ceiling. I could have painted just the area around the hole, but we didn't have the matching paint. Without matching paint , the patch would have been visible. This looks like a quick job, but in reality it took most of a day because of the ceiling repaint. Here's a peek behind the scenes... as you can see, I try to be meticulous about putting drop cloths on everything. Spending a little extra effort here prevents a lot of headaches down the road!
If you need minor wall or ceiling repair on your Asheville or Weaverville home, please get in touch. I'll be glad to help. Keep Reading
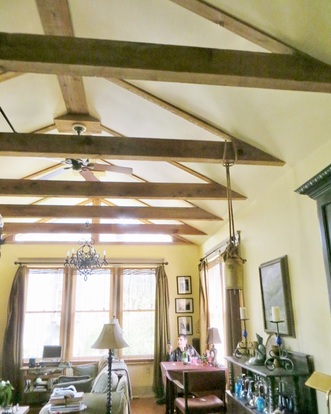
I was sorting through my picture file recently and came across a few photos of a project I did several years ago. I thought it might make a good show-and-tell, since rustic beams are very popular right now.
This was a large room addition with a kitchen and living room, plus a whole-house remodel of the rest of the structure. It's a much bigger project than I take on these days, simply because I enjoy the smaller repairs more. Take note of the beams. The cross-beams are real, very heavy, 4"x8" cedar beams. On the other hand, the gable "rafters" you see aren't really structural pieces. They are simple 1"x4" cedar boards which are screwed over the Sheetrock ceiling and into the real rafters. This is a neat way to have the character of "exposed beams" while keeping the lower cost of standard framing. As a builder, my favorite part was that the false rafters went right over the Sheetrock joints, so I didn't have to tape, mud or sand the ceiling. The homeowner even saved money on labor. I do think that the real wood is superior to the faux stuff made out of Styrofoam. Real wood has a texture and visual depth to the surface that synthetic materials just can't match. 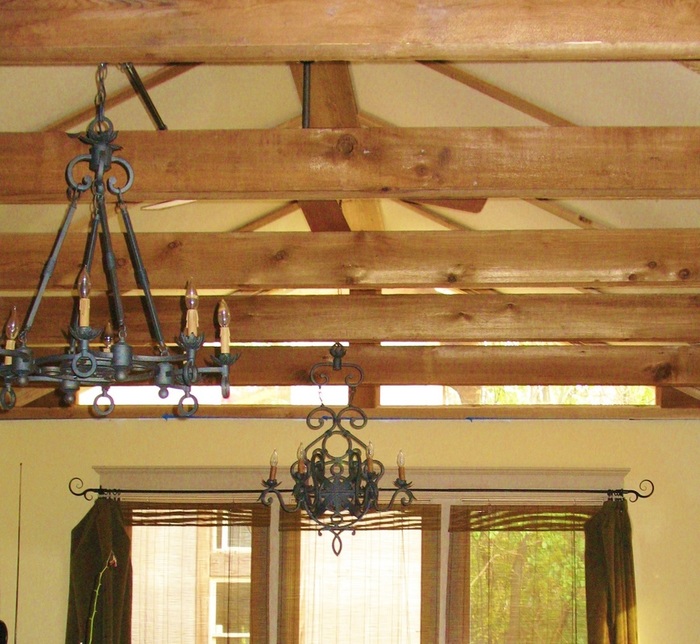 The golden color of the walls really goes well with the cedar beams. The homeowner picked out some really cool details to play up the beams, including two wrought-iron chandeliers which draw the eye up so that you admire the ceiling. There's also a ceiling fan in the top (which you can't see at this angle) to help moderate the room temperature. The dark kitchen cabinets set off the room with a medieval look, and the collection of globes on top of the cabinets also draws the eye upward. This was such a big job that the property was practically my second home for six months. It makes me a little nostalgic for my days as a builder. Then again, I still get to do a lot of
|
About

Welcome to my blog! This is a chronicle of the adventures of Arthur Teel, a handyman working in Asheville and Weaverville, NC. Need someone to fix your home?
Connect!
Archives
April 2022
This blog is for entertainment purposes only. See our Terms of Use for details.
|


The current turn-around time for our interior painting team is 2 weeks.
Our handyman team is currently fully scheduled and not taking new projects.
What Our Clients Are Saying
"Arthur is that rare professional handyman who is totally reliable; fairly priced; pro-active in communications; honest; punctual; skilled -- and a really nice guy." "Arthur is a great resource to have here in our area. He's prompt, professional, does great work and is cost effective. I'll definitely use him again!" |
Follow Us:Email US AT:Service Area:
In-town Asheville
Mars Hill and Weaverville Arden and Fletcher Fairview Popular Services |

|