 "Joseph the Carpenter" by Georges de La Tour, oil on canvas, 1642. Every day we are grateful for our wonderful customers and readers.
We hope you're having a safe and cozy holiday season, and we wish you a happy and wholesome New Year.
0 Comments
As always, the first thing I asked to see was his portfolio of work, and I was truly impressed. Check out this before-and-after of a big farmhouse kitchen renovation he recently did. The before was "okay" but really dated... 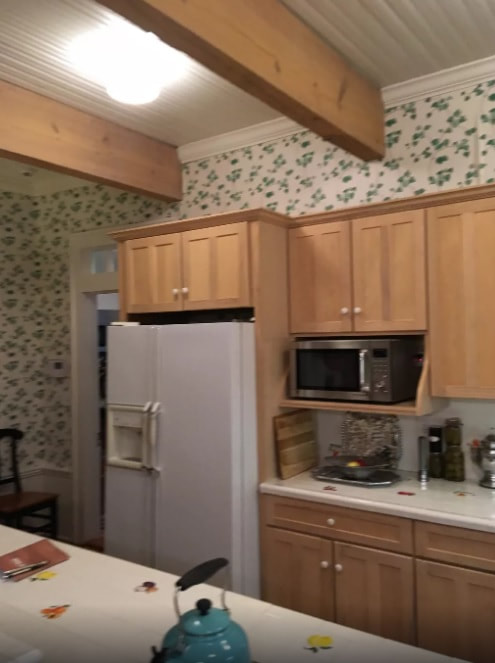 But the "after" was incredible! There were too many good pictures to choose from, so here are several. We'll start with a wide-angle view: 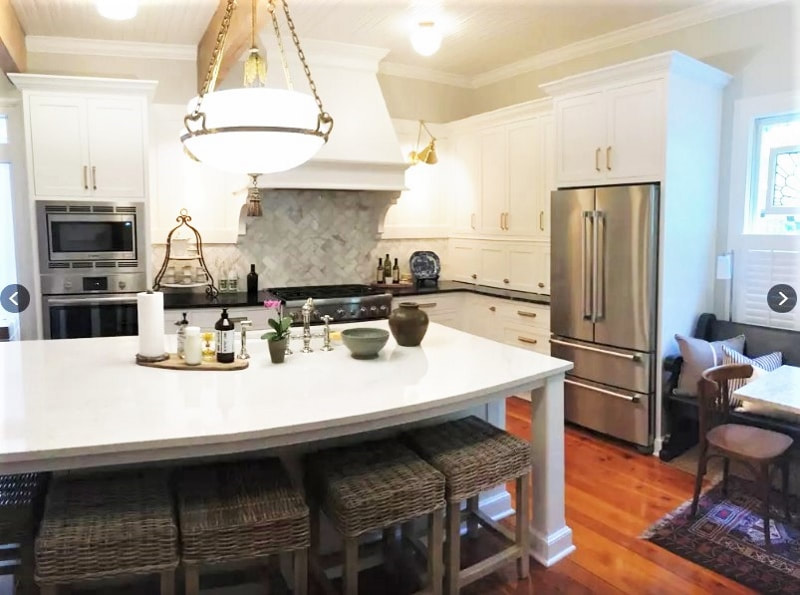 As you can see, lots of things were relocated, including the fridge. 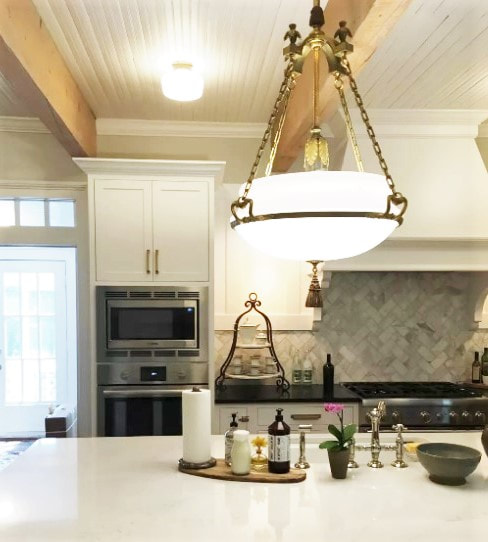 Check out the meticulous trim work on the cabinets and range hood.  And the dated old wallpaper has disappeared - either removed or well painted over. He also does decks, like this mahogany beauty with all of the fasteners hidden: 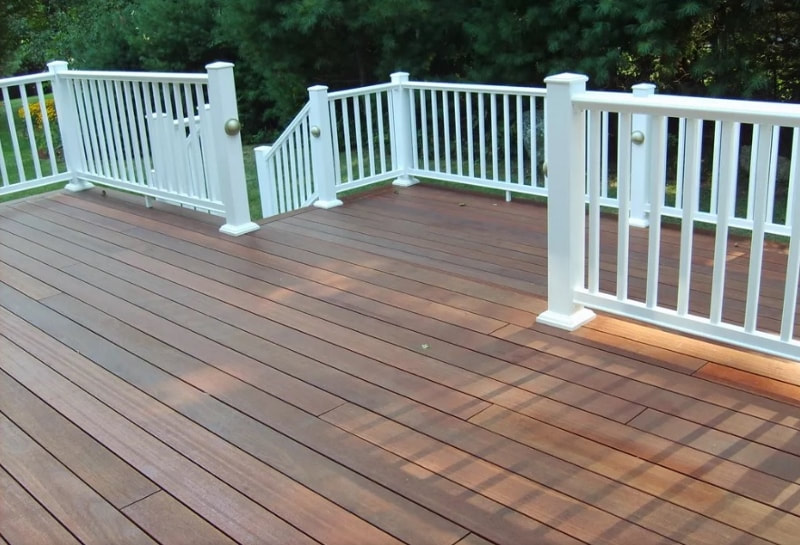 And dig the trim work on this staircase! Really nice. He has an aesthetic sense for good proportions which makes the difference between "so-so" and "outstanding" trim carpentry. 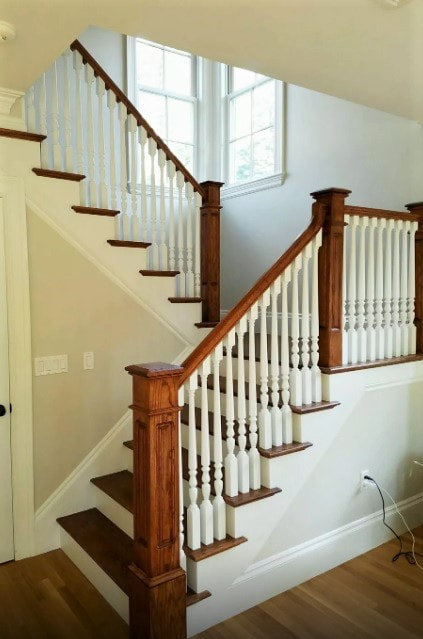 Of course, we did our due diligence as we always do before we add someone to our network. His references from former clients were glowing. In particular, they mentioned his great communication skills, and the way he always left the job site clean after each day of work. (That's really important in a kitchen reno!)
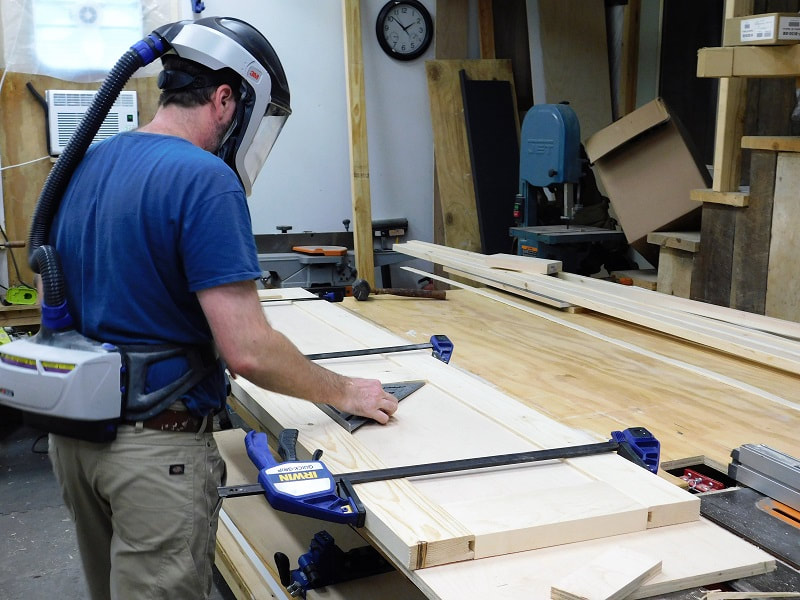
Sam rounds out our amazing team of local Asheville trim carpenters, and I think his kitchen remodel is one of the most meticulous I've seen around here. I'm really proud to be working with such a great network of people. So if you've got a deck or kitchen project that needs a thorough and experienced craftsman, please get in touch with us. We'll put you in touch with the right person for the job. I just got a new toy to tinker with at home (because even on my days off I'm not content to sit around and do nothing... I need a project to mess around with). Stick with me, there are money-saving and life-saving lessons in this.  My new hobby is a vintage Mark Twain speedboat from 1977, and it needs a little work. 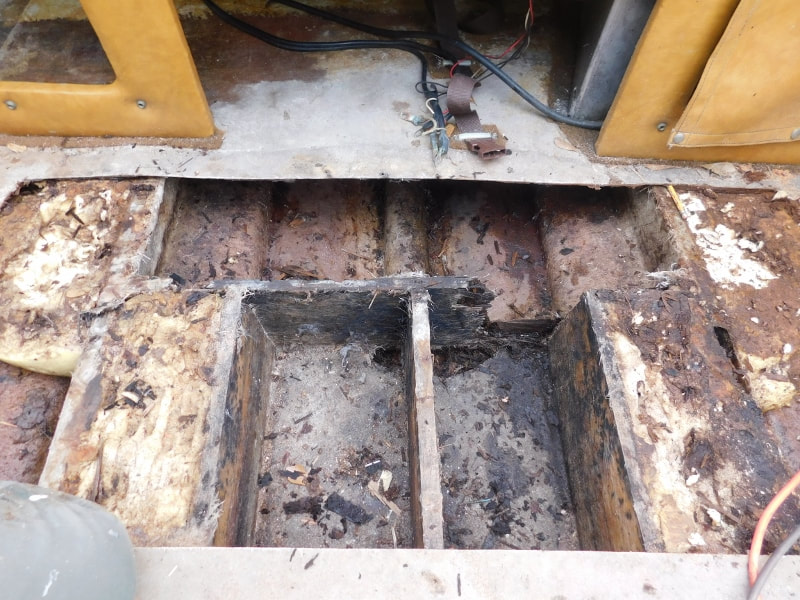 That is to say, all of the interior wood is rotten. I need to strip it all the way down to the hull and totally rebuild it. At first I was let down. This is a huge repair and I definitely won't have the boat on the water this summer. Just call me Captain Drydock. But once I got used to the idea, I got excited and started researching the right way to fix it. Now whenever I'm working on my custom cabinets and need to stop for a minute while the paint dries or the glue sets up, I'll hop in the boat and rip out the floor for half an hour. 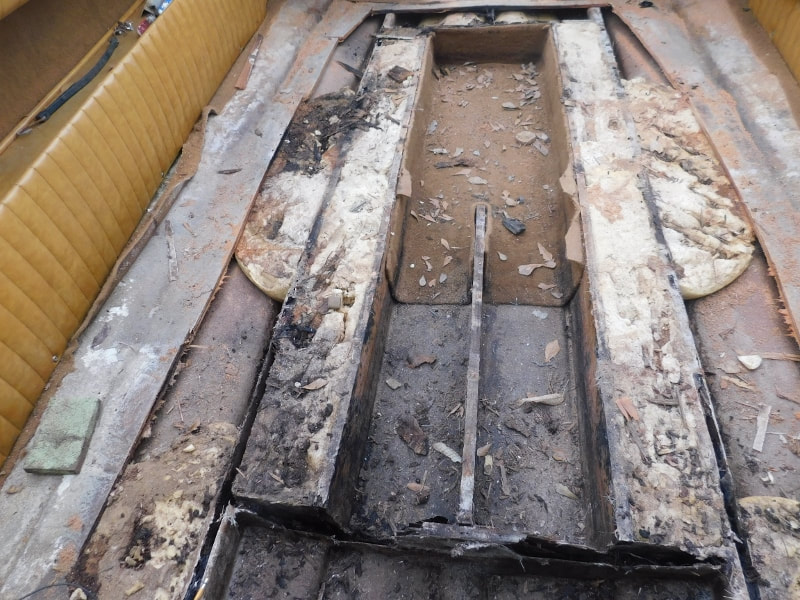 Since boating is a new world for me, I've been studying boating forums and Youtube channels to see how this kind of project is done. A lot of the guys doing the demonstration are hobbyists as well, and outside of boat remodeling, many of them don't have a lot of experience doing handyman or carpentry work. And there's a big mistake I've noticed amateurs making again and again when they DIY their boat repair: They use cheap materials. Think about it: you're about to spend the only resource you can't recover or get back... a resource that in some ways is even more precious than your money... your time. 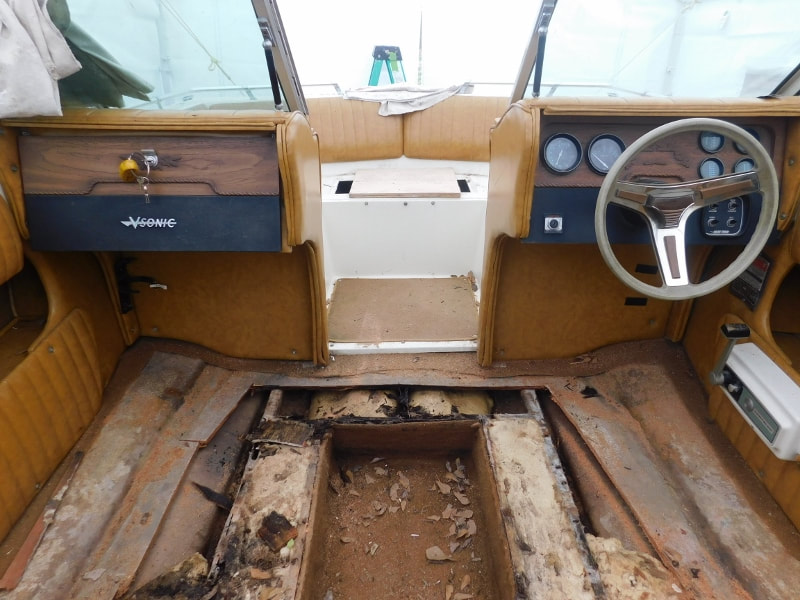 In the case of a total boat repair like this, you'd be spending about 300 hours of your life. Yet instead of choosing marine-grade materials that will last for a long time, some of these guys are using the cheapest plywood available and just trusting in their fiberglass coating to do the work. Since it's hard to add a perfect waterproof coating, changes are that the plywood is going to rot in ten years and all of that time will be wasted. And the money they spent on the cheap materials will be wasted, too. 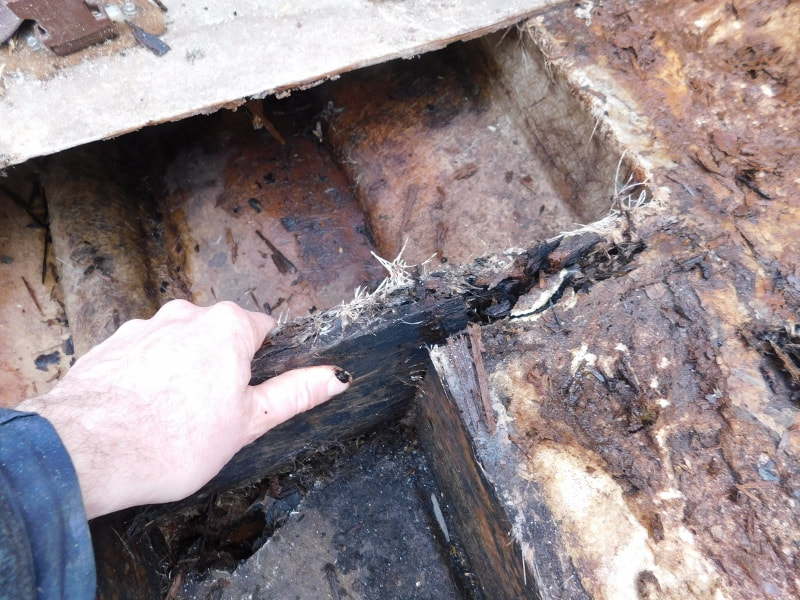 This is their plywood in ten years. And here's another mistake to avoid making... and this is one that even the pros make all the time... and it drives me crazy because it's really dangerous... They don't wear proper masks or safety gear. Heck, some of them don't even use ventilation! 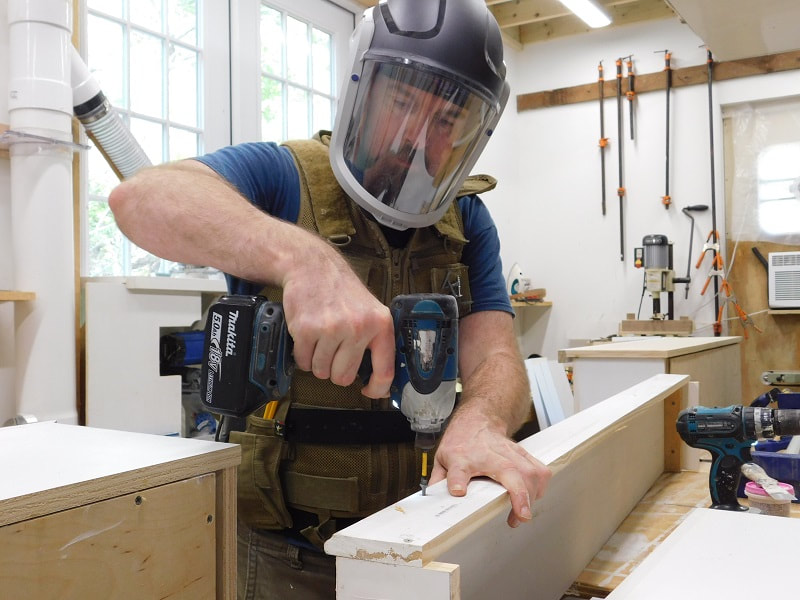 Your health is just as precious as your time. And wood dust causes cancer. When you breathe wood dust, you're basically breathing in silica (the stuff they make glass out of) and the worst part is, the most dangerous dust is the finest dust. It hangs in the air longer, you can't see it, and most masks don't filter it out. If you are going to DIY a project, always buy the best mask you can afford and work with the best available ventilation. That's why even though I have a professional workshop with the best ventilation I can buy...  ...I still leave the windows and doors open in good weather, and I wear my powered-air dust filter. Is it overkill? I have good reason to believe that it is not. I'm fortunate (if that's the word) to have an allergy to wood dust because I spent so many years breathing it in. If I expose myself to a dangerous cancer-causing level of dust, my body reacts as if I've just inhaled a handful of pollen. And if I don't wear my powered air mask and use good ventilation for even a few minutes of light sanding, I get that allergy. If you're not "lucky" enough to have a wood dust allergy, you can easily expose yourself to a dangerous level of carcinogens without ever knowing it. Don't believe me? Ask the American National Cancer Institute and the Canadian Center for Occupational Health and Safety. Those are just the first two that came up on my Google search. The evidence is there. And speaking of carcinogens, I have an outdoor work table which I like to use when painting, because even with low-VOC paint there can still be dangerous fumes, and I don't trust my spray booth to clear the air as well as a strong breeze. 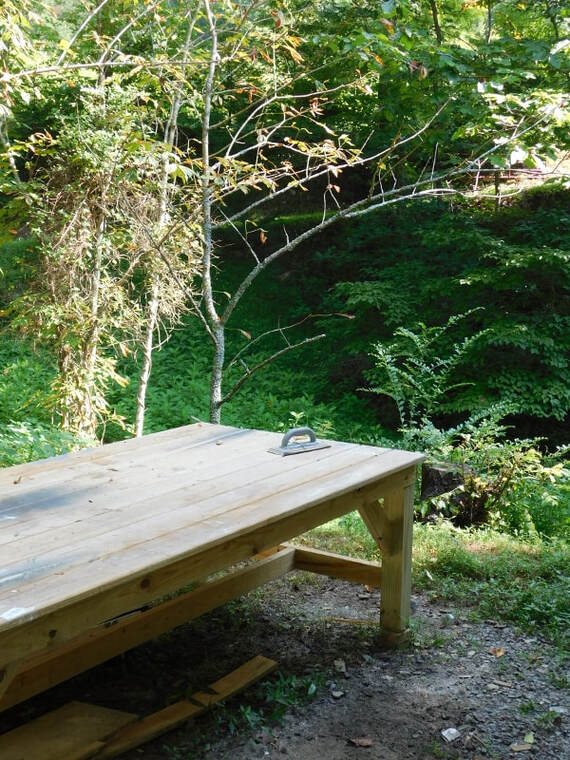 I'm not saying you shouldn't DIY your household projects. But don't save money at the expense of the more important things in life... the things you can't get back once they're gone... your time, and the health of you and your loved ones. 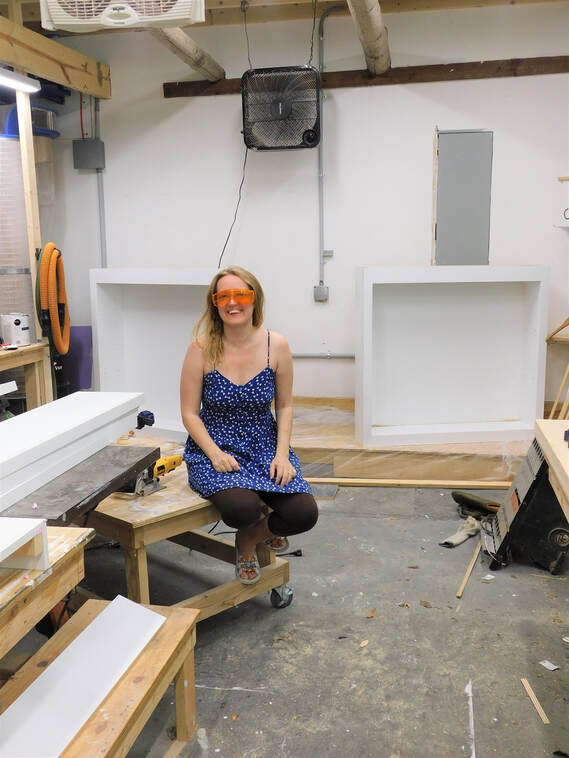 I filter the air so Faith can visit the shop safely. OK, I'll climb down off my soapbox now.
If you have a project that you'd like to DIY, but don't have the time, know-how or safety equipment, give us a call. We'll take care of it for you.
It's peak season for handyman work, and I'm keeping busy...
...making a pair of custom sliding barn doors among other things.
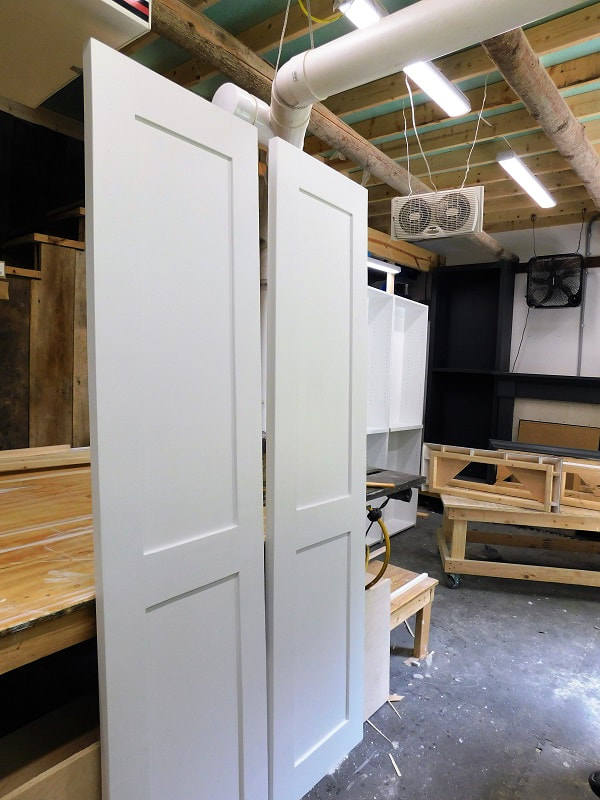
More pics of that to follow!
Meanwhile we still have a bit of fun in the summer, and last weekend I got a chance to indulge another favorite pastime: music. Since this tune is about Asheville, I thought I'd share it here.
I wrote this one when I moved here... could it be 20 years ago already?
Which is how I've gotten to know so many of the best local handymen. Give us a call when you're ready to get your projects done. August in Asheville is in full swing, and I think it must be ten years since I"ve seen such a cool and pleasant mountain summer. Perfect weather for getting out the motorcycle. 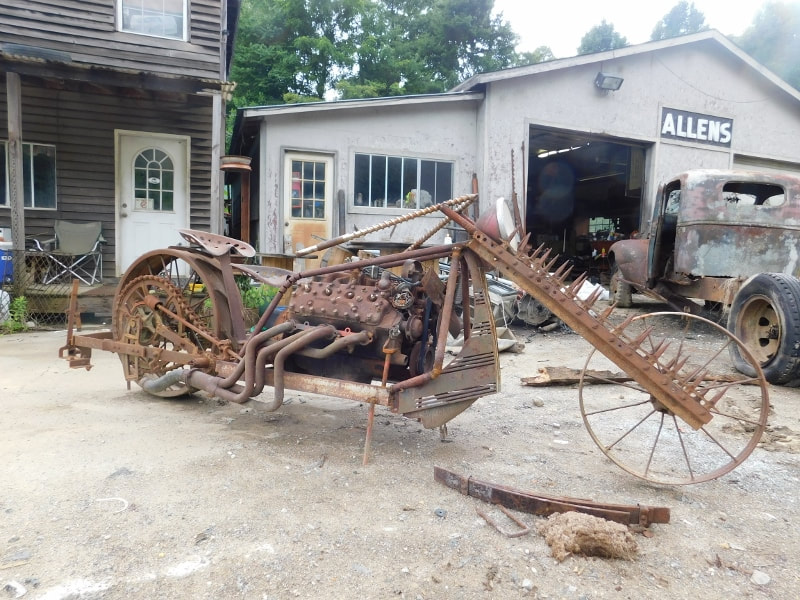 Well, maybe not that one. It only looks like a road warrior! That's from one of the local workshops. I was driving past one day and couldn't resist stopping for a photo. I believe they recycle metal, and clearly they've been putting their scrap to good use. Speaking of workshops, I thought I'd show you a peek behind the scenes at my cabinet shop. Because although we're still doing lots of handyman work in Asheville, I've been working on a couple of really cool woodworking projects as well. You're going to love these! Here's the shop... 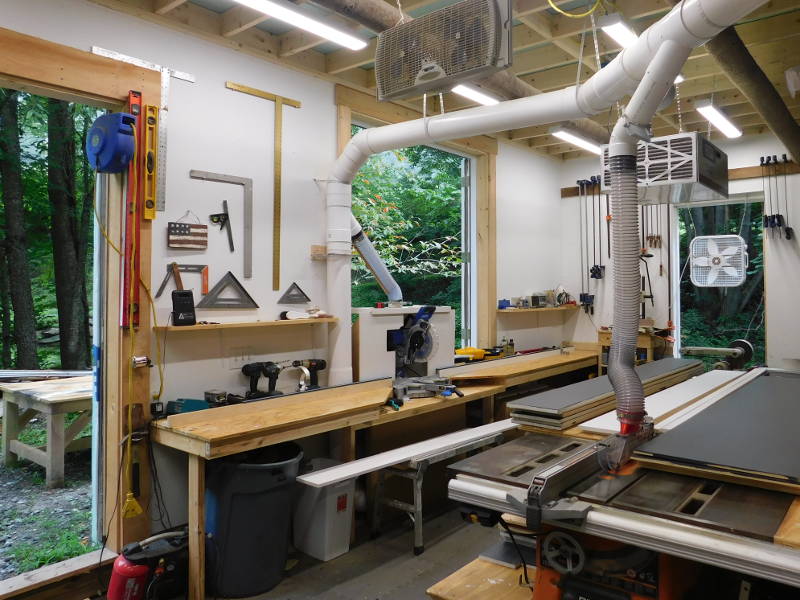 You can't tell, but there's a creek just outside the window. And there's nothing like turning off the ventilation system for awhile and letting Nature do the work while I assemble a few cabinets and listen to the creek rush by. I've even got an outdoor workbench in the shade for those really nice afternoons. Those gray boards eventually turned into a pair of bookshelves and a mantel to go around an electric fireplace. This is going in a brand new condo in downtown Asheville. I love these electric fireplaces because they don't require a chimney, so you can put them anywhere. 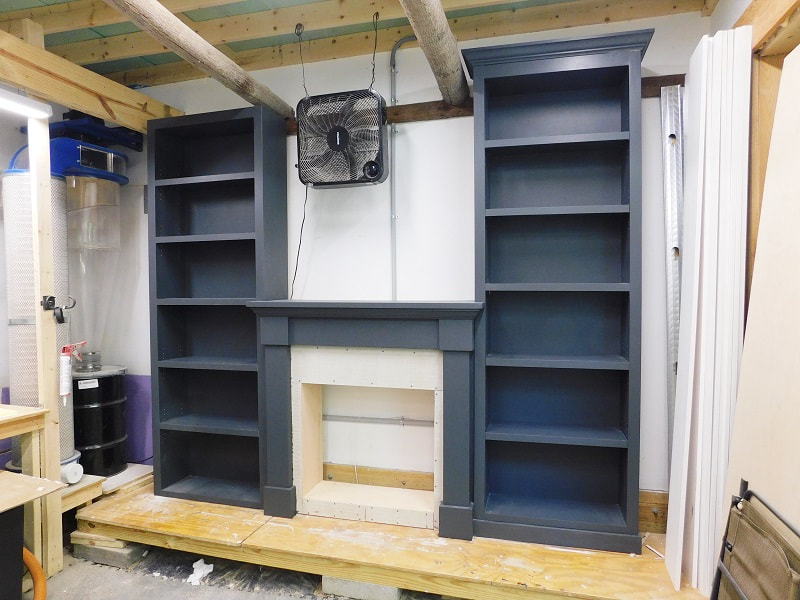 You might have noticed that I haven't added the crown molding or baseboard on one side. That's because the tobacco poles are getting in the way. That's right... my shop is built into an old tobacco barn. The poles aren't holding anything together... they're just there for sentimental value. Here's what the shelves will look like when they're installed. We create models like these for most of our handmade cabinets.... it gives you a chance to preview your project before we install it, so you can make changes and get exactly what you want. 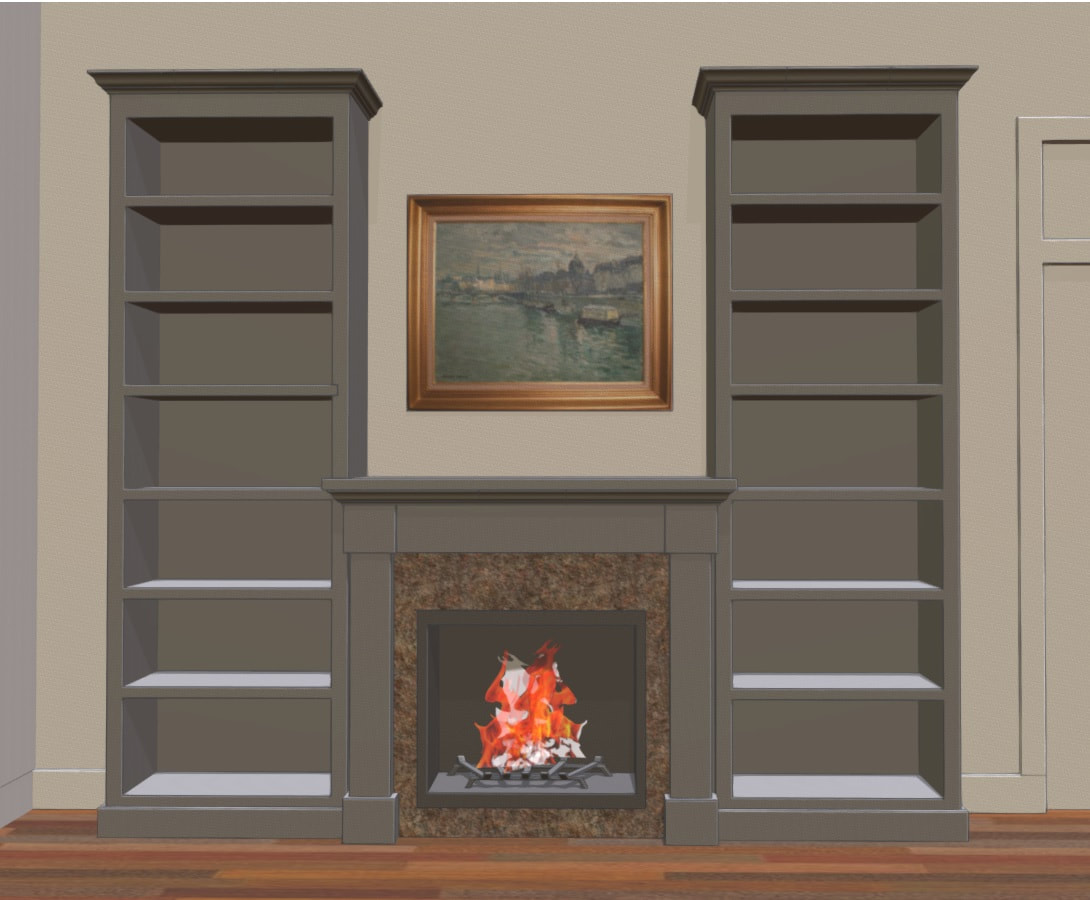 Here's another view of the shop... I snapped this one a couple of weeks ago when I was working on another ventless fireplace. You can see it in the back of the room there. 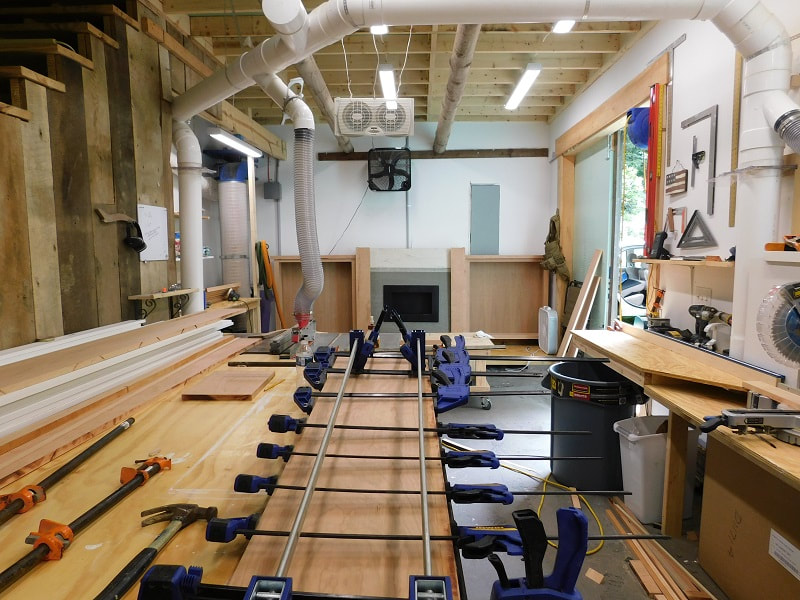 In the foreground you can see why every cabinet shop seems to have a million clamps! Believe it or not, I still plan to buy a few dozen more of them. Here's a pic of the fireplace mantel that I was clamping. It had a fiery cherry grain and it turned out really well. 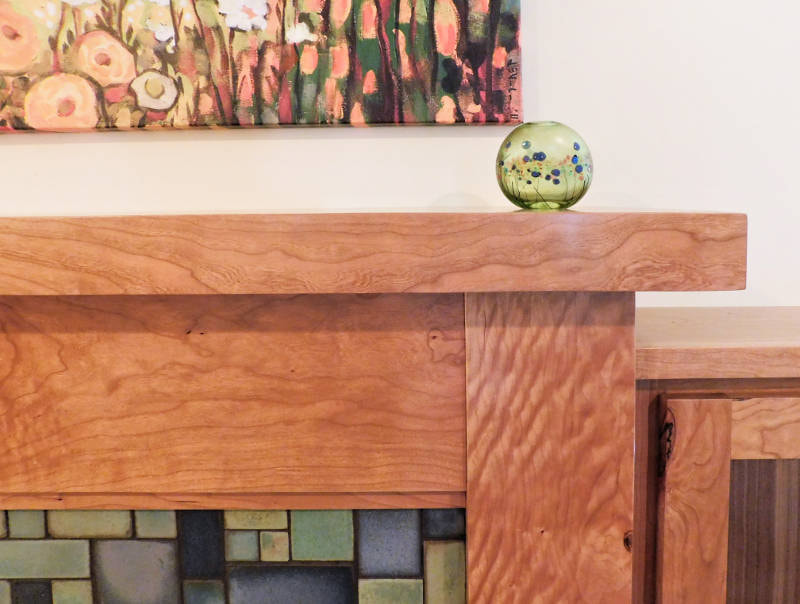 Yowsa! It looks great from a distance, too. The homeowner had a set of Craftsman tiles custom made just for this hearth. And as I said, this is another one of those chimneyless fireplaces, so it can go anywhere.  You can see more photos of this Arts and Crafts fireplace on our custom cabinets website. including the inside of the cabinet, which is hiding an entertainment center. It's a great way to disguise your TV. Or if you're here for handyman work, we can help you with that, too. Just give us a call.
|
About

Welcome to my blog! This is a chronicle of the adventures of Arthur Teel, a handyman working in Asheville and Weaverville, NC. Need someone to fix your home?
Connect!
Archives
April 2022
This blog is for entertainment purposes only. See our Terms of Use for details.
|

The current turn-around time for our interior painting team is 2 weeks.
Our handyman team is currently fully scheduled and not taking new projects.
What Our Clients Are Saying
"Arthur is that rare professional handyman who is totally reliable; fairly priced; pro-active in communications; honest; punctual; skilled -- and a really nice guy." "Arthur is a great resource to have here in our area. He's prompt, professional, does great work and is cost effective. I'll definitely use him again!" |
Follow Us:Email US AT:Service Area:
In-town Asheville
Mars Hill and Weaverville Arden and Fletcher Fairview Popular Services |
|