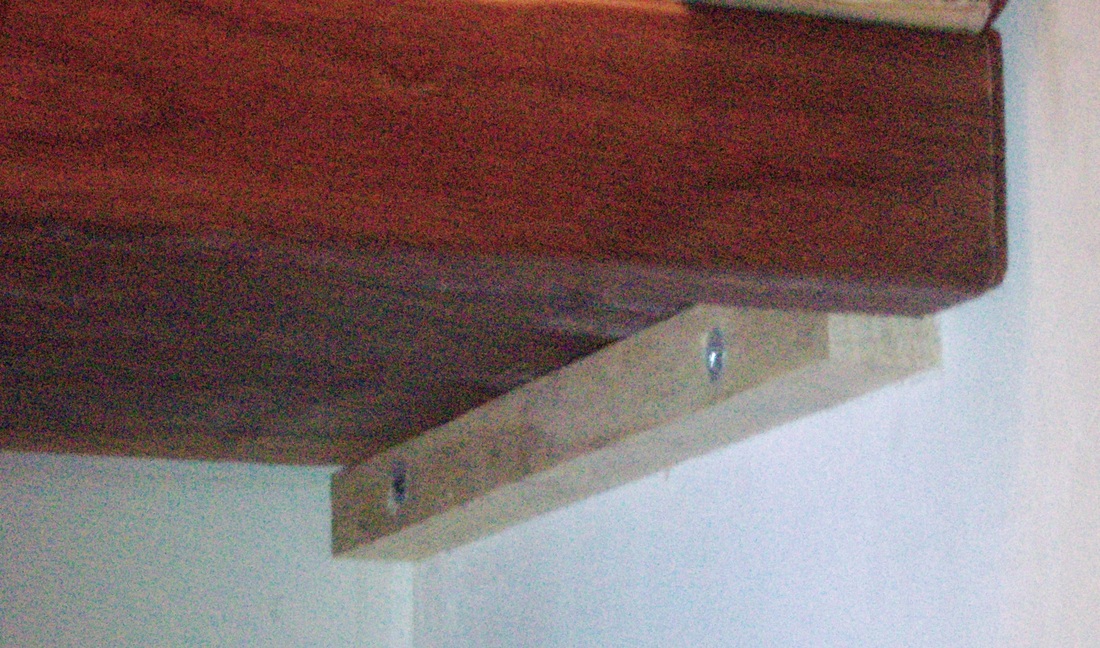
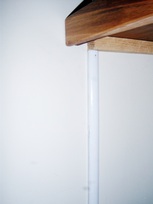
  This office would be kind of expensive to do on your own. Nothing to break the bank, mind you, but the materials I used were pricey, and it took a lot of labor and woodworking expertise to make the walnut shelves. In this post, I'm going to show you a few ways to save money on your shelving. First, if you were paying attention, you might have noticed that I made do without brackets in a few places: On the right-hand side, I didn't have to use brackets because the wall made a right angle, and there were studs in all the right places. I just screwed little strips of wood (ledgers) into the wall to make ledges. On the lower left, I was concerned that the printer/scanner would bump into the shelf bracket when I raised the lid. I wanted to use a ledger, but there's not a stud in the right place. Instead of screwing the ledger to the wall, I held it up in front with a little piece of wood. (This is a bit of trim that I happened to have lying around, and it's probably a little too slender for the books it's holding up. If you're trying this at home, use something a little thicker.)
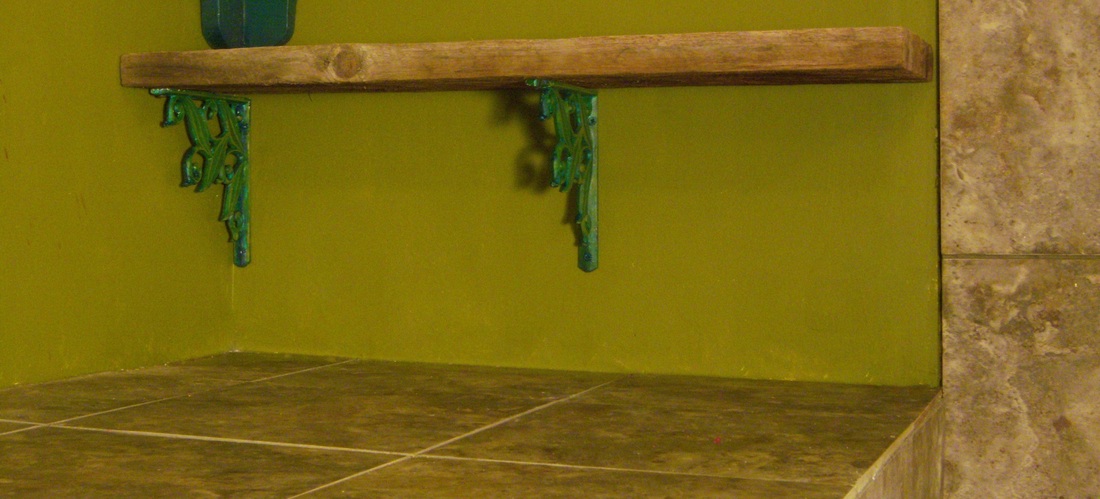
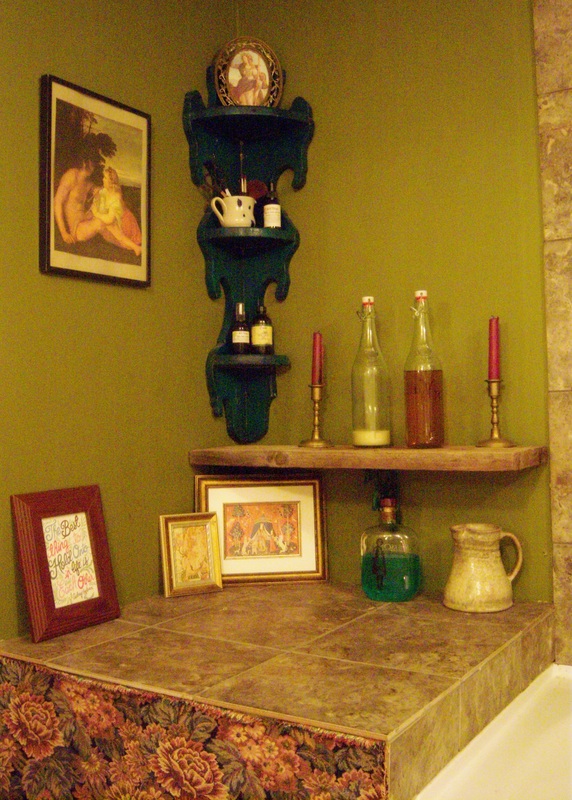
I could have supported whole shelf this way, with sturdy legs running down from one shelf to the next and thence to the desk. That would take a little more work than hanging brackets, but it would be a little bit cheaper. In fact, when I put in my kitchen, I made a sturdier version, using legs as wide as each shelf, like this: 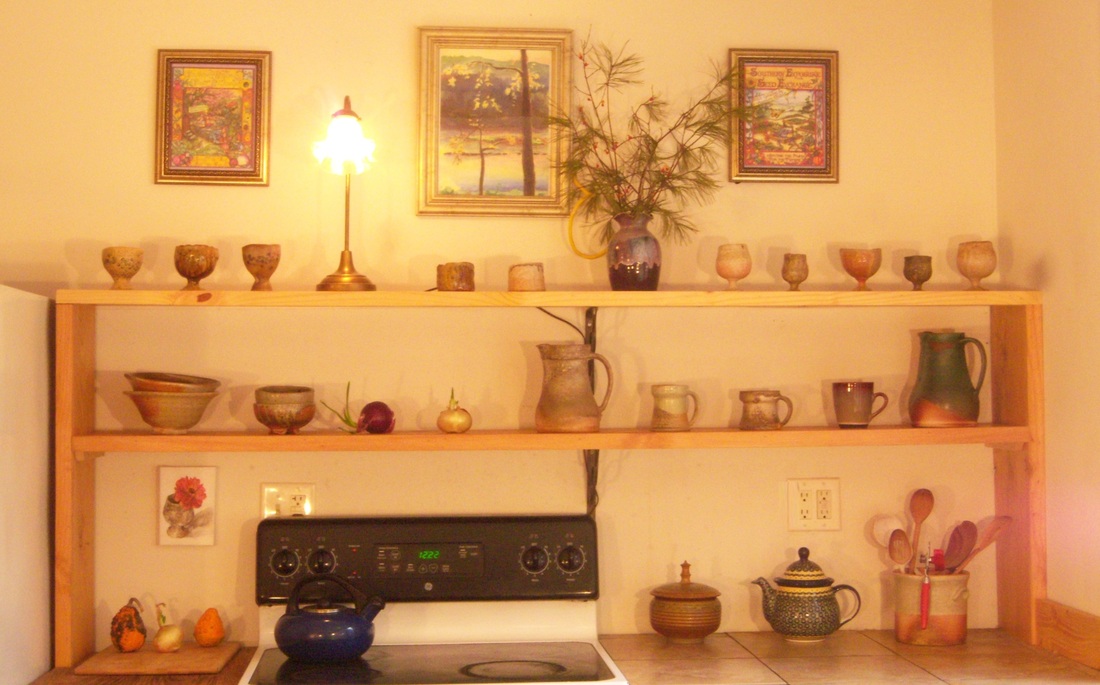 The kitchen was also less expensive than the office because I used a cheap grade of pine, and I got the two metal brackets for free from my mom when she upgraded her kitchen. By the way, did you notice that the brackets are just a little bit off center? Once again, it's because of the location of the wall studs. Speaking of "less expensive," the wood for this little bathroom shelf was free:
Do you need someone to install a built-in office or a custom closet? Give me a call if you live near Asheville.
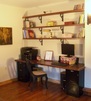
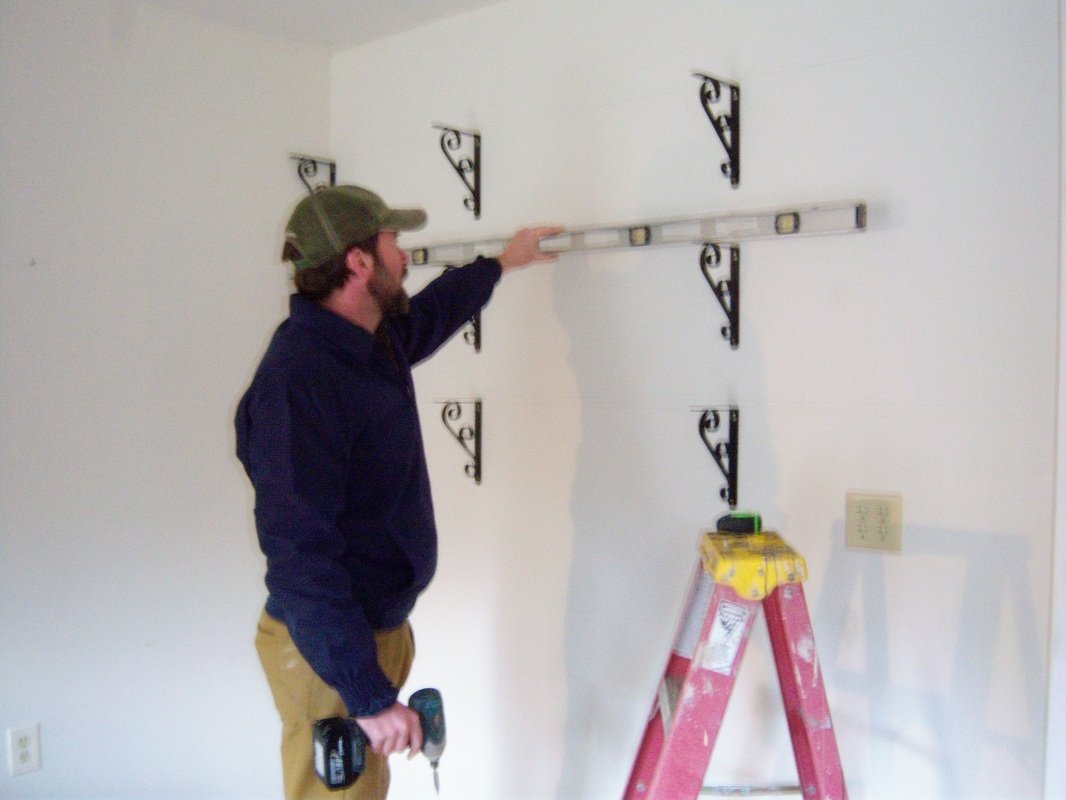
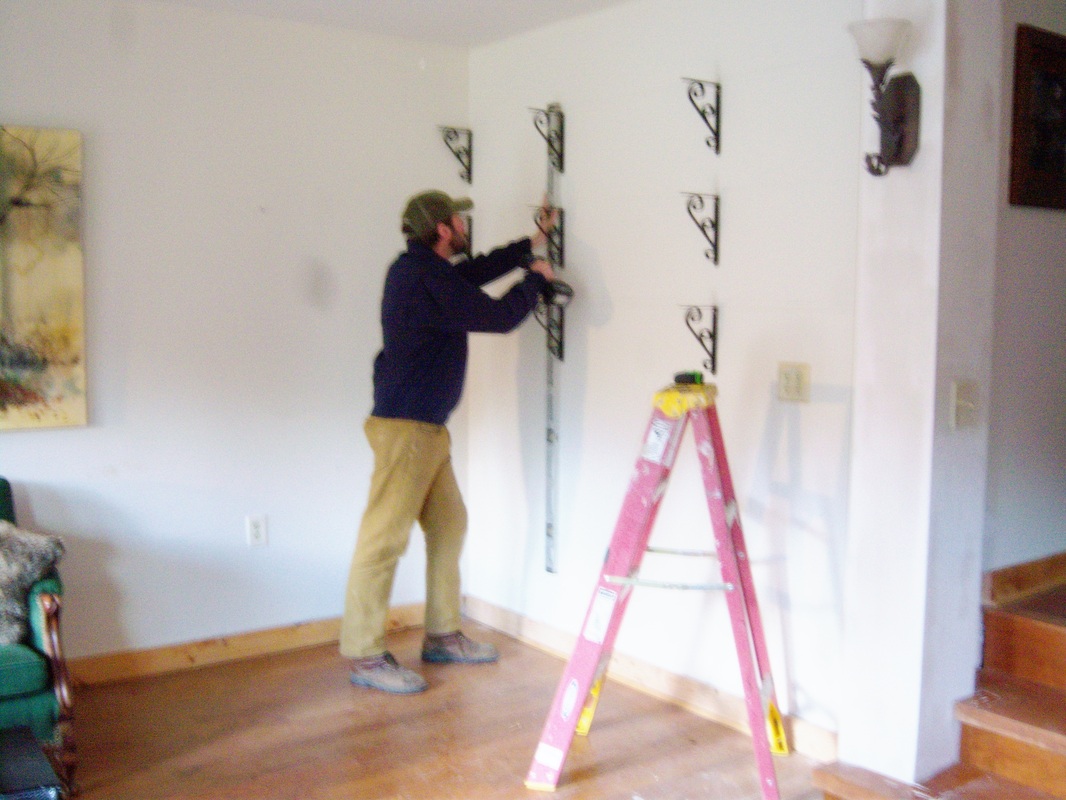
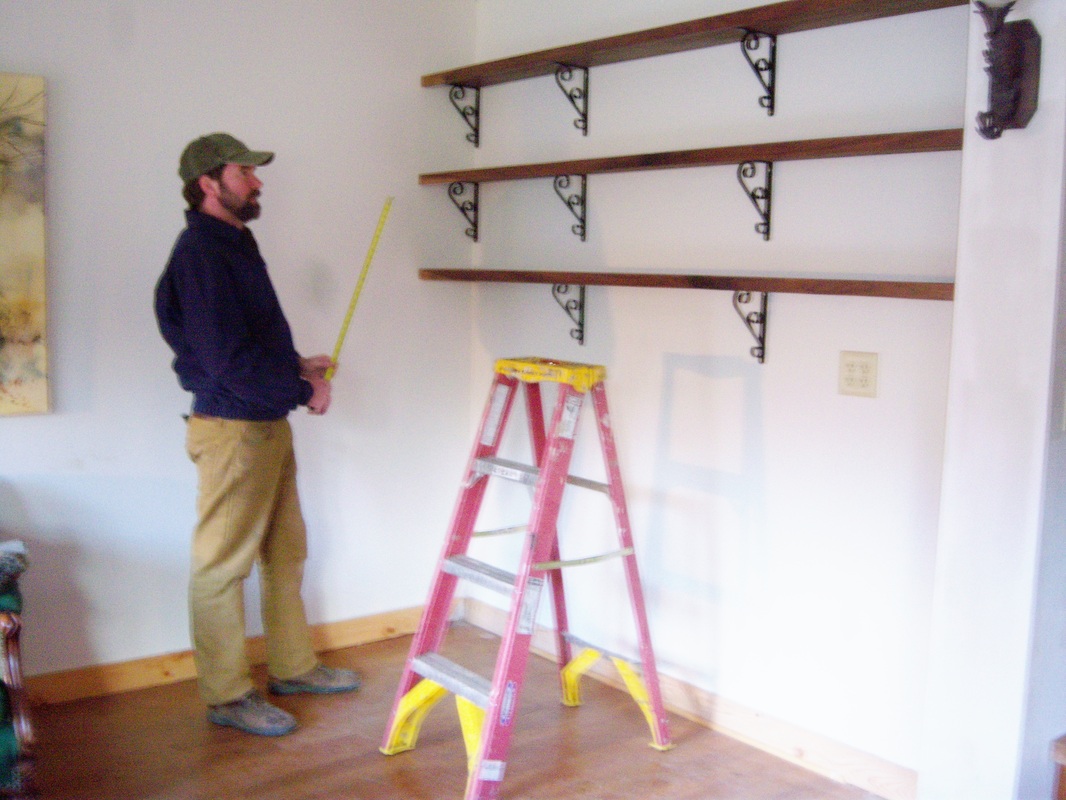
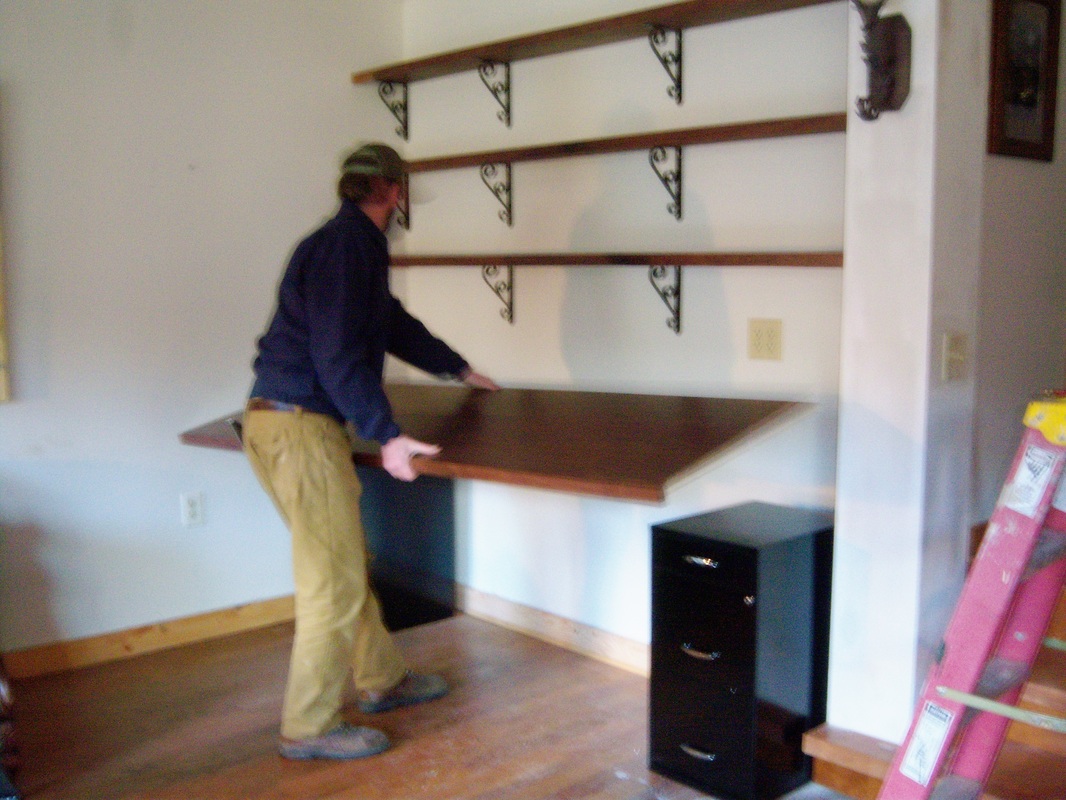
In the last two posts, you learned what materials to buy for your shelving and how to find the wall studs so that your shelves are secure. Now it's time to actually put in the brackets. Here you can see where I've put up the brackets for my office. Before I hung the brackets, I drew a vertical line down each wall stud. I used my level to make the line, because I wanted the brackets to line up vertically. When you draw your line, make sure that you make a very light pencil line. Odds are that you will actually end up hanging the shelf a little bit off the line, so it's possible that the pencil line will show. I also used my level to draw a horizontal line where each shelf would go. (If you don't use a level, you WILL hang it crooked, and then you will get seasick every time you look at your shelf.) Then I screwed each bracket to the wall. Next I cut the shelves to the right length and set them on top. The brackets have little holes on top to allow you to screw the wood to the bracket, but I skipped that step. It's less safe and sturdy, so don't try that at home; but I knew I'd want to put a lamp on the shelf, so I wanted to be able to slide my shelf out far enough for the cord to go behind it. Installing the desk was easy: I just set up the filing cabinets and laid the desktop on it. I didn't put any other support under the desk, because the plywood is pretty sturdy, and the edging also adds strength. However, if I had kids in the house, I would probably add a board beneath the desk to support the top, because it's really not made to bear the weight of a person climbing all over it. It probably wouldn't break, but it would sag and look ugly. 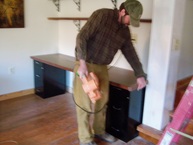 I also installed a little extra piece of edging on the right-hand side to hide the plywood, and I sanded the corner to soften it. This takes a little bit of woodworking skill, so if you're not super-handy, you might prefer to use thick, ordinary boards instead of plywood so that you don't need edging. And here's how it turned out. My Patient Wife styled it with a few favorite books and some decorative boxes. Check out the little brass lamp that she scored from the thrift store! This is a great way to light an office without bring in an electrician.
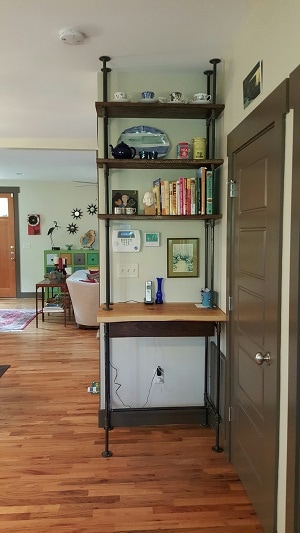
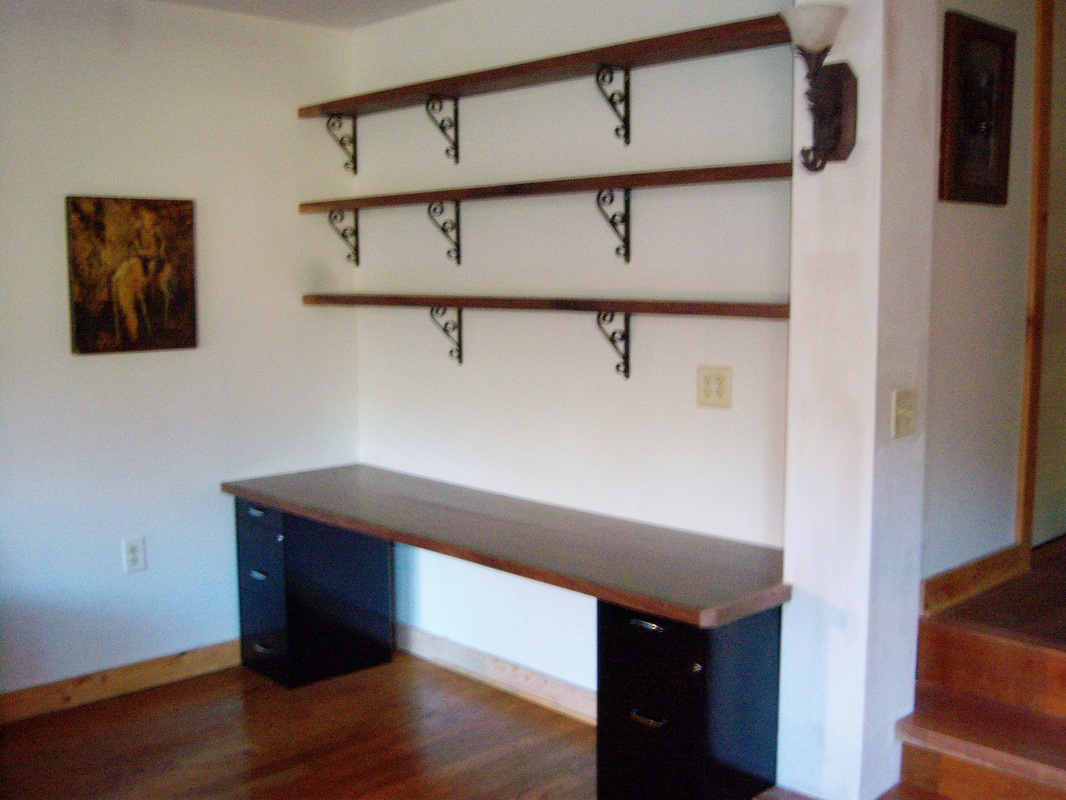
In my last post, I showed off a little office that I recently installed in my house. Here's a different view of the same office.  If you look closely, you can see that the brackets do not line up in a symmetrical pattern. The area on the left side is narrower than the other two areas. That's because when I hung them up, I had to fasten the brackets to the studs in the wall. The studs are the vertical boards that hold the wall up, like this: 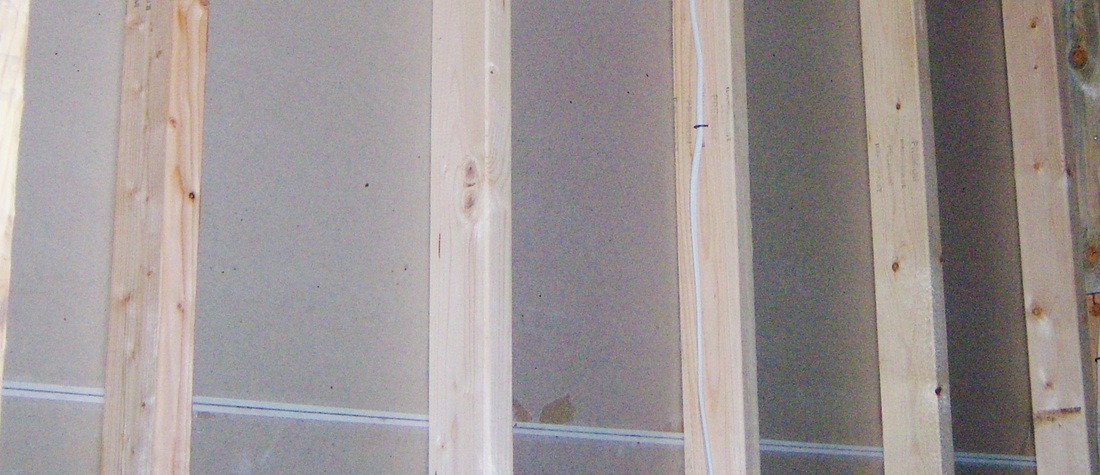 If you don't screw the brackets to the studs, your shelf will fall off the wall and kill you, or at least cause a lot of damage and scare the bejesus out of you. It probably won't happen right away, either, which somehow makes it worse. So before you hang your shelves, you need to find the studs. This is where my vast array of handyman knowledge comes in... handy. (Ahem.) There are several ways to find wall studs. First of all, if you live in a modern house, you probably have sheetrock walls. Try shining a light from the side of the wall and looking carefully for a little round bump in the finish. This is a screw that holds in the sheetrock, and the screws always fall on a stud. Wall outlets and light switches are also fastened to studs, so there is probably a stud just to the left or the right of the outlet. You can also use a little tool called a studfinder, which is sold at most hardware stores. The latest versions use radar to indicate where the studs might be. I can't use studfinders, because I'm such a stud myself that they beep constantly around me. (Ba-bump CHING!) Just kidding. But they can be unreliable, and anyway, that's just another thing to buy new batteries for. You can also try knocking gently on the wall. The place where the stud is will sound less "hollow" than the spaces between. But the easiest way to find a stud is just to tap a few nails into the wall where you think the stud might be. If it grips the wall, you've found a stud. If it goes right through, you're in the wrong place. Unfortunately, this leaves little holes. I only use this method if it's somewhere that won't show. For example, if you know EXACTLY where your shelf is going to go, you can tap in a few nails behind the place where the shelf will be. As I pointed out, the studs won't necessarily be where you want to put the bracket. The only way to get around that is to make the shelf a freestanding unit, like this one: 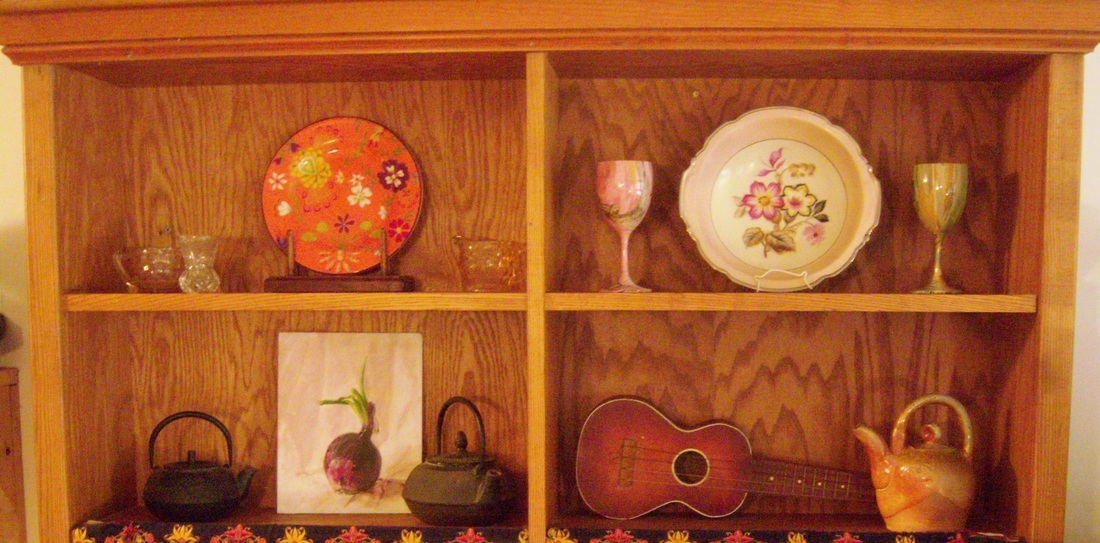 This is a closeup of my pantry shelf. It's built to stand on its own, although for extra safety, I did screw through the plywood backing and into the studs, just to keep the unit from tipping over. (See the little whitish dot in the upper right shelf area? That's a screw.) The drawback to a unit like this one is that it's more expensive, because you have to buy the plywood for the back. It's also trickier to build; this is a real piece of furniture! So for the office, I just ignored the asymmetry. The other thing I wanted to mention in this post is that when you're deciding where to hang your shelf brackets, you need to make sure that they're close enough together. For example, I could have gone with just one bracket in the middle of this office. However, I knew that these shelves might eventually hold lots and lots of heavy books, so I doubled up for safety. For the same reason, I used thick plywood boards, which are more stable. On the other hand, if I were installing shelves in the bathroom where we'd just keep a few towels or some toilet paper, I might space out the brackets and use plain, thin pine boards. It all depends on what's going on the shelves and how sturdy your shelving material is. Well, that's plenty of info for today. In the next post, we'll really get to work. Do you need custom built-in shelving? Give me a call.
Not long ago, a good friend of mine wrote and asked me if I could recommend a website about how to be handy around the house. "What a coincidence," I said. "I'm starting a website just like that." Now I have to live up to that promise, so this series is for you, Kreg. Hanging a shelf is the quintessential "handyman" task. It sits right in there on the border between "easy to do" and "easy to mess up." It's also an incredibly wonderful skill to have. I have never lived in an house that had enough shelves, especially in the workshop and the laundry room. I'm going to devote several posts to the subject. I hope you forgive me if it seems like I'm dragging it out, but I've got a lot to say. Here's an office that I recently installed in my own home after my Patient Wife complained that she was tired of keeping her business receipts under her alarm clock. You can really count this office as four shelves, because the desk is just a great big shelf supported by filing cabinets from Walmart.  Here's what you would need in order to make an office like this: --Brackets --Screws --A drill gun --A level (longer is better) --Shelf and desk material --A desktop --Two filing cabinets If the shelves and desk aren't pre-finished, you will also need: --Paint or polyurethane --Sandpaper --A good brush Now you may be wondering how much all of this will cost. The answer is, "It depends." For example, the brackets come in a range of styles and prices, from super-cheap stamped white metal all the way up to hand-forged iron. The same is true for filing cabinets; if you really want to save money, you can scour the thrift stores for dinged-up secondhand cabinets. If money is no object, you can commission a woodworker to handcraft brand-new cabinets made from rare tropical hardwood. In this office, I just went to Lowe's and Walmart and bought new brackets and cabinets in a middle-range price. But what makes this particular office special is the quality and finish of the wood. I bought cabinet-grade walnut plywood, which I edged with some beautiful locally-milled walnut that I had left over from another project. Then I sanded it and finished it with polyurethane. That kind of joinery and finish work are a little beyond many home-makers, and the walnut really adds to the cost. 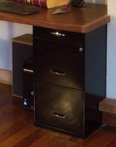 By the way, it's important to note that the file cabinets I used are specifically made to support a desk top. Notice the little top drawer. It makes the cabinet just a little bit taller and brings it up to desk level. If you use an ordinary cabinet, you may need to add blocks to the top or bottom to bring it up to desk height. (The standard height for a desk is about 29 inches, but you can adjust that to suit you.) In the next few posts, I'll show you some similar, less expensive alternatives; but before that, I'll show you how I installed this office. Stay tuned... Don't want to hang your shelf yourself? Call your local Asheville Handyman!
|
About

Welcome to my blog! This is a chronicle of the adventures of Arthur Teel, a handyman working in Asheville and Weaverville, NC. Need someone to fix your home?
Connect!
Archives
April 2022
This blog is for entertainment purposes only. See our Terms of Use for details.
|

The current turn-around time for our interior painting team is 2 weeks.
Our handyman team is currently fully scheduled and not taking new projects.
What Our Clients Are Saying
"Arthur is that rare professional handyman who is totally reliable; fairly priced; pro-active in communications; honest; punctual; skilled -- and a really nice guy." "Arthur is a great resource to have here in our area. He's prompt, professional, does great work and is cost effective. I'll definitely use him again!" |
Follow Us:Email US AT:Service Area:
In-town Asheville
Mars Hill and Weaverville Arden and Fletcher Fairview Popular Services |

|