It’s most likely that the first thing you’re going to try with a Skilsaw is a cross-cut. In other words, you’re going to cut a board to a shorter length, and you’re going to cut across the grain. Here are a few things to keep in mind when you’re cross-cutting a board with a Skilsaw: --Place the board that you’re cutting on a firm, stable surface like a pair of good sawhorses. Don’t cut between the saw horses. Poke the short end of the board off to one side and cut there. --Never cut into a very short board. Don’t cut into anything shorter than two feet. The reason for this is that short boards are more likely to move while you’re cutting. This causes the blade to bind up and the saw to kick back. Nothing says “bloody stump” like a kicking saw. --If you’re cutting with your right hand, press the board down onto the sawhorses with your left hand. And always be aware of the location of your left hand. --Never put your hand in the path of the blade. This may seem obvious; but then again, many people don’t realize that they must not put their hand BEHIND the path of the blade, either. --Pay attention to the location of the electrical cord, your shirt sleeve, your ponytail, your dog and your small children. Don’t put them in the path of the saw, either. --As you’re cutting, let the wood fall all the way down to the ground. Don’t hold it up, and don’t let it drop just a few inches. It needs to fall all the way to the ground to keep the saw blade from binding. --Don’t use a saw with broken blade guards. The guard should cover blade when you’re not cutting. Using a Skilsaw is like driving: once you get used to it, it’s easy to use; but painful death can ensue if you stop paying attention. It’s also like driving in the sense that it's a skill you should learn in person from someone else. If you want to use your saw correctly, turn your computer off and go invite your handiest neighbor over for a cookout. Just don’t bring out the brewskies right away. Friends don’t let friends drink and saw. Don't want to learn all of the safety rules? Why not call in a pro?
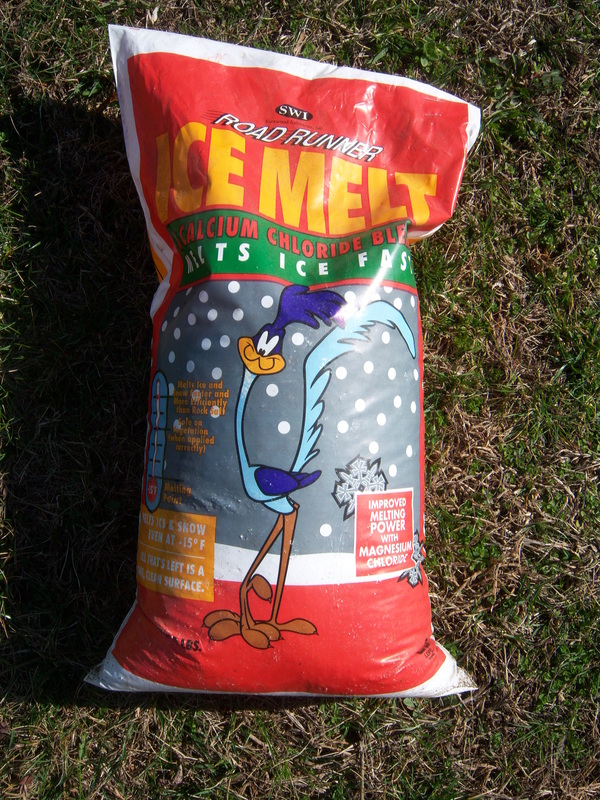
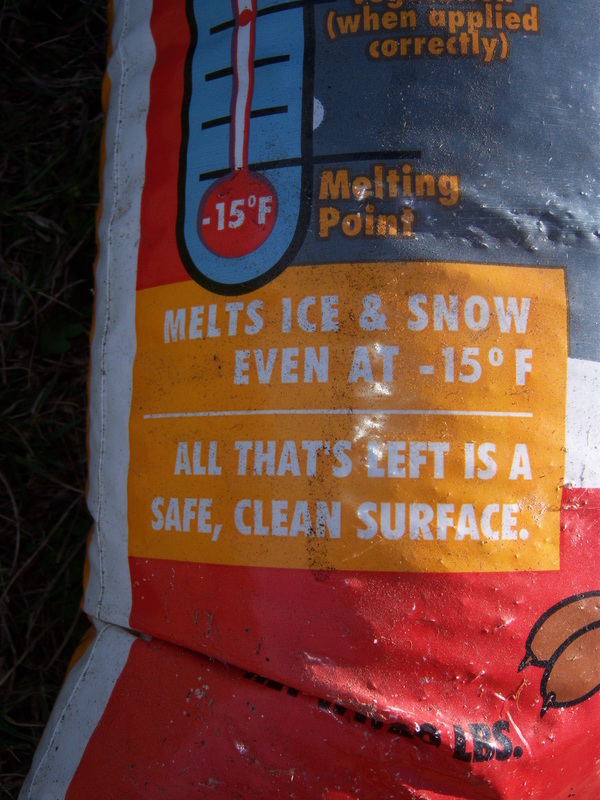
As you can see in this gallery, the large print giveth and the fine print taketh away. (Click a picture to view at larger size.) The front of the bag promises a "safe, clean surface," but the fine print on the back warns that you need to remove slush promptly.
Thawed out and ready to make a few home improvements?
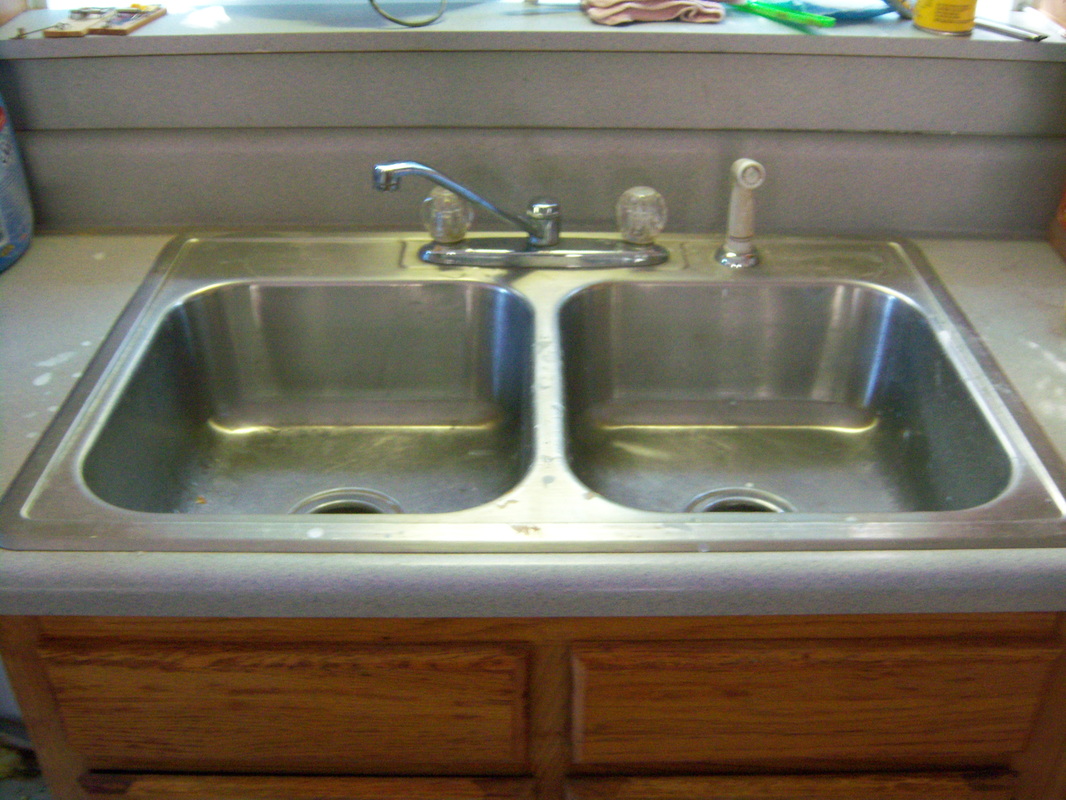
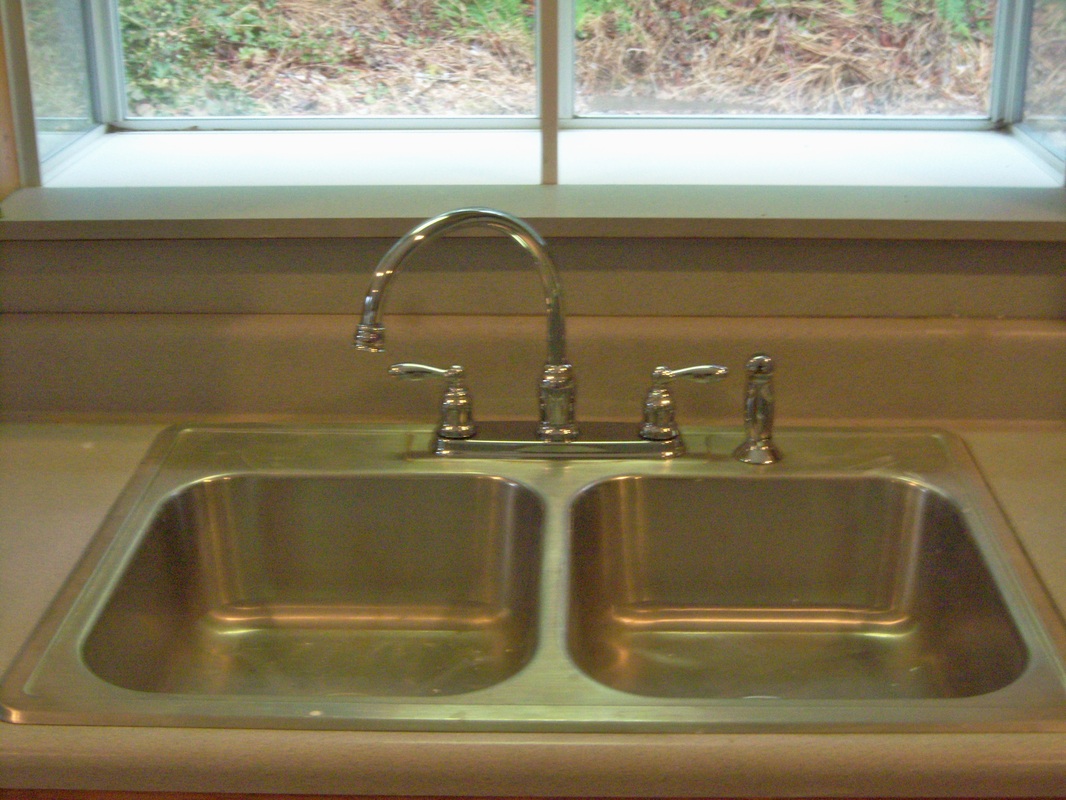
Call your local Asheville handyman. This is the second post in which I’m showing off a beautiful house near Mars Hill and Weaverville. I’ve been working with the owners, Henry and Barbara, to fix the house up. The kitchen in this house has great “bones.” That is, the cabinets are solid and sturdy, and it’s got a nice big peninsula that lets onlookers sit and eat breakfast or talk to the cook. But like any kitchen that’s been lived in for a little while, it needed a few small updates to give it a fresh appearance. We recently did the basic update, starting with the simple stuff: a good-quality faucet and new strainers in the sink.
The cabinets were starting to fade a little, so we touched them up and put a new coat of finish them. They look brand new, don't they? 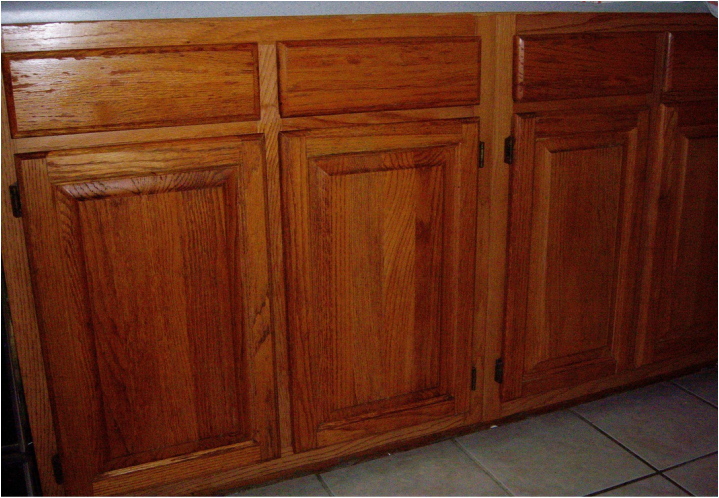 And finally the appliances arrived. 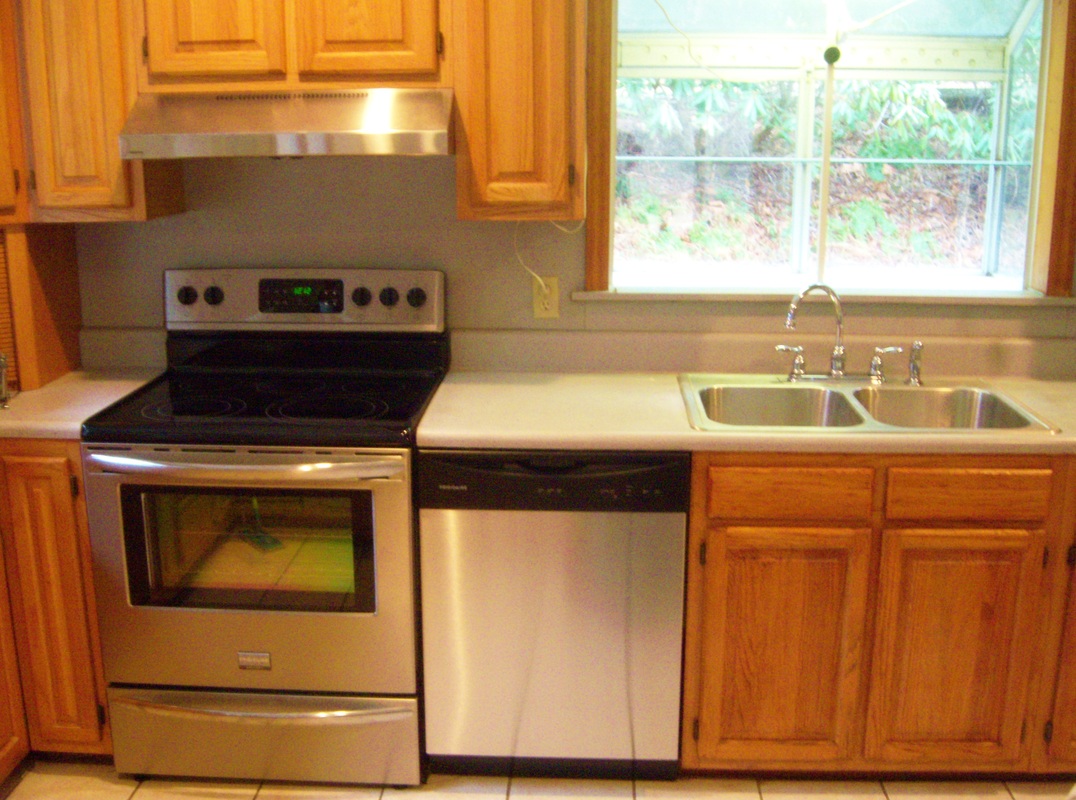 This really is a nice kitchen, and a nice house overall. It will be up for sale soon, so let me know if you’re interested in buying it.
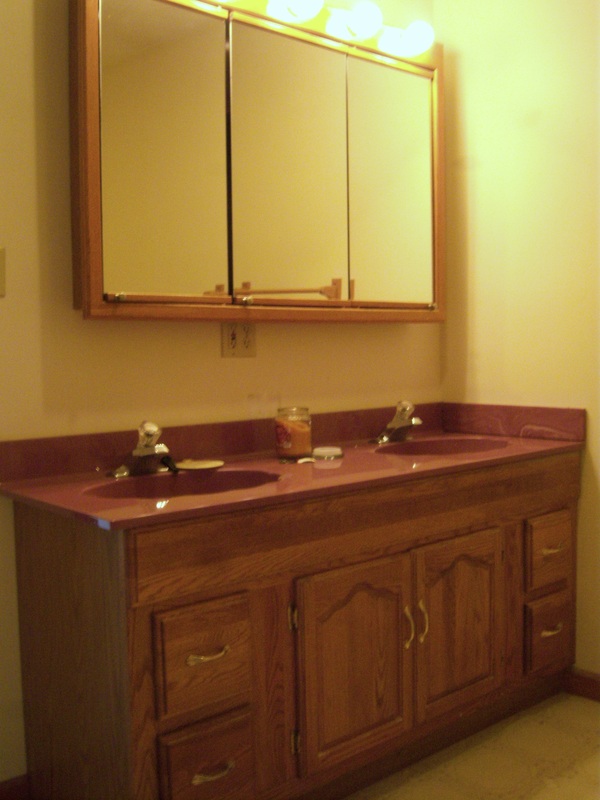
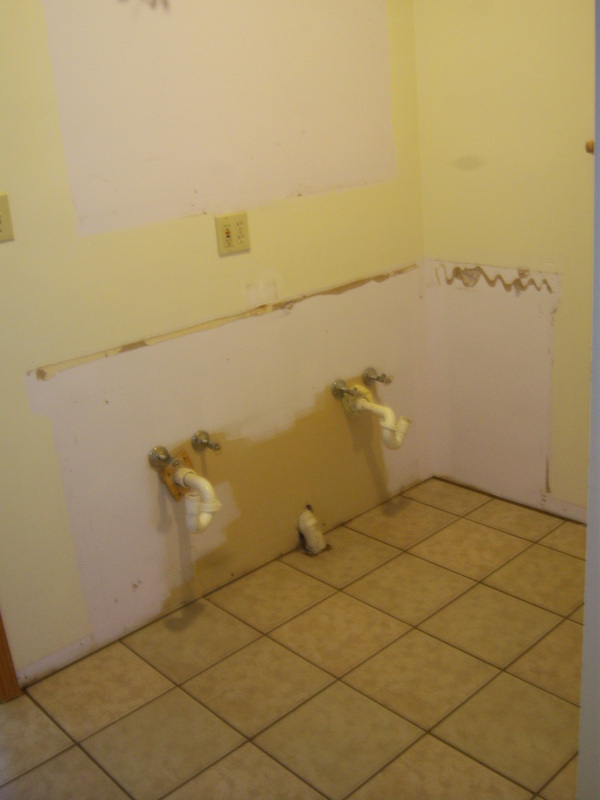
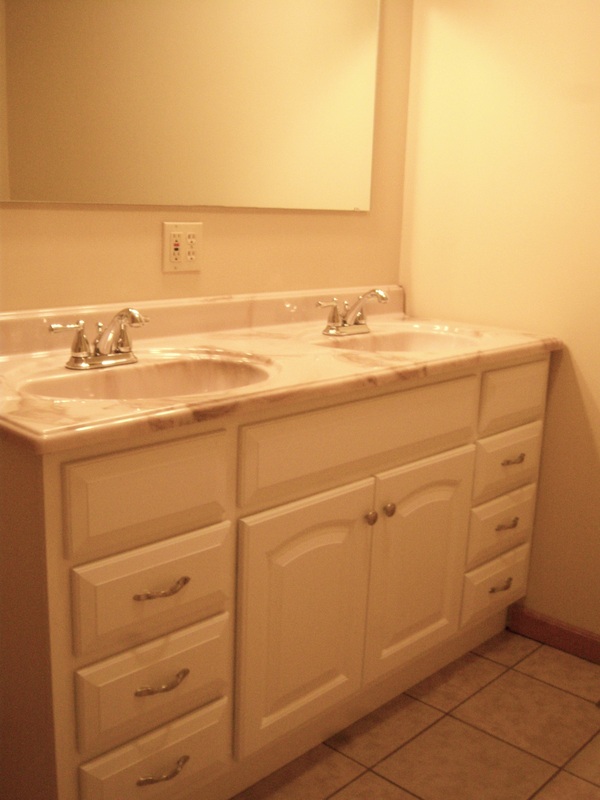
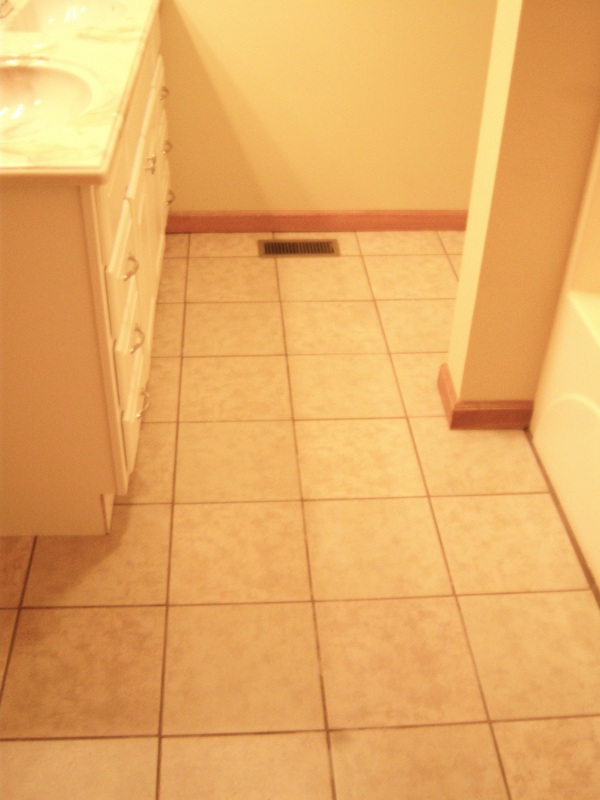
This house is going up for sale in a week or so (if it’s not already listed). It has a fantastic eastern facing view looking over beautifully tilled fields. It’s on a quiet road, and the whole neighborhood seems to be a really peaceful place. (Click any of these four pictures to enlarge.) I worked on it for 3 weeks, helping Henry and Barbara get it ready to sell. They had already painted all the rooms and doors, steam-cleaned the carpets, pulled off the flower print wallpaper, and probably cleaned up a hundred other details. But they wanted to get it on the market by early Spring, and they still had a lot to do, so Henry called me. We walked through the house and wrote out a long list of everything they wanted done. He asked me to start by renovating both bathrooms. I removed all the baseboards and fixtures. Then I tiled the floor. Here's some "before" and "during" pictures:
While the tile grout was drying, I worked on smaller details like installing closet shelves and rods, replacing broken mirrors and torn window screens, updating faucets, adjusting doors to make them open and close properly, and replacing the locks, latches and handles on the doors. After the tile grout dried, Henry painted the bathrooms. Then we installed new vanity cabinets, counter tops and faucets. Fortunately the tubs were both in great shape and we were able to leave those.
The renovations both turned out really well. I think they got a good bang for their buck by bringing these bathrooms up to date. Bathrooms are said to be the second-most used room in a house, with the kitchen being first. We did update the kitchen on this house, but that's for another post. Getting ready to sell your house? Why not get an estimate to update it?
Somehow it didn’t seem as sensitive as “Bliss Flower,” but I still think he was on to something. A cordless drill gun (with multiple bits) is one of the most important things in your tool arsenal. With recent advances in technology, it also pays to get one of the newer kits with special features. For example, here’s my drill kit, which includes one of the models: 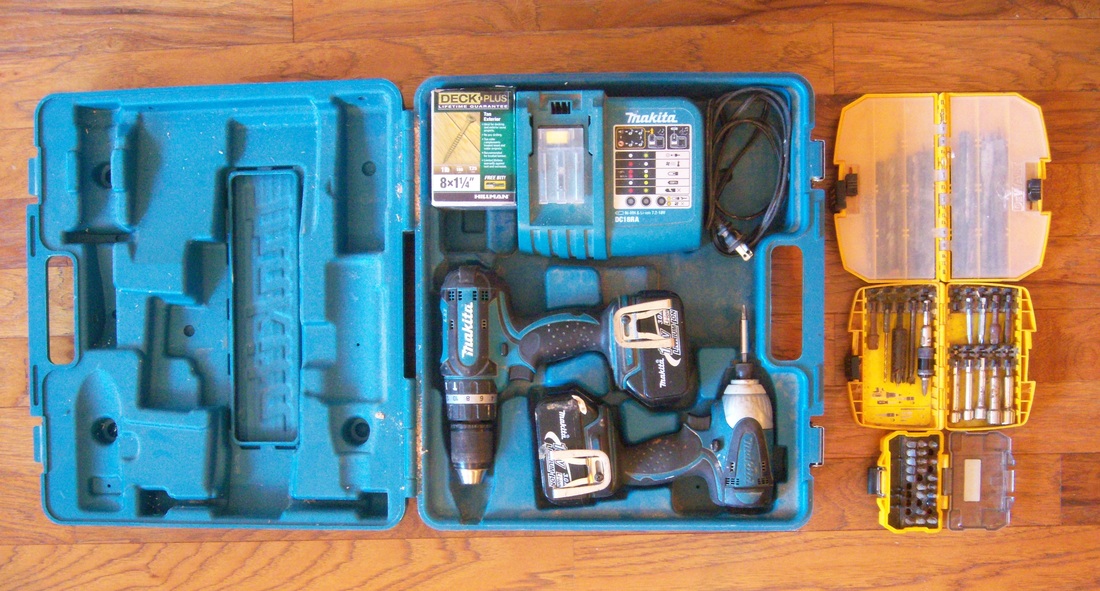 I carry two drill guns because for one thing, it’s nice to have two of your most important tools. Also, with two guns, you can have one gun with a drill bit and one with a screw bit. This allows you to pre-drill a hole with one gun and then drive the screw with the other. Another reason to carry two guns is that one of these guns is a new model called a “hammer drill.” Its mechanism was especially created to drive a screw faster without as much need to push down on the drill gun. A hammer drill basically does most of the work for you. However, a hammer drill isn’t really right for drilling holes, so you still need a traditional gun. Another reason to buy a newer drill kit is that the newer batteries have more power, and they also seem to be lighter. When you buy your kit, it should come with more than one battery. This lets you charge one battery while using the other. The kit should also include a charger. Many of the tools that I discuss are not absolutely necessary for a homeowner, but if you’re going to be handy around the house, you really should have at least one cordless drill. There is no substitute. There’s no substitute for a good handyman, either. If you live near Asheville, give me a call!
|
About

Welcome to my blog! This is a chronicle of the adventures of Arthur Teel, a handyman working in Asheville and Weaverville, NC. Need someone to fix your home?
Connect!
Archives
April 2022
This blog is for entertainment purposes only. See our Terms of Use for details.
|


The current turn-around time for our interior painting team is 2 weeks.
Our handyman team is currently fully scheduled and not taking new projects.
What Our Clients Are Saying
"Arthur is that rare professional handyman who is totally reliable; fairly priced; pro-active in communications; honest; punctual; skilled -- and a really nice guy." "Arthur is a great resource to have here in our area. He's prompt, professional, does great work and is cost effective. I'll definitely use him again!" |
Follow Us:Email US AT:Service Area:
In-town Asheville
Mars Hill and Weaverville Arden and Fletcher Fairview Popular Services |

|