|
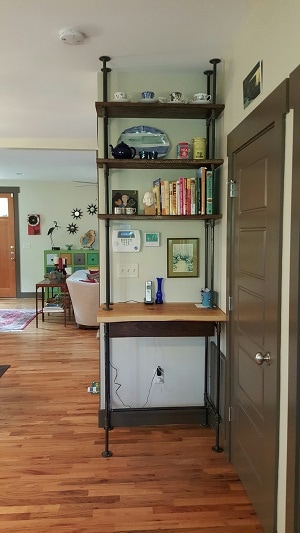
In my last post, I showed off a little office that I recently installed in my house. Here's a different view of the same office. 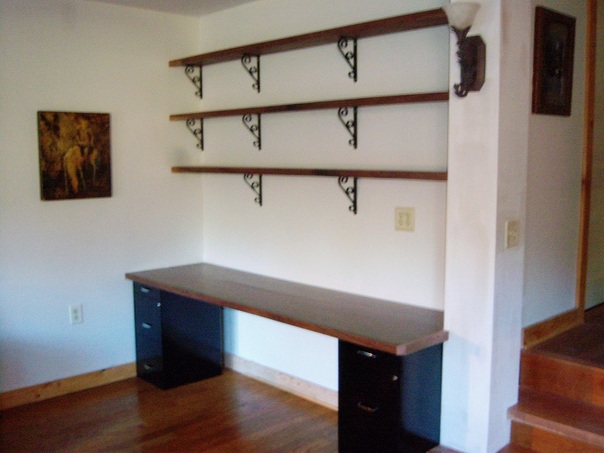 If you look closely, you can see that the brackets do not line up in a symmetrical pattern. The area on the left side is narrower than the other two areas. That's because when I hung them up, I had to fasten the brackets to the studs in the wall. The studs are the vertical boards that hold the wall up, like this: 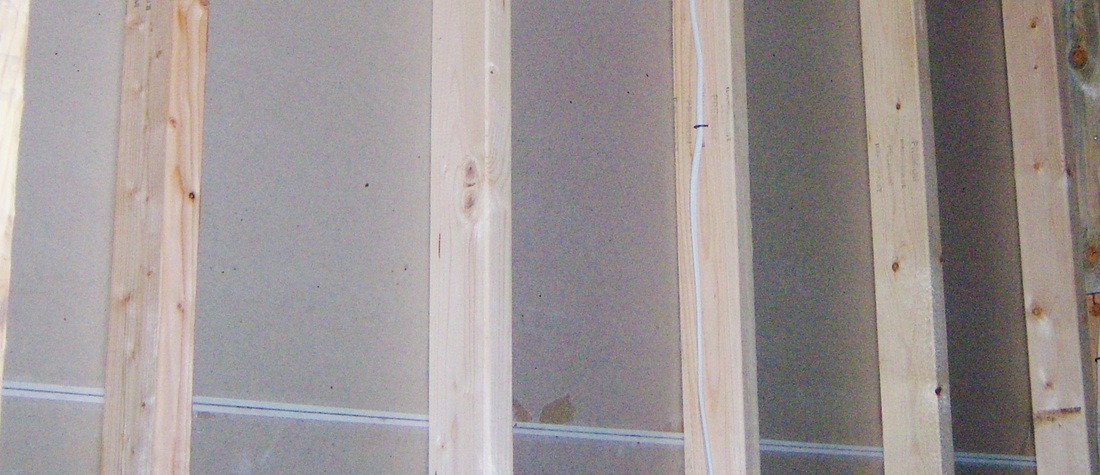 If you don't screw the brackets to the studs, your shelf will fall off the wall and kill you, or at least cause a lot of damage and scare the bejesus out of you. It probably won't happen right away, either, which somehow makes it worse. So before you hang your shelves, you need to find the studs. This is where my vast array of handyman knowledge comes in... handy. (Ahem.) There are several ways to find wall studs. First of all, if you live in a modern house, you probably have sheetrock walls. Try shining a light from the side of the wall and looking carefully for a little round bump in the finish. This is a screw that holds in the sheetrock, and the screws always fall on a stud. Wall outlets and light switches are also fastened to studs, so there is probably a stud just to the left or the right of the outlet. You can also use a little tool called a studfinder, which is sold at most hardware stores. The latest versions use radar to indicate where the studs might be. I can't use studfinders, because I'm such a stud myself that they beep constantly around me. (Ba-bump CHING!) Just kidding. But they can be unreliable, and anyway, that's just another thing to buy new batteries for. You can also try knocking gently on the wall. The place where the stud is will sound less "hollow" than the spaces between. But the easiest way to find a stud is just to tap a few nails into the wall where you think the stud might be. If it grips the wall, you've found a stud. If it goes right through, you're in the wrong place. Unfortunately, this leaves little holes. I only use this method if it's somewhere that won't show. For example, if you know EXACTLY where your shelf is going to go, you can tap in a few nails behind the place where the shelf will be. As I pointed out, the studs won't necessarily be where you want to put the bracket. The only way to get around that is to make the shelf a freestanding unit, like this one: 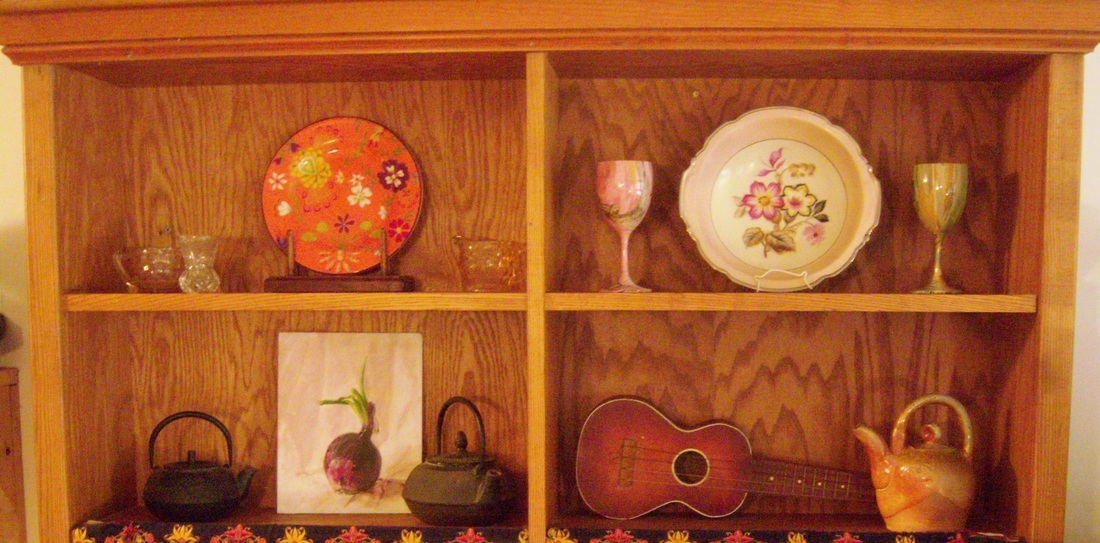 This is a closeup of my pantry shelf. It's built to stand on its own, although for extra safety, I did screw through the plywood backing and into the studs, just to keep the unit from tipping over. (See the little whitish dot in the upper right shelf area? That's a screw.) The drawback to a unit like this one is that it's more expensive, because you have to buy the plywood for the back. It's also trickier to build; this is a real piece of furniture! So for the office, I just ignored the asymmetry. The other thing I wanted to mention in this post is that when you're deciding where to hang your shelf brackets, you need to make sure that they're close enough together. For example, I could have gone with just one bracket in the middle of this office. However, I knew that these shelves might eventually hold lots and lots of heavy books, so I doubled up for safety. For the same reason, I used thick plywood boards, which are more stable. On the other hand, if I were installing shelves in the bathroom where we'd just keep a few towels or some toilet paper, I might space out the brackets and use plain, thin pine boards. It all depends on what's going on the shelves and how sturdy your shelving material is. Well, that's plenty of info for today. In the next post, we'll really get to work. Do you need custom built-in shelving? Give me a call.
Comments are closed.
|
About

Welcome to my blog! This is a chronicle of the adventures of Arthur Teel, a handyman working in Asheville and Weaverville, NC. Need someone to fix your home?
Connect!
Archives
April 2022
This blog is for entertainment purposes only. See our Terms of Use for details.
|
The current turn-around time for our interior painting team is 2 weeks.
Our handyman team is currently fully scheduled and not taking new projects.
What Our Clients Are Saying
"Arthur is that rare professional handyman who is totally reliable; fairly priced; pro-active in communications; honest; punctual; skilled -- and a really nice guy." "Arthur is a great resource to have here in our area. He's prompt, professional, does great work and is cost effective. I'll definitely use him again!" |
Follow Us:Email US AT:Service Area:
In-town Asheville
Mars Hill and Weaverville Arden and Fletcher Fairview Popular Services |

|