|
I just got a new toy to tinker with at home (because even on my days off I'm not content to sit around and do nothing... I need a project to mess around with). Stick with me, there are money-saving and life-saving lessons in this.  My new hobby is a vintage Mark Twain speedboat from 1977, and it needs a little work. 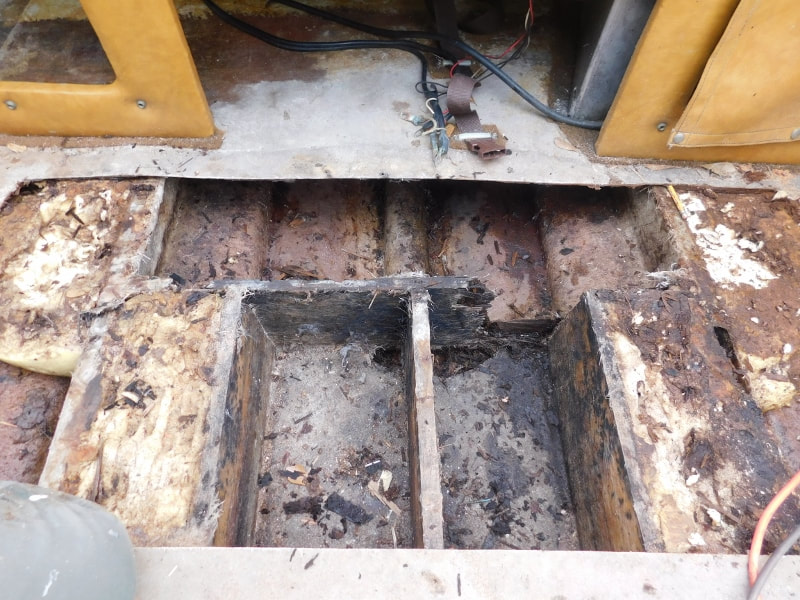 That is to say, all of the interior wood is rotten. I need to strip it all the way down to the hull and totally rebuild it. At first I was let down. This is a huge repair and I definitely won't have the boat on the water this summer. Just call me Captain Drydock. But once I got used to the idea, I got excited and started researching the right way to fix it. Now whenever I'm working on my custom cabinets and need to stop for a minute while the paint dries or the glue sets up, I'll hop in the boat and rip out the floor for half an hour. 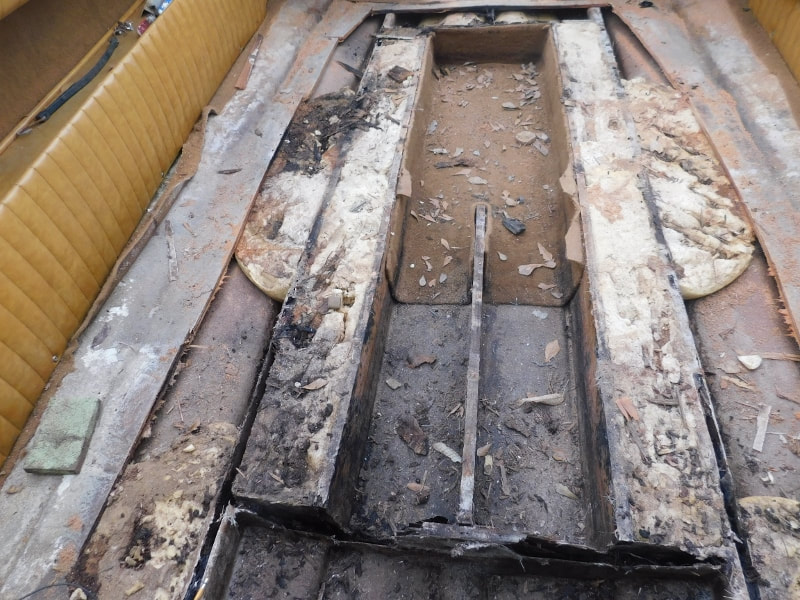 Since boating is a new world for me, I've been studying boating forums and Youtube channels to see how this kind of project is done. A lot of the guys doing the demonstration are hobbyists as well, and outside of boat remodeling, many of them don't have a lot of experience doing handyman or carpentry work. And there's a big mistake I've noticed amateurs making again and again when they DIY their boat repair: They use cheap materials. Think about it: you're about to spend the only resource you can't recover or get back... a resource that in some ways is even more precious than your money... your time. 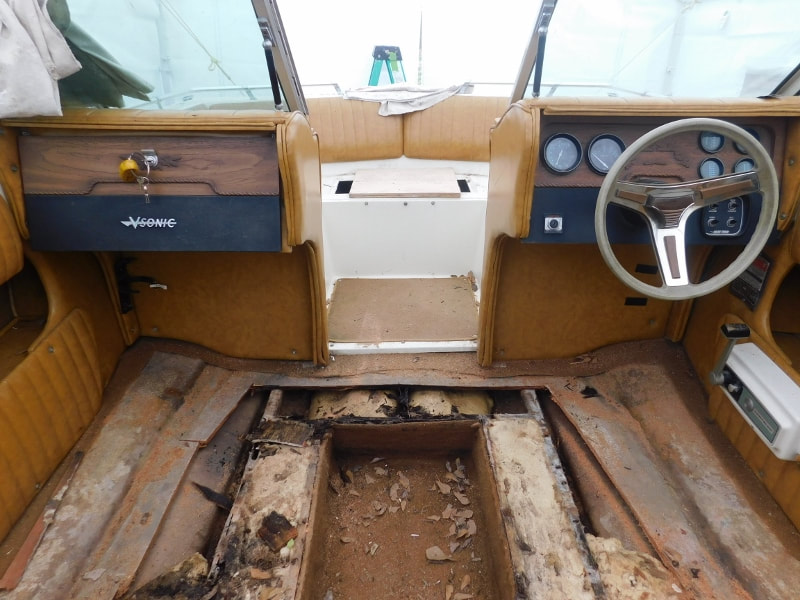 In the case of a total boat repair like this, you'd be spending about 300 hours of your life. Yet instead of choosing marine-grade materials that will last for a long time, some of these guys are using the cheapest plywood available and just trusting in their fiberglass coating to do the work. Since it's hard to add a perfect waterproof coating, changes are that the plywood is going to rot in ten years and all of that time will be wasted. And the money they spent on the cheap materials will be wasted, too. 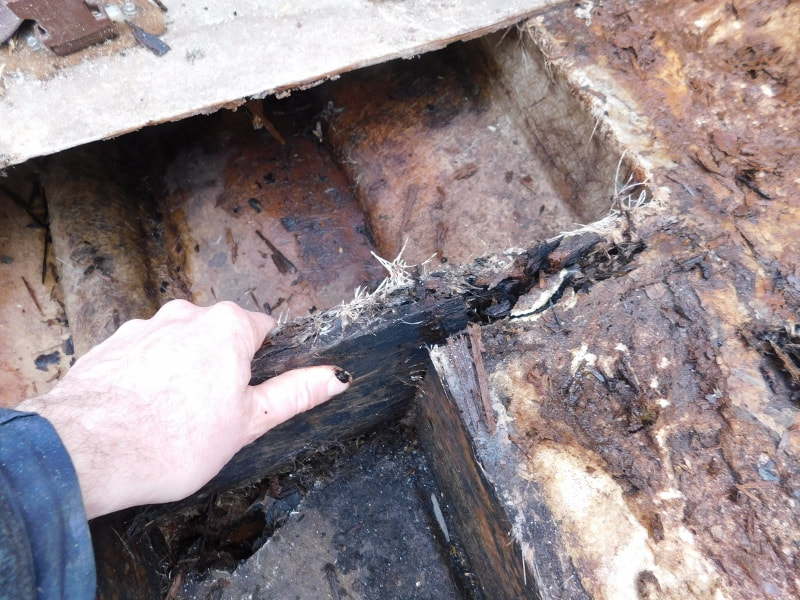 This is their plywood in ten years. And here's another mistake to avoid making... and this is one that even the pros make all the time... and it drives me crazy because it's really dangerous... They don't wear proper masks or safety gear. Heck, some of them don't even use ventilation! 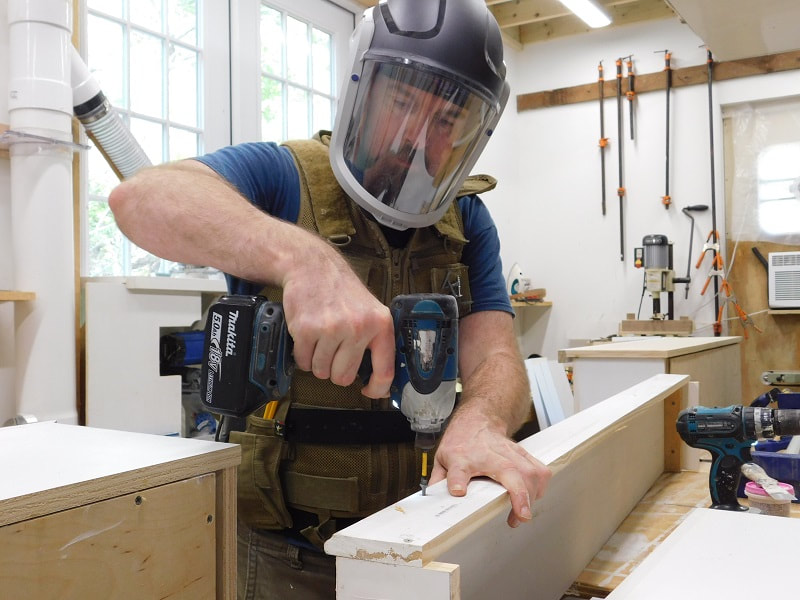 Your health is just as precious as your time. And wood dust causes cancer. When you breathe wood dust, you're basically breathing in silica (the stuff they make glass out of) and the worst part is, the most dangerous dust is the finest dust. It hangs in the air longer, you can't see it, and most masks don't filter it out. If you are going to DIY a project, always buy the best mask you can afford and work with the best available ventilation. That's why even though I have a professional workshop with the best ventilation I can buy... 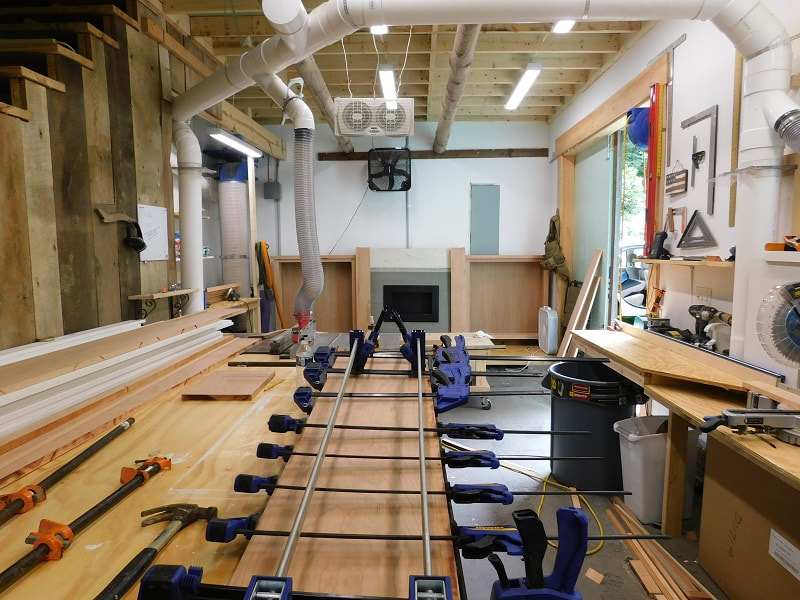 ...I still leave the windows and doors open in good weather, and I wear my powered-air dust filter. Is it overkill? I have good reason to believe that it is not. I'm fortunate (if that's the word) to have an allergy to wood dust because I spent so many years breathing it in. If I expose myself to a dangerous cancer-causing level of dust, my body reacts as if I've just inhaled a handful of pollen. And if I don't wear my powered air mask and use good ventilation for even a few minutes of light sanding, I get that allergy. If you're not "lucky" enough to have a wood dust allergy, you can easily expose yourself to a dangerous level of carcinogens without ever knowing it. Don't believe me? Ask the American National Cancer Institute and the Canadian Center for Occupational Health and Safety. Those are just the first two that came up on my Google search. The evidence is there. And speaking of carcinogens, I have an outdoor work table which I like to use when painting, because even with low-VOC paint there can still be dangerous fumes, and I don't trust my spray booth to clear the air as well as a strong breeze. 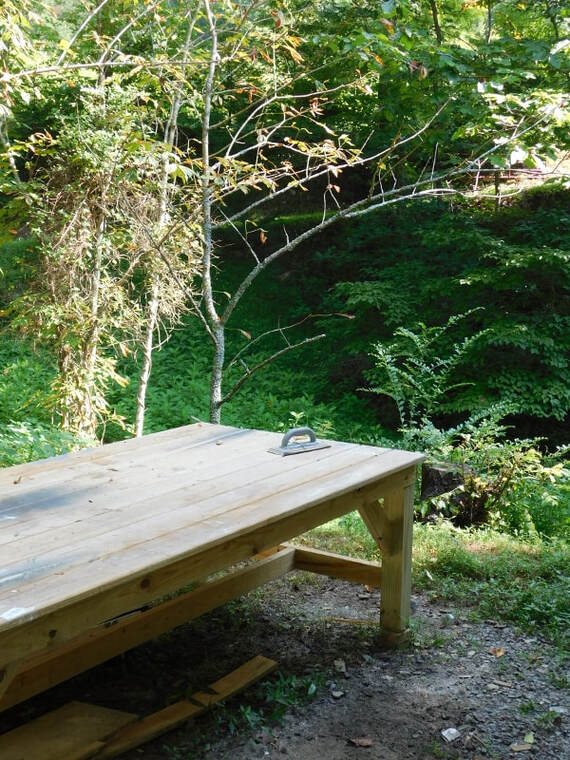 I'm not saying you shouldn't DIY your household projects. But don't save money at the expense of the more important things in life... the things you can't get back once they're gone... your time, and the health of you and your loved ones. 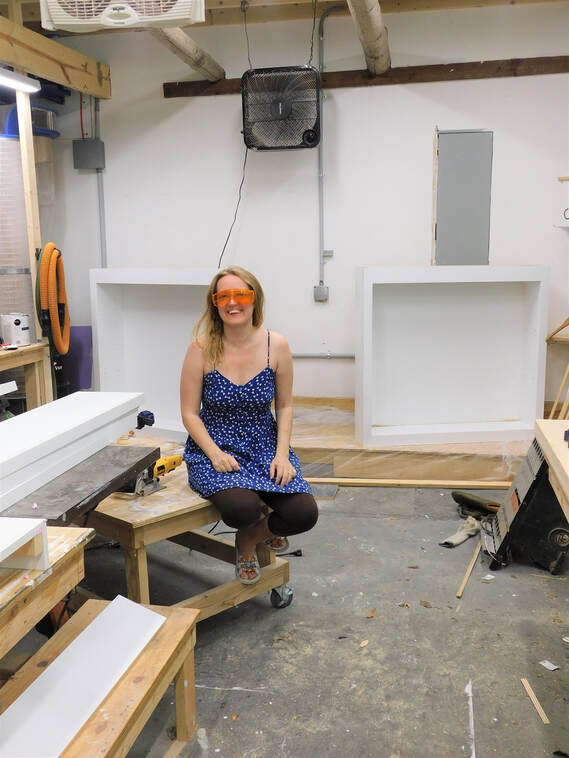 I filter the air so Faith can visit the shop safely. OK, I'll climb down off my soapbox now.
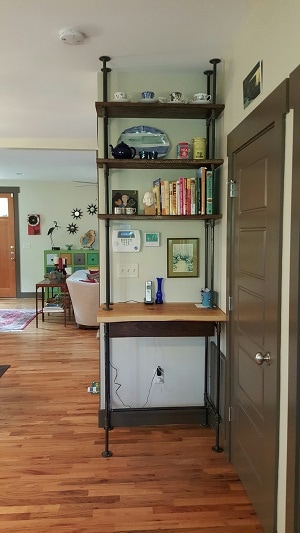
If you have a project that you'd like to DIY, but don't have the time, know-how or safety equipment, give us a call. We'll take care of it for you. This is one of those rewarding projects that brings a big return on a small investment. Many new homes in Asheville are built with places for shelving, but since since the builders are trying to stay on budget, the shelves are left out and the homeowner has to install them later. This is especially common in pantries and closets... or in this case, in the niches around the fireplace in my customer's living room. 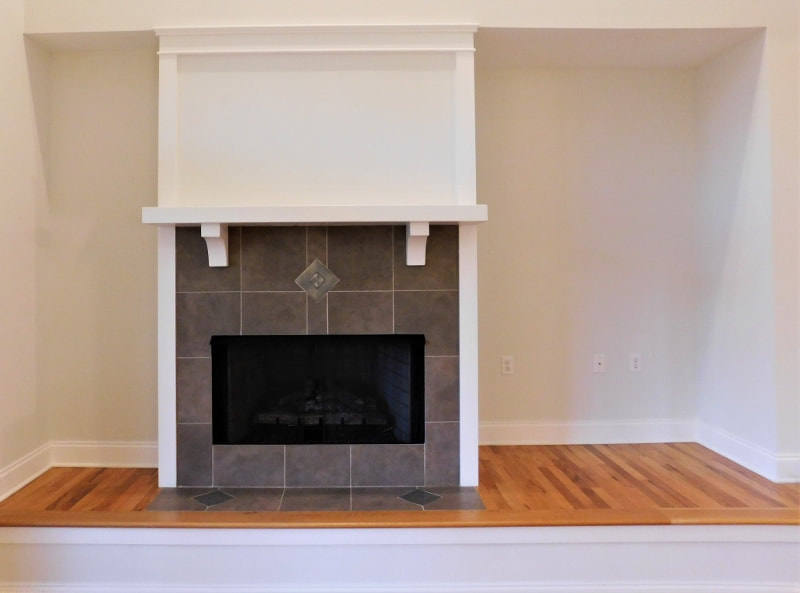 These little nooks were even more awkward than usual, because one nook was deeper and wider than the other, so the homeowner couldn't just pick out a matching pair of credenzas. We worked together to come up with a plan to install semi-floating shelves on each side, and by making the shelves the same height and thickness, we were able to create a sense of visual unity. Here's our "proof of concept" sketch.  You may notice that there aren't any shelves on the lower right. The homeowner wanted a place to keep her daughter's large toys, and since she was considering selling the home in the future, she also wanted to leave a place for the next occupant to install a large TV. Once we had the size and spacing of the shelving worked out, I went to work behind the scenes in my shop. 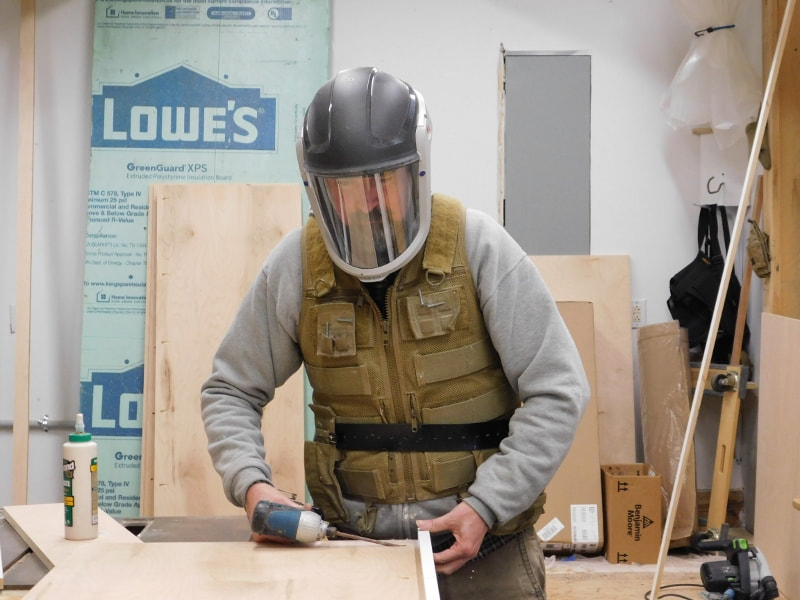 The new shelves were painted to match the trim around the existing fireplace, so they looked like a natural extension of what was already there. 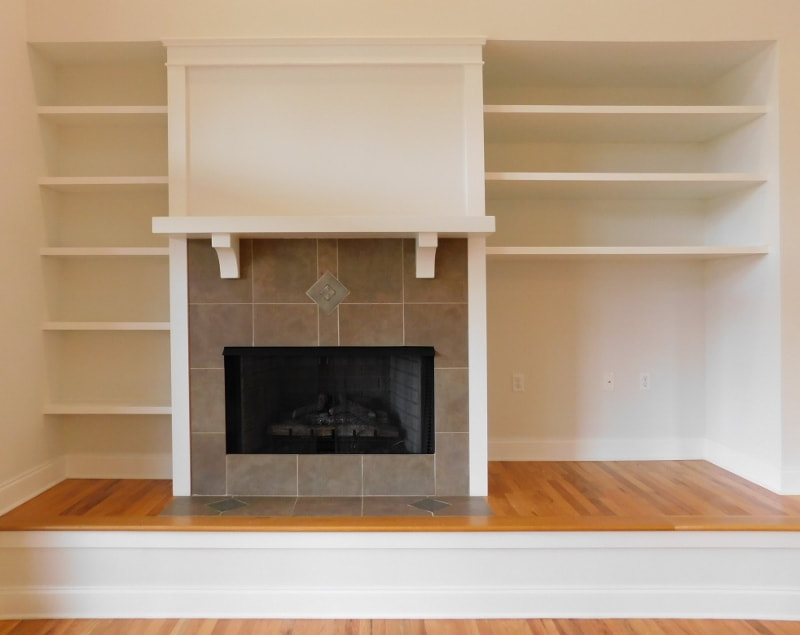 Even without books and accessories, the niches around the fireplaces have a much more unified look. 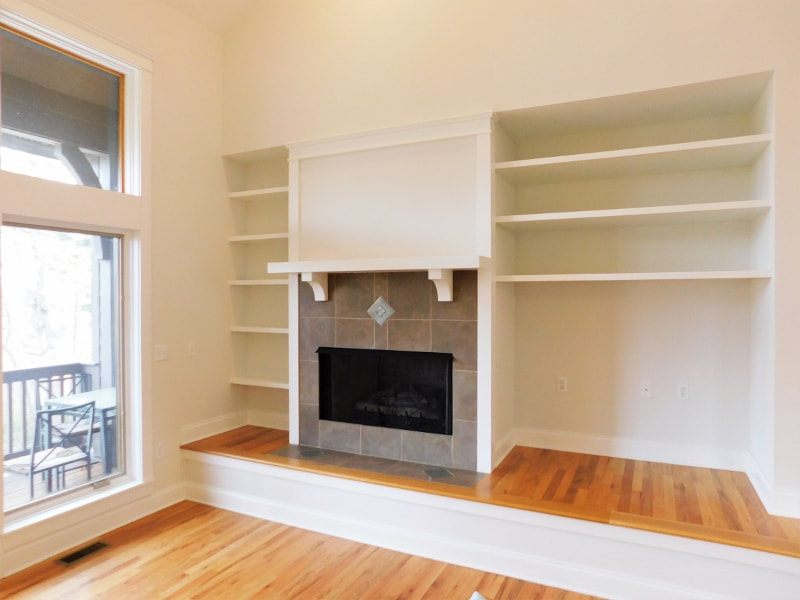 If you've got an awkward empty space that is crying out for cabinets or shelves, give us a call. We'll put in the pieces that the builder left out.
If you need someone to fix your screen porch, and you're near Asheville, I may have the perfect person for you. I went out to look at a job a few months ago and it turned out that the homeowners had a whole screened-in porch under their deck which was desperately in need of some TLC. For starters, the wind had gotten to the screen panels and they were belling out. You can really see it on the right-hand side of this picture. 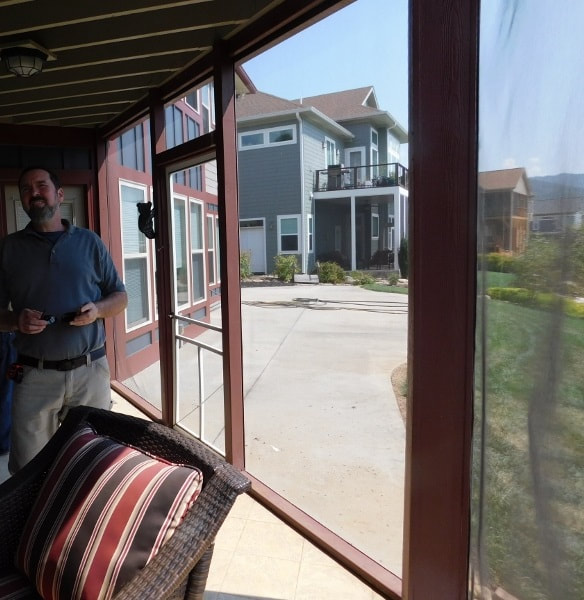 Even worse, the contractor who built the home had used untreated lumber for the screen frames, and they were starting to dry rot. 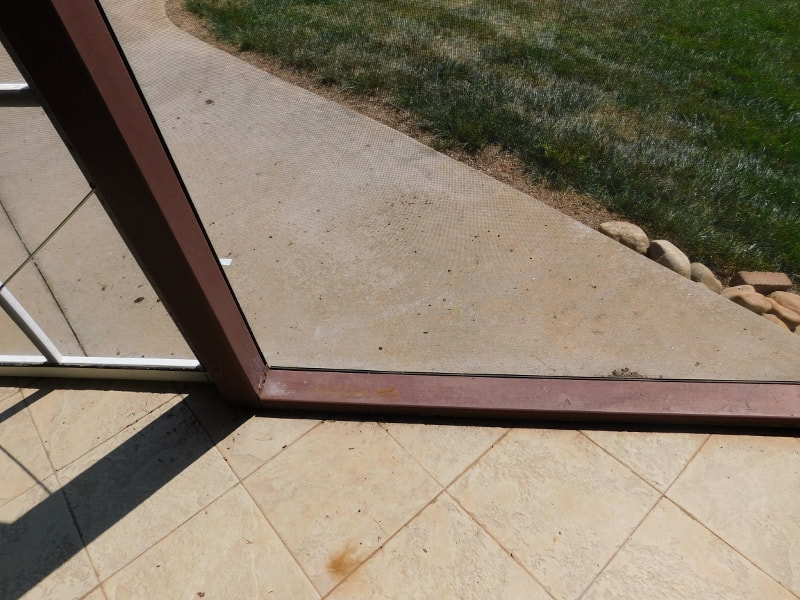 The outside also needed some attention. The homeowner wanted to fill in under the porch with Hardiplank ... 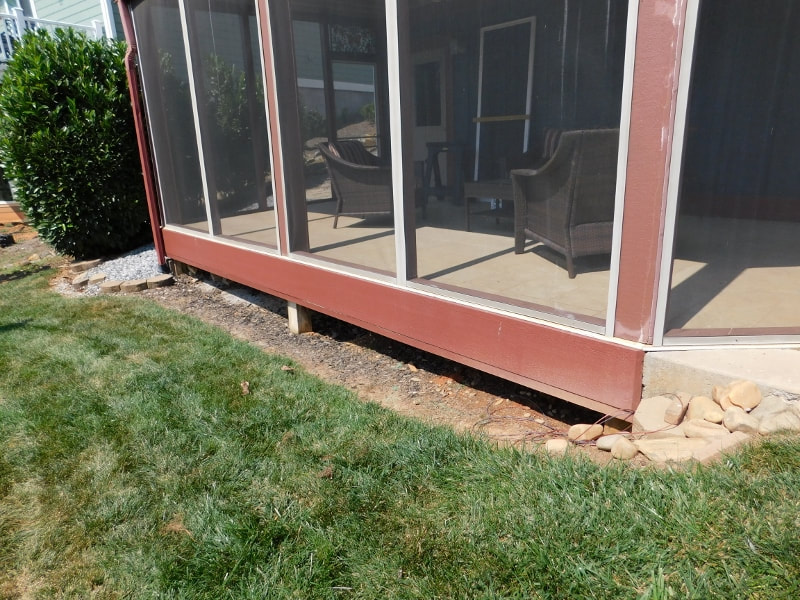 ... and part of the porch support was bowing out and needed to be fixed. 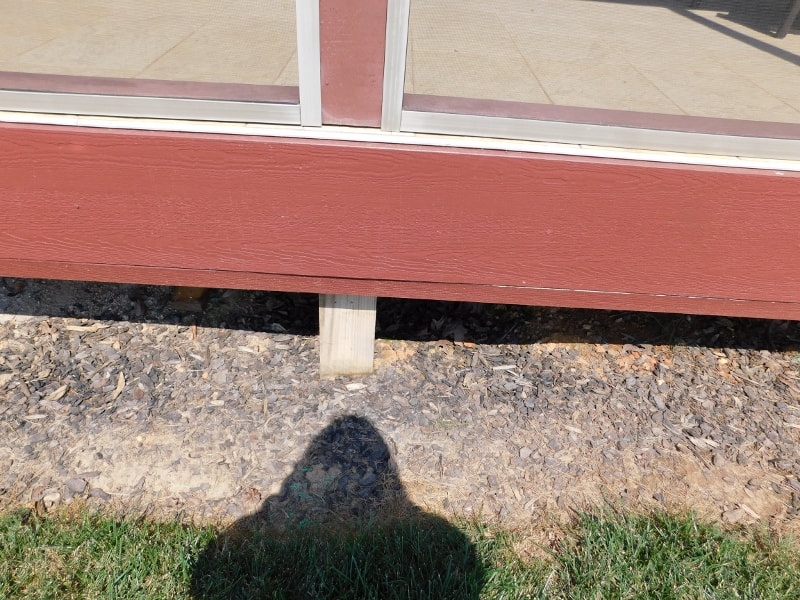 To make this job even more complicated, the access to the screen was blocked by a gutter, so it would be a quite trick to remove it without marring the gutter. Whoever put this porch up just wasn't thinking about long-term maintenance. 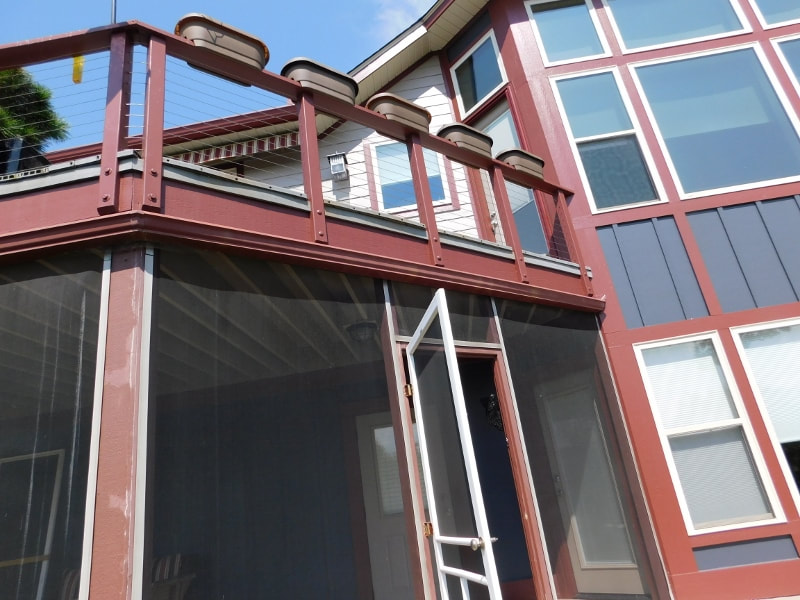 My schedule was chock-full at the time, and I couldn't fit in such a large job. So after checking with the homeowners, I called Jesse Scott, one of the handymen in our network, and asked him if he could take it on. (Here's a picture of him with his lovely wife Treva and their daughter Nora.)  Jesse hails from Florida, so he spent a large part of his career working on screened-in porches. In fact, he might be the best screen-stretcher in Asheville. (Is that a category in Mountain Express's "Best Of" issue? Somehow I doubt it. But if it were, I think Jesse would have the title.) Anyway, he did a great job on this porch, and he even sent us pictures when he was done. Here's the porch from the same angle as my first photo. That screen is as tight as a drum! 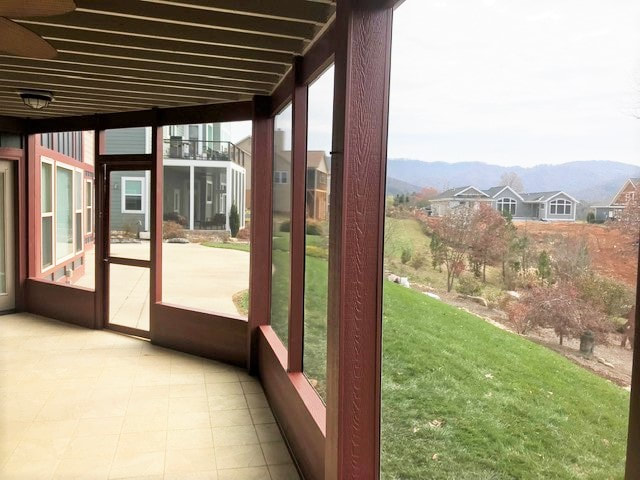 At the base of the porch, he added a low knee-wall at the homeowner's request. This was to keep their dogs from dashing straight through the screen in pursuit of a squirrel. 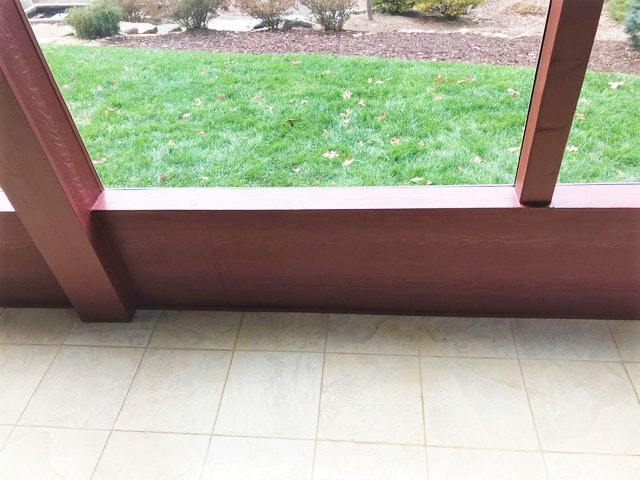 He also re-built the screen system so that the gutters won't get in the way if the mesh ever needs to be replaced again. And on the exterior, he filled in the bottom of the deck with long-lasting Hardiplank, repaired the bowed-out support, and repainted everything for a fresh look. 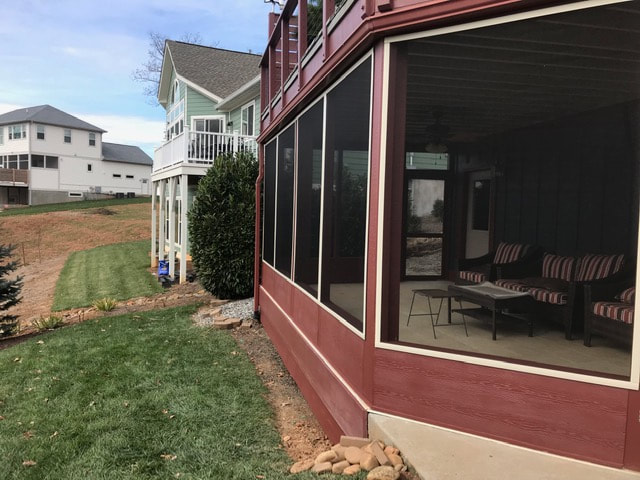 The end result is much more maintenance-friendly and looks really beautiful. 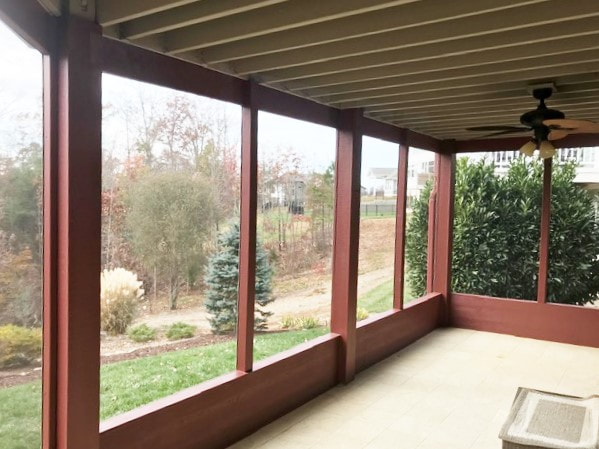 If your screen porch is looking a little tired and needs to be repaired, give us a call. We've got some seriously skilled screen stretchers standing by.
I don't have any "before" photos of this project, but I thought you might enjoy it all the same. I recently got a call from someone who needed a really simple closet upgrade. He just wanted to divide their closet into two parts: one side with a single hanging rod, and the other side with a double rod. At the top he wanted a very short shelf for his wife's purses. 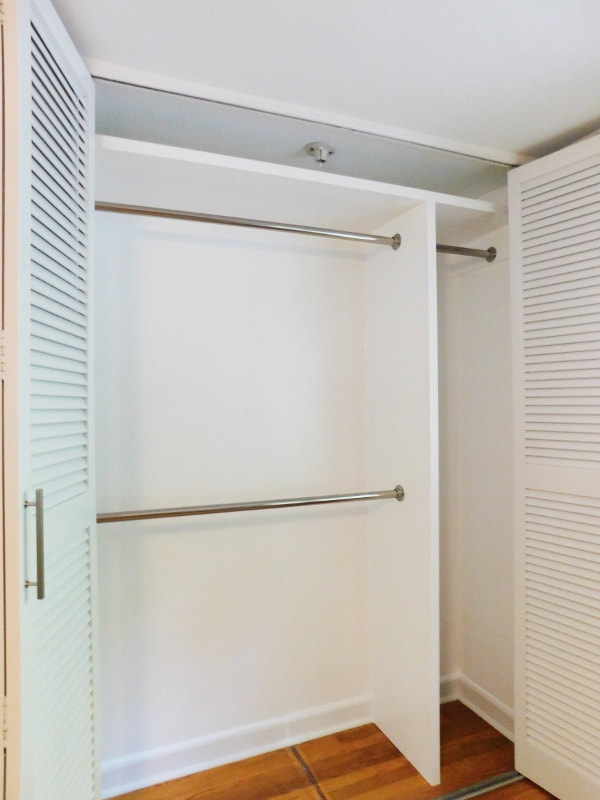 I made a divider and shelf in my workshop, and also cut the closet rods to length. He had me install the divider off to one side because they didn't have a lot of long clothes to hang up. As usual, I used cabinet-grade plywood with solid wood edging, which gives it more durability than the usual particle-board systems you get from big hardware stores.  While I was there, he had me build a custom cat condo similar to the one I've already featured on here. It's enclosed in hardware cloth to keep Kitty inside while still giving him access to fresh air and sunshine. I was too busy to take pictures, but soon afterward I got this by text: 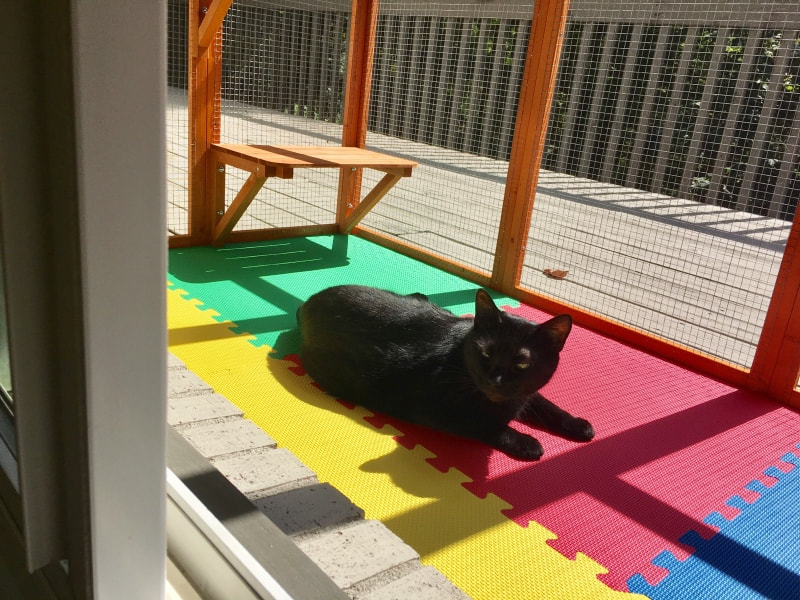 The cat condo was kitty-approved! My client and I got along so well that I'm coming back soon to install a semi-custom kitchen island. The color is still to be determined, but here's our initial drawing. 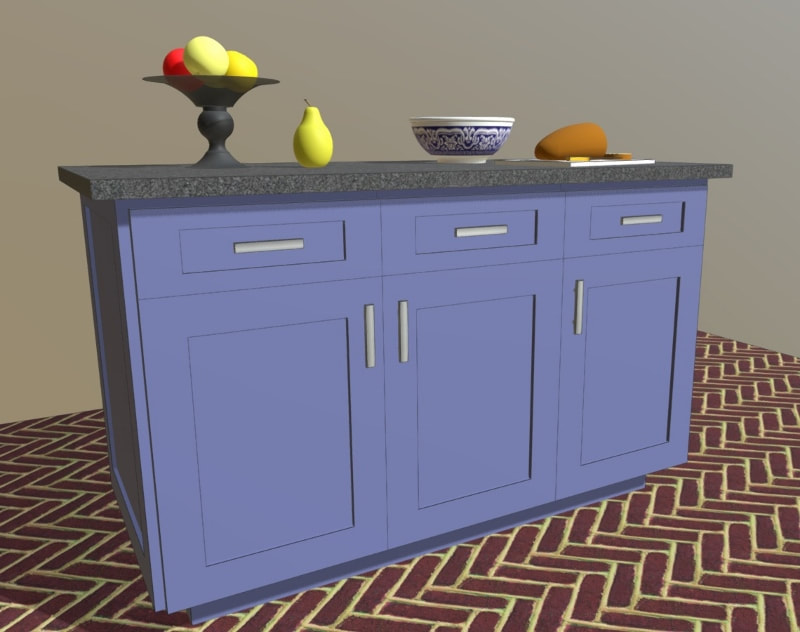 To keep costs down, we're using pre-made Shaker cabinets, and I'll be installing Shaker-style paneling on the back. 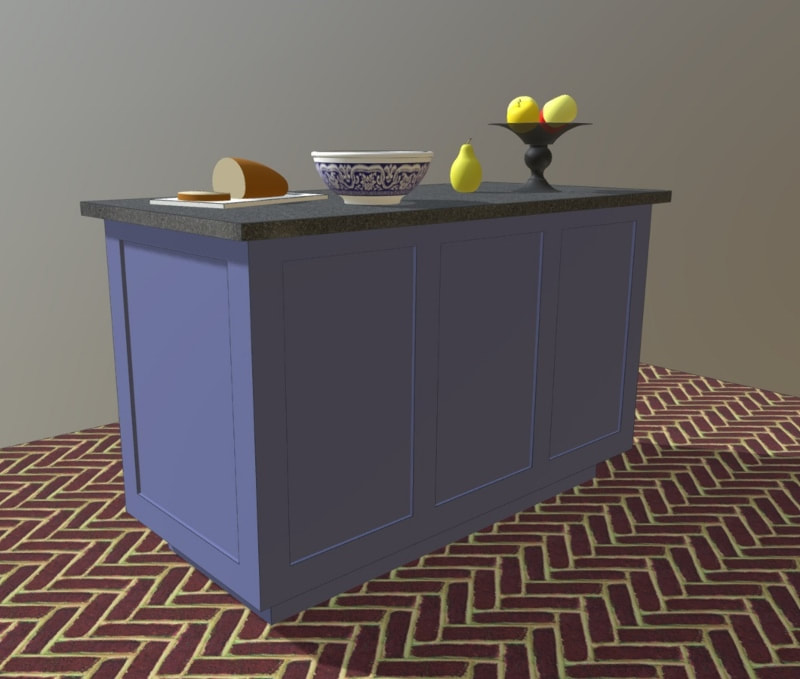 I'll also be modifying the cabinets to allow a recessed kick all the way around, which will make it more comfortable to use.
If you'd like to see more of our custom and semi-custom cabinet work, check out our sister site at Artisan Built-ins. Or just give us a call for a free estimate. We're always glad to chat!
A few years ago, I had a side gig as the temporary maintenance man at a downtown Asheville condo building, and the one problem that constantly came up was clogged or slow drains, especially in the shower.
You know what it feels like:
You're taking a quick shower and suddenly the water is up over your knees, and you wish you'd brought your hip waders.
Fortunately I found a cheap alternative to calling a plumber... 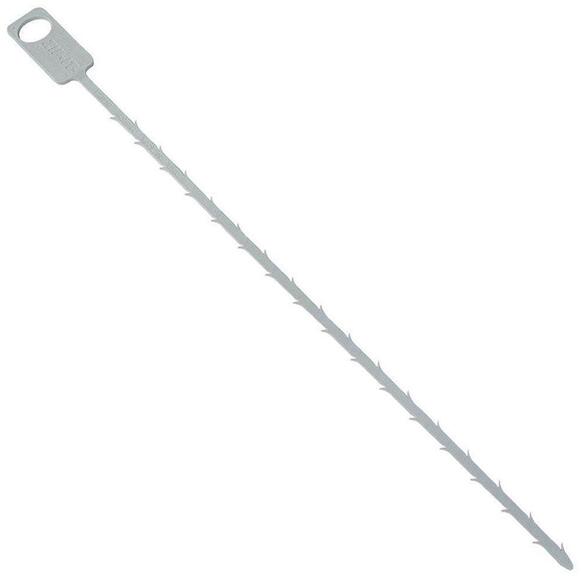
The Zip-It Hair Snare
Basically it's a cheap, disposable plastic version of the plumber's snake. It kind of reminds me of a zip tie, except that it has teeth. You stick it down into your drain and pull it back out, and some of the hair that's clogging the drain will get stuck to the little teeth and come out with it. If you're doing this in a bathtub, it will be easier if you unscrew the drain cover first. 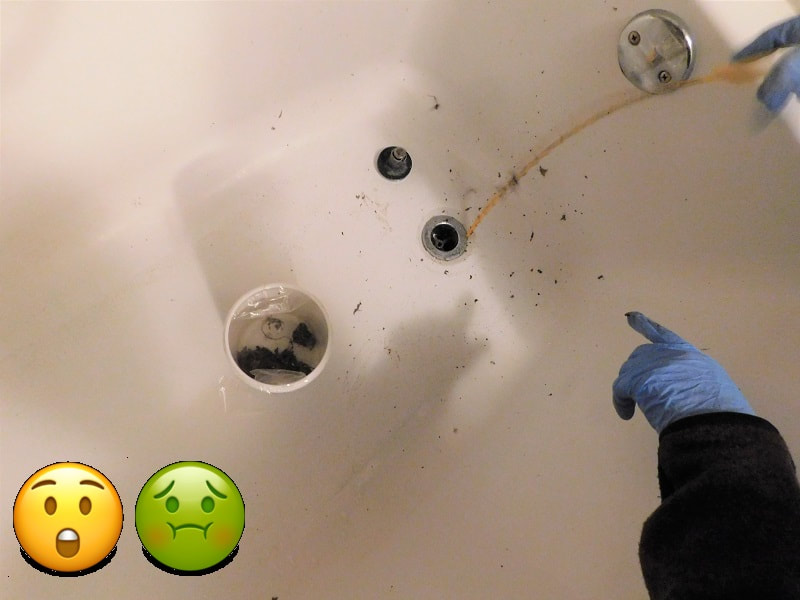
Repeat this several times, and you're done. Look how much stuff comes out!
I recommend also getting a pair of gloves and a little bucket to catch the goop, because the hair clumps are kind of gross. But hey, it beats calling in the professionals. During my maintenance gig, I bought a dozen of these for the property manager and cut the number of service calls way down. If you try this and it doesn't work for you, shoot us an email. We don't do plumbing, but my wife has a "little black book" with all of the best craftsmen we know. |
About

Welcome to my blog! This is a chronicle of the adventures of Arthur Teel, a handyman working in Asheville and Weaverville, NC. Need someone to fix your home?
Connect!
Archives
April 2022
This blog is for entertainment purposes only. See our Terms of Use for details.
|
The current turn-around time for our interior painting team is 2 weeks.
Our handyman team is currently fully scheduled and not taking new projects.
What Our Clients Are Saying
"Arthur is that rare professional handyman who is totally reliable; fairly priced; pro-active in communications; honest; punctual; skilled -- and a really nice guy." "Arthur is a great resource to have here in our area. He's prompt, professional, does great work and is cost effective. I'll definitely use him again!" |
Follow Us:Email US AT:Service Area:
In-town Asheville
Mars Hill and Weaverville Arden and Fletcher Fairview Popular Services |

|