|
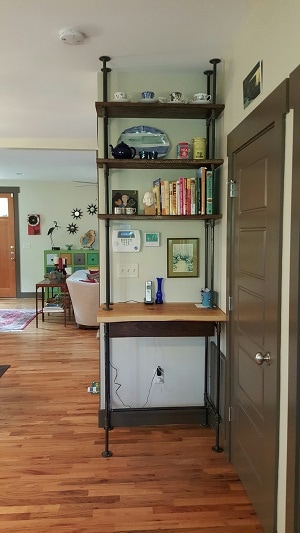
Not long ago I had a customer who wanted to replace a big recessed can light with a more ordinary light fixture. Of course, she had the electrician come out first to remove the existing can light and install a box for the new fixture. But that left a big hole around the new box. 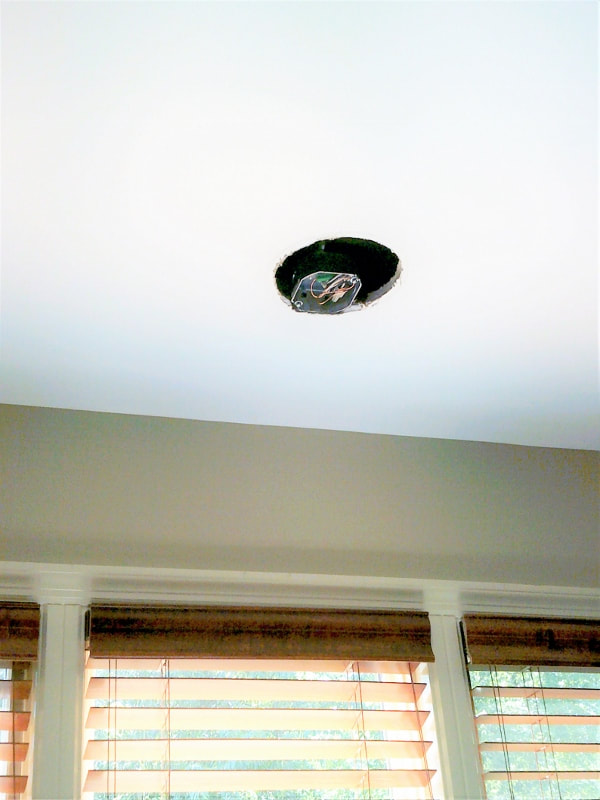 This is one of the more tricky drywall repairs because of course, you can't just fill in this hole with skim coat and be done with it! 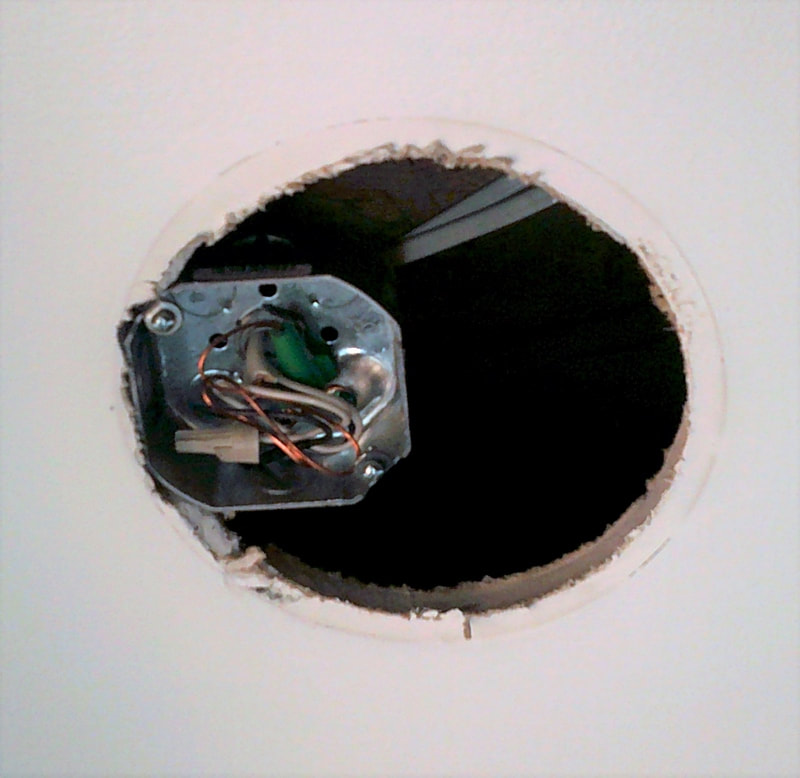 I started by adding a support made of thin wood which I screwed to the existing drywall. 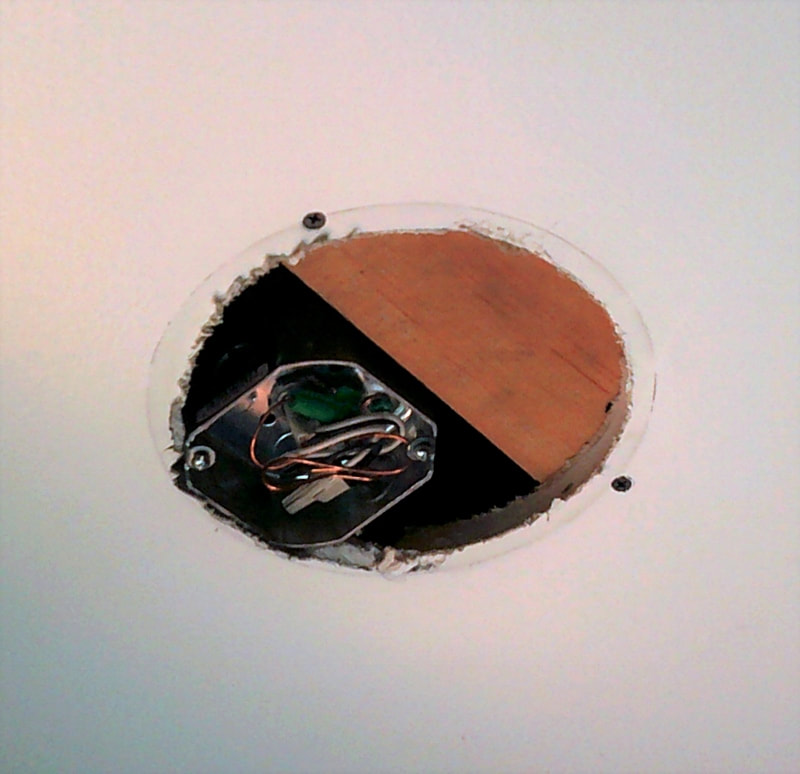 Then I added a custom-cut patch to fill in. My first patch was actually a bit small, and I soon realized I needed something with a little more coverage. 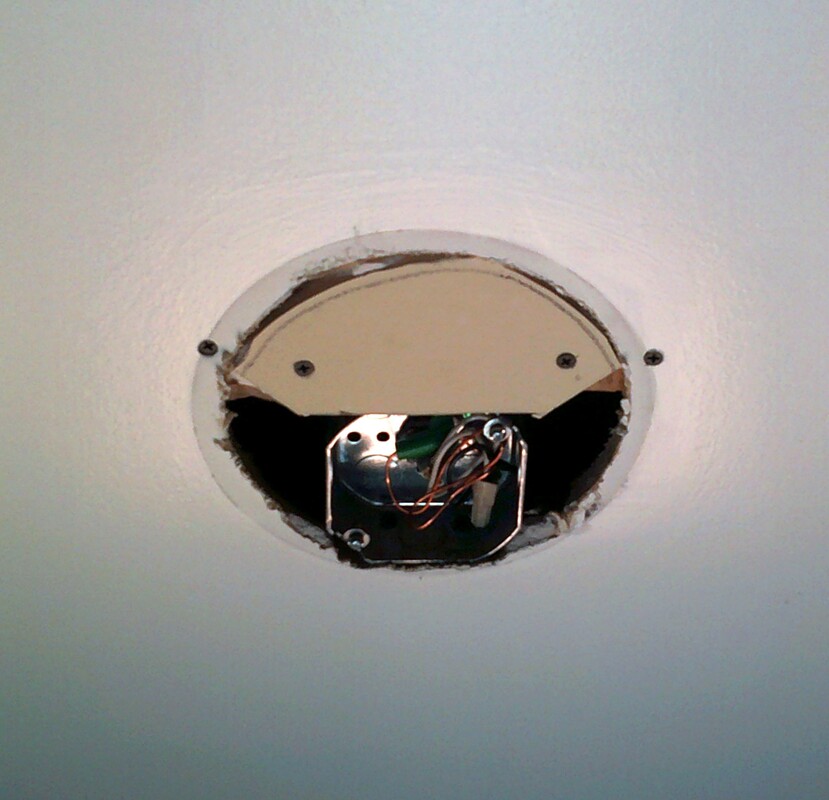 Wasn't there a spaceship in Star Wars shaped like this? 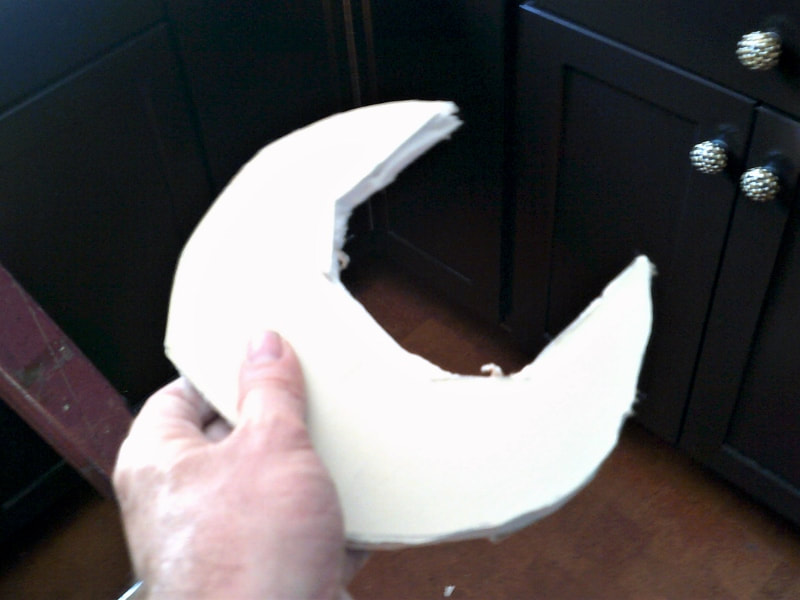 With my new patch installed my next step was to add a piece of screen. This will allow me to make a nice even skim coat, and it will give something for the mud to grab. It's serving the same purpose as the drywall tape you install on joints when you're finishing out a wall. 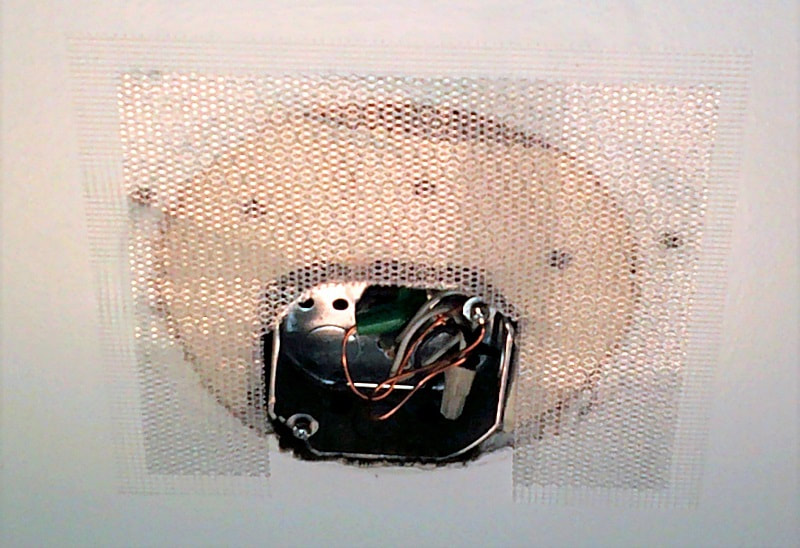 Then it was time for a couple coats of mud. By the way, if you ever do this yourself, don't try to get everything perfect on the first coat. Only the best of the best can do that; I've only met a few people with that level of skill in my life, and even with all my experience, I'm not one of them. The trick is to put down each layer fairly thin, and sand well between coats. 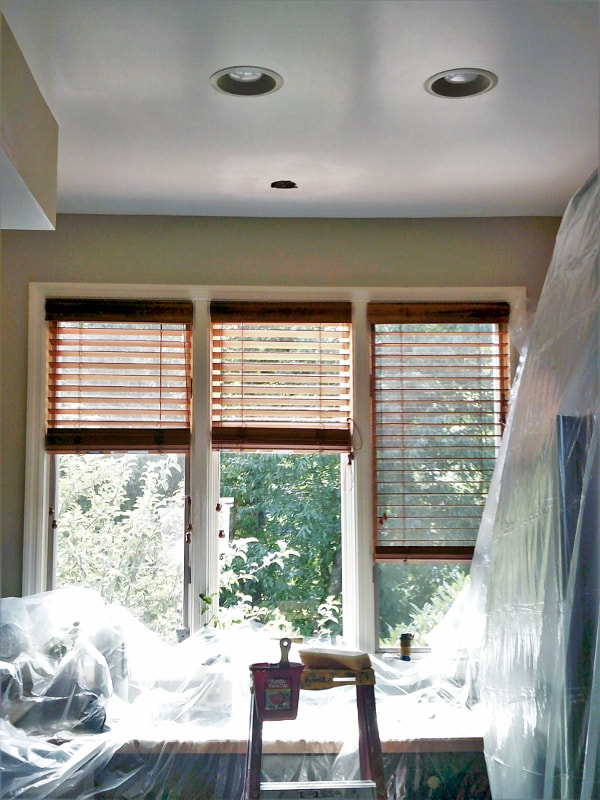 The last step was a little bit of touch-up by our interior painters to get it looking just perfect.
All in all, this is a fairly tricky drywall patch job to get right. This is one of those times you'll want to call in the pros. Luckily, that's what we're here for! |
About
Welcome to my blog! This is a chronicle of the adventures of Arthur Teel, a handyman working in Asheville and Weaverville, NC. Need someone to fix your home?
Connect!
Archives
April 2022
This blog is for entertainment purposes only. See our Terms of Use for details.
|
The current turn-around time for our interior painting team is 2 weeks.
Our handyman team is currently fully scheduled and not taking new projects.
What Our Clients Are Saying
"Arthur is that rare professional handyman who is totally reliable; fairly priced; pro-active in communications; honest; punctual; skilled -- and a really nice guy." "Arthur is a great resource to have here in our area. He's prompt, professional, does great work and is cost effective. I'll definitely use him again!" |
Follow Us:Email US AT:Service Area:
In-town Asheville
Mars Hill and Weaverville Arden and Fletcher Fairview Popular Services |
|